Ultimate Mixing Guide 2023
Below is the updated Ultimate Mixing Guide for 2023. I’ve been paying attention and getting insight at Bay Eight Recording Studios Miami. After speaking to the staff, many of you have noticed our previous mixing guide. I’ll be diving into what an excellent mixing process looks like. This will include, EQ, compression, and other effects that will take place in a mix. One thing to note, mixing is a creative process that is not a set-in-stone. Every mixing engineer will have their process, what is most important is finding the process that works for you! The guide will feed you basic foundations that will give you the building blocks to get started.
Points to Cover:
- Introduction
- EQ
- Compression and Other Effects
Introduction to the Ultimate Mixing Guide
If you don’t want to get famous, don’t your songs mixed. Getting your music mixed is what will define you being a failure or a success in the music industry. If you’ve been paying attention you’ll ask yourself, “What is mixing?” A quick way to define mixing is to sculpt the song by adding/subtracting frequencies or adjusting delays, mixing is a detailed process. Audio Engineers do this to put a song in its best shape before mastering is ready to take place.
EQ
Without EQ, your mixes will sound like crap. It’s just the truth. An equalizer or EQ will sculpt and mold your tracks into their highest potential. This makes it so you don’t sound like an amateur Soundcloud rapper. Just because you can spit bars, doesn’t mean anything if they cannot hear your words getting lost in the track. That’s why this Ultimate Mixing Guide is here to help you get clarity in your voice and your mix.
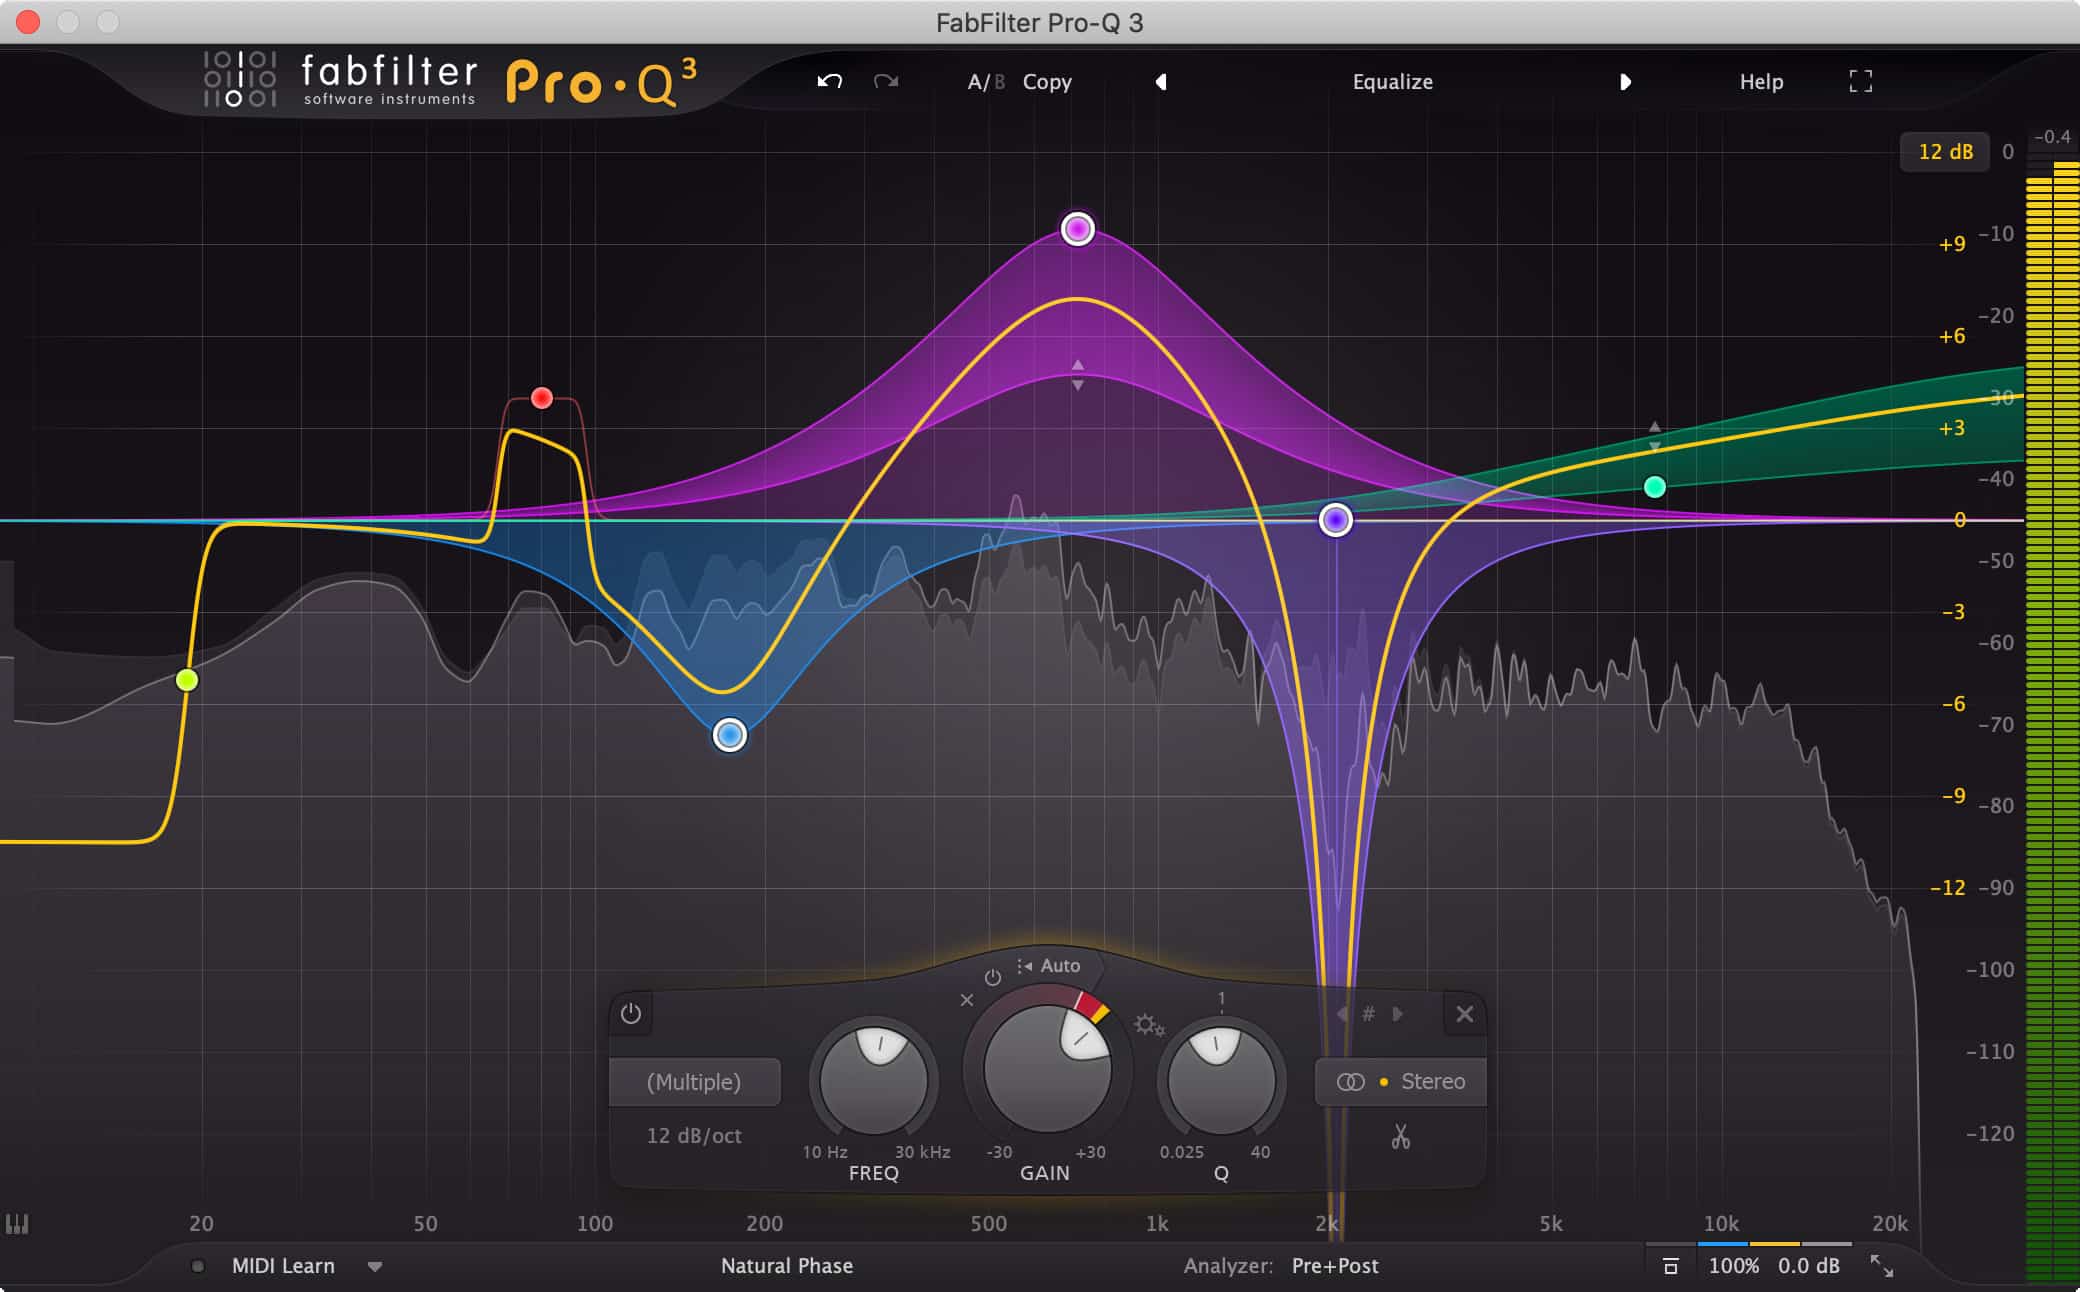
To start EQing, find an EQ of your preference. Whether it is because the EQ fits the genre or it’s your favorite mixing tool, you need to find a reliable EQ. After you have your EQ plugin, look into where the frequencies are focused on the instrument you are mixing. For example, if you are mixing a kick drum, you’re going to want to remove any frequencies that are not important. Using a low pass filter will remove a lot of these top-end frequencies. My top two favorite EQs are the SSL4000 E channel by Brainworx and the Pro-Q3 by FabFilter. These EQs are equipped with the necessary tools for any genre of music.
Details within the Ultimate Mixing Guide
Low-End EQ
Mixing the lower frequencies is a tedious and tricky task, but that’s why I’m here, to remedy your mixing needs. The low end gets complicated because of how harsh and sporadic the frequencies can get. The best place to start is with the kick drum. With the kick drum focusing on the lower areas of the mix, it is best to apply a low pass filter to remove any unnecessary frequencies the kick drum won’t need.
Moving on from the kick we can then look at the bass instruments ranging from bass guitars to synthesizers. Here there can be challenging low frequencies but don’t be afraid, I’ve got you in this guide. In this area, if the kick is sub-bass dominant, meaning there are a lot of super low rumbling frequencies, allow the kick to take up most of the space in the sub-frequencies. With a slight low pass filter, it will allow the kick to take up most of these frequencies.
However, if the bass is sub-dominant, then allow the bass to take up most of the space within this area. By using a stronger low pass filter on the kick it gives room for the bass. A way to hear this is to focus and listen to which track has the most rumble. People can describe this sound quality as “underwater rumbling” but it is the sub-frequencies of the instruments. The instrument that is the most resonant in this area is where you’re going to want to have the weakest low pass cut. Most of the time these cuts will not be enough, and you may need to add slight boosts where applicable to help the lower-range instruments cut through.
Midrange Ultimate Mixing Guide
This area is difficult as the midrange frequencies have higher and lower frequencies. Be careful as this area can ruin your mix if not done correctly! Your approach when mixing in these areas is to start your mix in the lower mids and then work your way up until you reach the higher frequencies. Depending on the instrument you are going to need to either cut (remove) or boost (add) mid-range frequencies. When mixing mid-range, your goal is to create clarity. This area can get a bit competitive between electric/acoustic guitars, synthesizers, samples, and other midrange instruments that are trying to find their space within this range. A good thing to note is that between all of these instruments, the midrange is where creative mixing is most likely to happen.
Guitars Mixing as an Example
We’ll start with guitars for the midrange. For guitars, a great place to start is immediately using a high pass filter at 80hz. Anything below this range is inaudible in guitars and is not necessary in most circumstances. The next step is to apply a low pass filter or a high shelf to control or amplify the higher frequencies. Once the higher and lower frequencies have been adjusted go ahead and remove some of the lower midrange frequencies as in most situations this area causes a low of unwanted rumbling removing the clarity of the guitars. Your focus on guitars is achieving clarity, be cautious when removing and adding frequencies as the guitars will lose their clarity.
Be careful not to remove too much of the low end, this will cause the guitars to sound thin. Now that your guitars are starting to take shape, feel free to boost frequencies in the upper midrange to add more of the warmth guitars can add to a mix. But don’t add too much of this area as this can then make the guitars sound very harsh overpowering the other instruments. Within this area, your guitars will take shape. For lead guitars, an option is to create a high shelf to accentuate the higher frequencies a lead guitar can produce. Now that guitars are starting to take shape next is the high end.
High-Frequency EQ
In the high frequencies is where you’ll find the brightest instruments like cymbals, percussion instruments, and other higher-sounding instruments. This area will need a low pass filter in order to help keep unwanted low frequencies out of their mix. For instruments like hi-hats, using a high shelf boost will help bring out the hiss in the hi-hats allowing them to cut through the mix while not overpowering other instruments. Other things to help this area can be a slight cut in the 4k area will help add clarity as this will help the hats not compete with the mid-range instruments. Doing this 4K cut, be careful not to remove too much as this can thin out hi-hats.
Conclusion to Mixing
Now that we have created a foundation for your mix feel free to adjust this process to what is best for your music. This Ultimate Mixing Guide will provide foundations of what you are looking for however, this is not a copy-paste situation. For each song, it is crucial you adjust for the genre of music and the way the instruments sound.
Mixing is not a process that should be taken lightly, if you are not confident in your mixing it will show. In this industry and age where quality is everything, you should seek a professional who can do this for you. Professional mixing engineers have trained ears that can hear details most people can’t and have highly skilled abilities that average people do not have. I strongly suggest Bay Eight Recording Studios Miami. They have the best engineers and facilities for mixing. Give Bay Eight Recording Studios Miami a call to book your session!
The next session is about how compression and sound effects work, like delay and reverb. This section contains key information that will make or break your mix.
Compression and Effects
Compression
One of the crucial parts of this ultimate mixing guide is compression. Compression allows instruments to sound consistent by reducing signals that pass a threshold set on the compressor. Compressors have different sonic qualities depending on the compressor. Compressors can be hardware or plugins. One of my favorite compressors is the TubeTech CL-1B. The compressor is warm from its tubes and is especially great for vocals.
Compression Application
Setting the compression for a track can be challenging but as an example, I’ll explain a good method for using a compressor for vocals. A good ratio to set is around 3:1. Meaning for every 3db set over the threshold it will lower the audio signal 1db under the threshold. From there set the attack and release. For rap vocals, you will want a faster attack as the compressor will act faster. For something a bit slower like R&B you’re going to need a slower attack so that the compressor doesn’t sound as aggressive. The attack is how quickly the compressor acts on the vocal, faster genres may need a faster attack but always use your ears to hear what is appropriate for your mix.
The release is how quickly the compressor relaxes after the initial compression has been done. Setting the release duration is what keeps the compressor holding the compression performed, or it allows the track to breathe more. A common practice for drums is to compress the kick drum with a moderate release as it will compress the initial hit of the kick and then what resonates after that hit.
Different Compressors
Compression is a great tool to help control instruments in a mix or add tonal characteristics. For example, an 1176 compressor by Universal Audio (UAD) and a Distressor are going to have very distinct sound qualities. A Distressor can sound harsh in comparison to a UAD 1176, as it is a digital compressor focusing on adding distortion characteristics to compression. This compressor can be very harsh for instruments or vocals but at the same time can be a gold mine for others.
An instrument that works greatly with the Distressor is Drums. When using a Distressor on drums, it can emphasize characteristics of distortions. For mixing this will help your drums stand out as adding the harmonic distortion this compressor does, will add more color to the drums. I suggest you come and try it in Bay Eight’s SSL Room to hear how the Distressor sounds!

Effects
Lastly, the effects category is the final section of the Ultimate Mixing Guide. After you have EQ’d, and set the compressor for your tracks, you can now have fun with effects such as reverb, delays, flangers, etc. This area will add to your overall song performance, and for some instruments, effects are crucial for genres of music. An example of this is in rap vocals, where a delay is used to accentuate the ad-libs or background vocals.
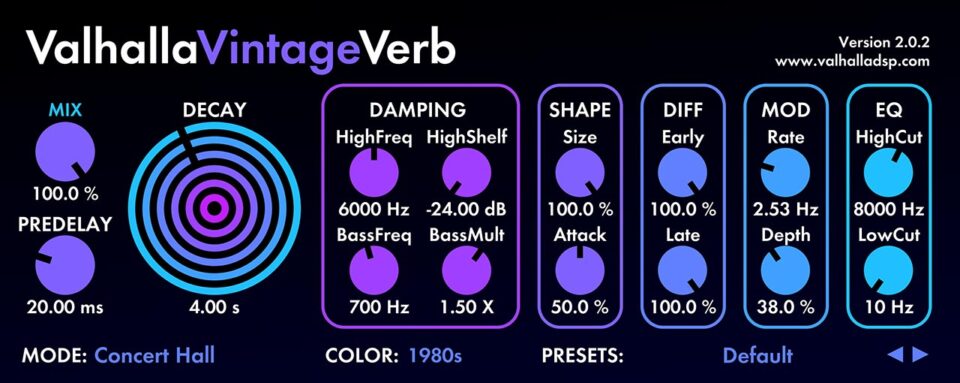
Delay is a great effect but is not always used, one of the more popular effects is reverb. Reverb is an effect that is used to amplify what resonates after an instrument or vocal line is being played. There are different characteristics when it comes to reverbs between vintage, modern, 60s, and 70s, but one plugin for reverbs has all of these characteristics. The Valhalla VintageVerb is one of the best reverbs on the market and covers plenty of sound for any genre or style of music. Effects are an excellent way to add character to your song, play with them to create new ideas.
Modulations
Besides reverbs and delays other effects like flangers, chorus, and phases are great for creative uses. Flangers are great for creating a widening effect on vocals with a waving effect that some describe as a “swoosh.” The next effect commonly used is Chorus. Chorus is an effect that replicates the pitch of what is being run through the effect. However, it is not a replication as the pitch is slightly off. While sound, off-pitch is not ideal, the chorus effect works perfectly creating a widening effect. The last and final effect in review is the phaser. The phaser is an effect that cuts the higher frequencies, replicating the original signal passing through and moving those frequencies creating the swirly effect.

Conclusion to the Ultimate Mixing Guide
Mixing is an extremely intricate process as seen above. To finalize a solid mix, the process should go EQing/frequency mixing, compressors, and lastly, effects. This process is proven to give an exceptional foundation for mixing. Ask any mixing engineer and they’ll tell you this is a great start to mixing. One thing to note as mentioned previously, mixing is a creative process and every audio engineer has their own. To achieve the best results, look for an engineer who specializes in the genre of mixing you are trying to achieve. Experiment with different EQs, compressors, and effects to find what is best for your sound. This can be a daunting task but hiring one of Bay Eight Recording Studios will get you the best version of your mix.
