You’re finally ready to take your songs to the next level, and you’re looking to book time in a professional recording studio. However, you may be unsure of the steps you should take before entering the studio. We know that recording studio rental is not cheap. In a perfect world it would be just about the music, but in this one time is money. So, we’ll help you make sure you don’t waste either.
A lot goes into making an excellent record. If you fail in your recording studio preparation, you may end up with a recording that doesn’t reflect your true vision as an artist. By following these eight simple recording studio preparation tips, you’ll ensure that everything goes as smoothly as possible and come out with a finished product you can be proud of. Let’s get started!
1. Learn Your Lyrics
Ideally, you should have your lyrics memorized before going into the studio. This way you can focus on delivery and the emotions you want to convey. It’s hard to give your full attention to your performance if you’re still reading off of a piece of paper, or worst, your phone. If you aren’t able to memorize your lyrics, at a minimum, have them written out and rehearsed. And lastly, have a clear idea of the phrasing and melodies. You may believe that the studio is where all your inspiration will strike. This may be true if you have a recording studio rental for weeks. However, if you are operating on a more modest budget, you’ll need to maximize your time.
2. Record a Demo Before Your Session
Whether you’re working with a producer or not, it’s always a great idea to come prepared with a demo of the songs you’ll be recording. If you’re using beats from the Internet, make sure you have them downloaded before your session. Then, take that beat and record a scratch vocal. This doesn’t need to be elaborate and can even be recorded on your phone. Even a basic demo will serve the purpose of creating a guide for you. If you’re part of a band, this is especially important. You don’t want to wait until you get into the studio to hash out creative differences. Don’t assume you’re on the same page if you haven’t clearly discussed what you’re going to record, how long the drum solo is going to be, etc.
Listen to your demo beforehand and decide if there are any changes you want to make to your song. If you’re a singer, this can create a great opportunity for you to start thinking about harmonies. Lastly, you can also play the demo for your producer or engineer at the beginning of your session so they have an idea of what your vision is. All in all, a demo can help save a ton of time in the studio by helping you get organized and communicate your ideas more efficiently.
3. Know Your Role and Be Prepared to Collaborate
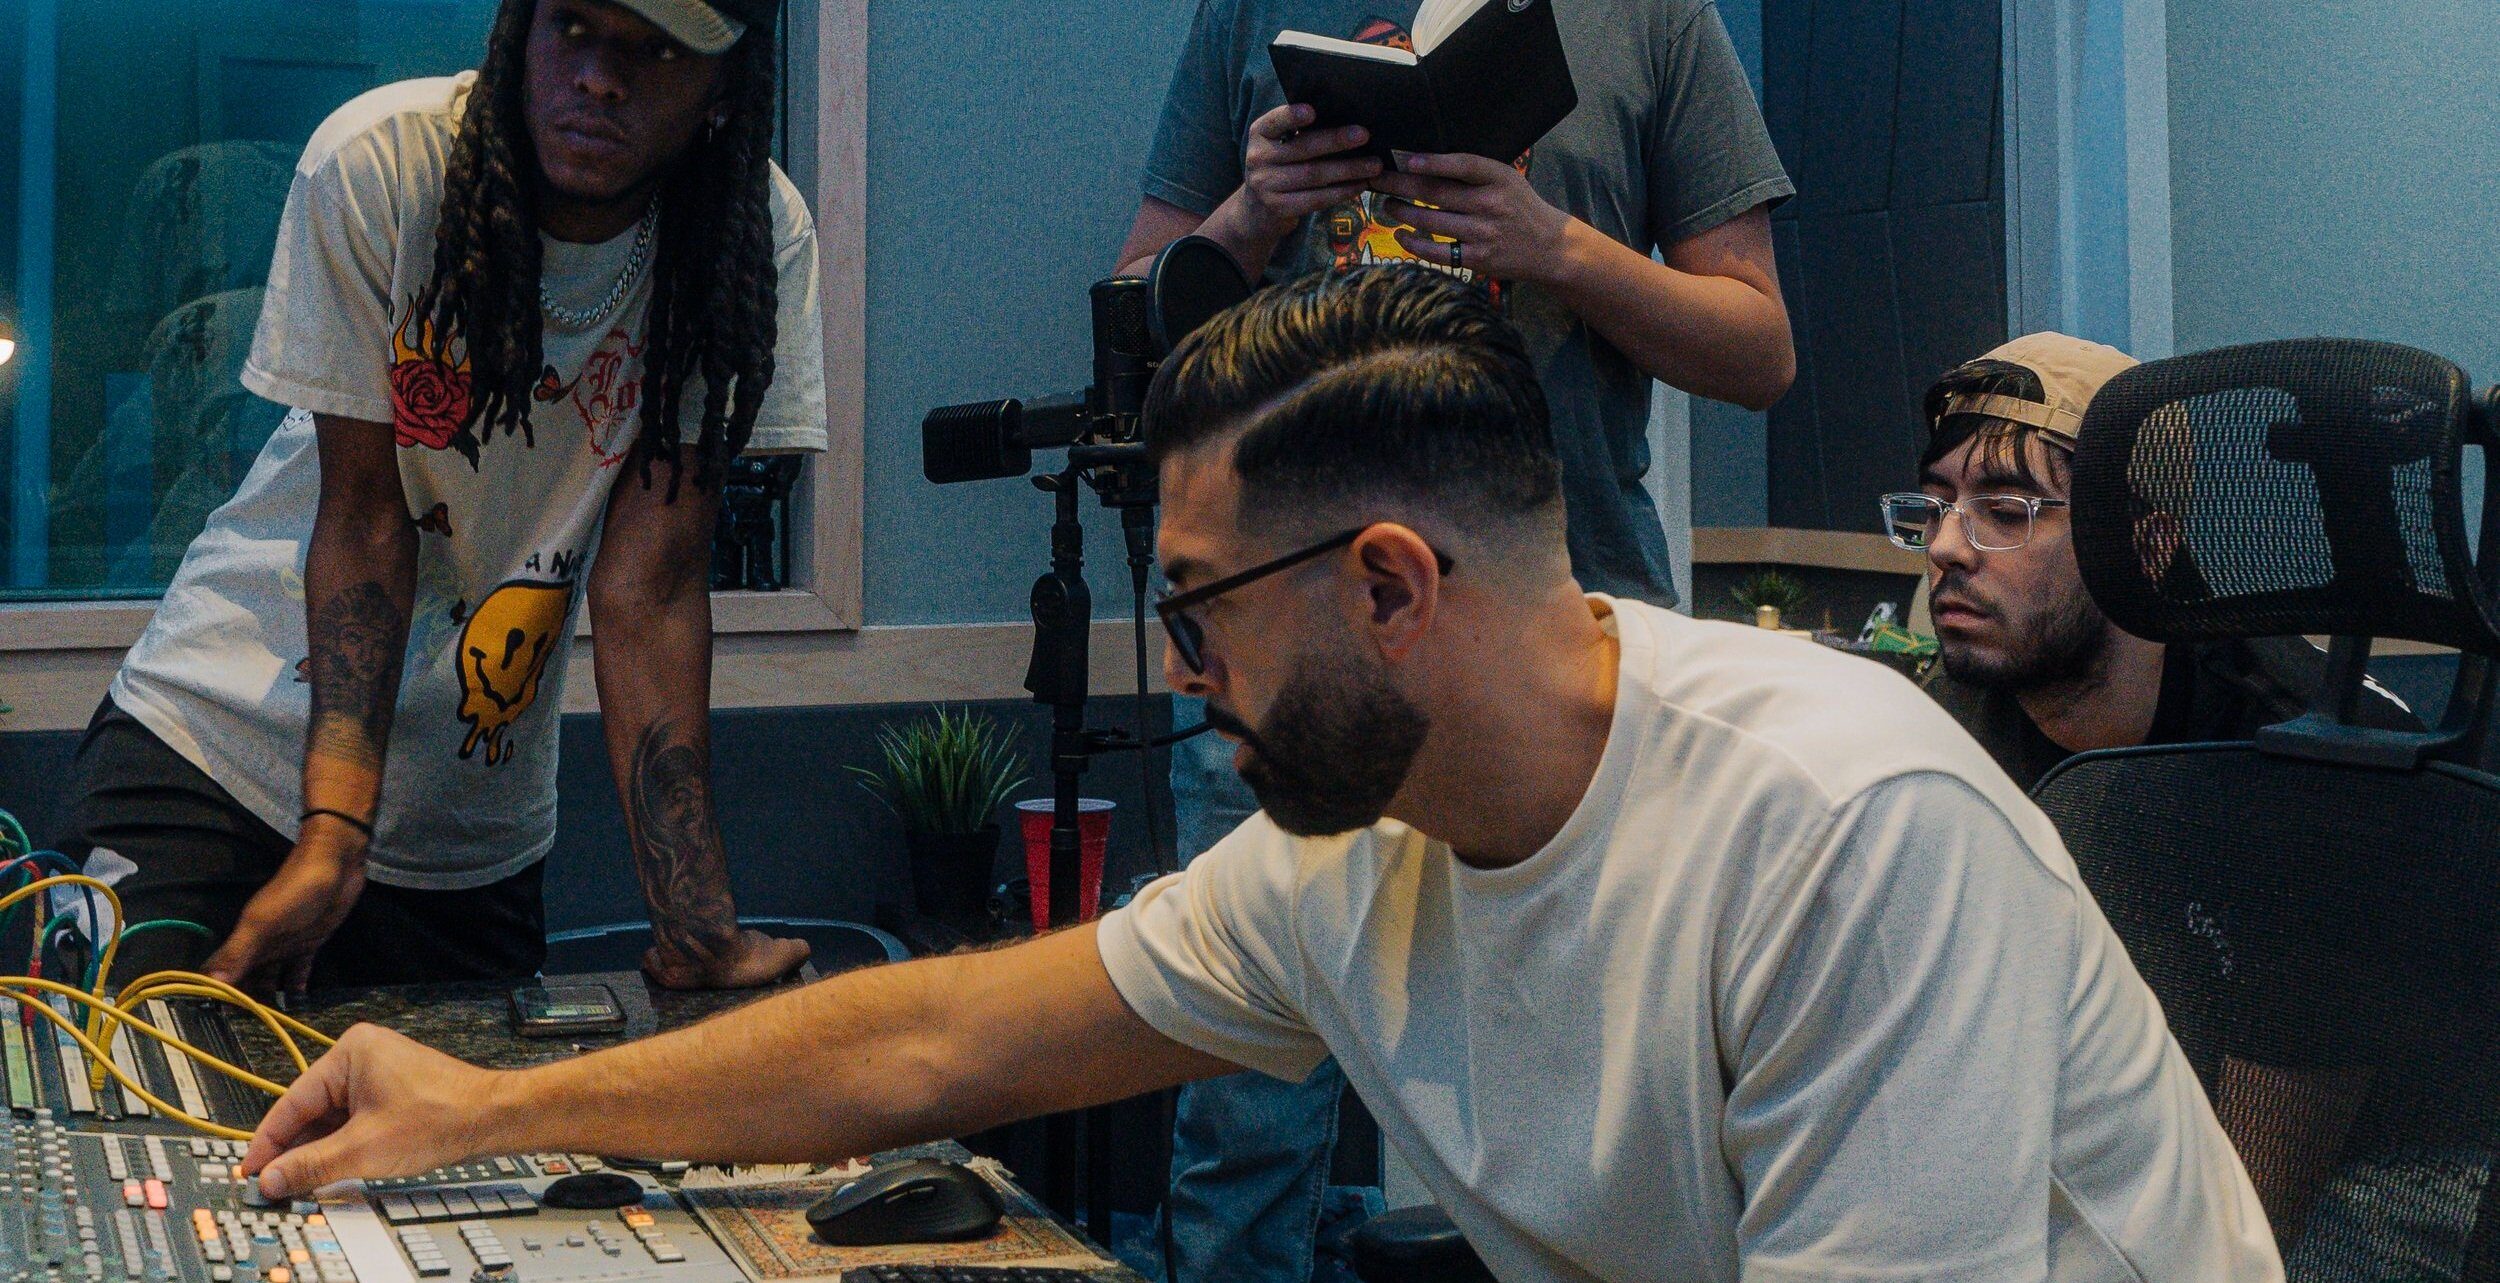
The recording experience should be a collaborative effort with the engineers, musicians, and producers you hire. Before heading into a recording session, prepare to receive feedback and constructive criticism on your music. At the same time, know that you are the client. If you want to try something new or you want to do additional takes, feel free to voice this. You are the boss and the engineers and producers are your team of advisors. The most important thing is to maintain open dialogue, so you can express your questions and concerns and they can do the same with you. Talk to your engineer and producer about the sound you’re going for so everyone is on the same page about what you’re trying to achieve. While the producers and engineers will likely have plenty of helpful guidelines for you, you should be the one leading the session.
4. Take Care of Your Voice and Warm Up
Before you go into the studio, you should make sure all of your instruments are in their best condition. This means if you are a guitarist, change your strings. If you’re a vocalist, you should avoid anything that could dehydrate you and keep your voice from sounding its best. Avoid alcohol and smoking for at least 24-48 hours before heading into the studio, and drink plenty of water instead. Save those celebratory drinks for after your recording when you’re celebrating how amazing your session turned out!
Before you go to record, take time to do some vocal warmups. Your vocal cords are muscles. Like all muscles, they need to be warmed up before any strenuous activity. One of the simplest warmups is to sip some hot water and hum to some songs for a few minutes. This will help loosen up your vocal cords and prepare them for singing. You can also gently sing some scales or do some tongue twisters.
5. Find the Right Engineer & Producer
@bayeightstudios Trust the process 🎱… Who are you trusting with your music?#recordingstudio #musicproducer #recordingartist #mixingengineer
♬ original sound – Bay Eight Recording Studios
When researching recording studios rentals, listen to each studio’s past works and see if they have experience working with similar artists. You should also get a sense of their vision for your project and asses whether or not they’re on the same page as you creatively. Making great music is one thing, but making a song slap through speakers is an entirely different skill set. That’s why it’s so essential to find the right engineer & producer for your project.
Your producer and engineer are responsible for capturing your sound and ensuring that it translates well to the listener. We are proud to have a team of experienced engineers and producers with proven success as part of our Bay Eight team. We work with some of the biggest artists in the world, and we bring the same energy whether we’re working with established names or up-and-coming musicians. When you collaborate with others, their sonic stamp will find its way onto your recording. This can make your music better, or it can take you off course. So, don’t be afraid to shop around until you find someone whose skills and musical taste align with your own.
6. Don’t Try to Record in One Take
Recording music is a lot of work. Don’t expect to waltz into the studio and lay down your tracks in one take. It takes time to get comfortable in the booth, ensure all your levels are correct, and do multiple takes to get the perfect recording.
The beauty of modern technology is that you don’t have to record your song in one take. If you’re performing something particularly difficult, you can even record one word at a time to get the perfect sound.
7. Review the Studio’s Equipment List
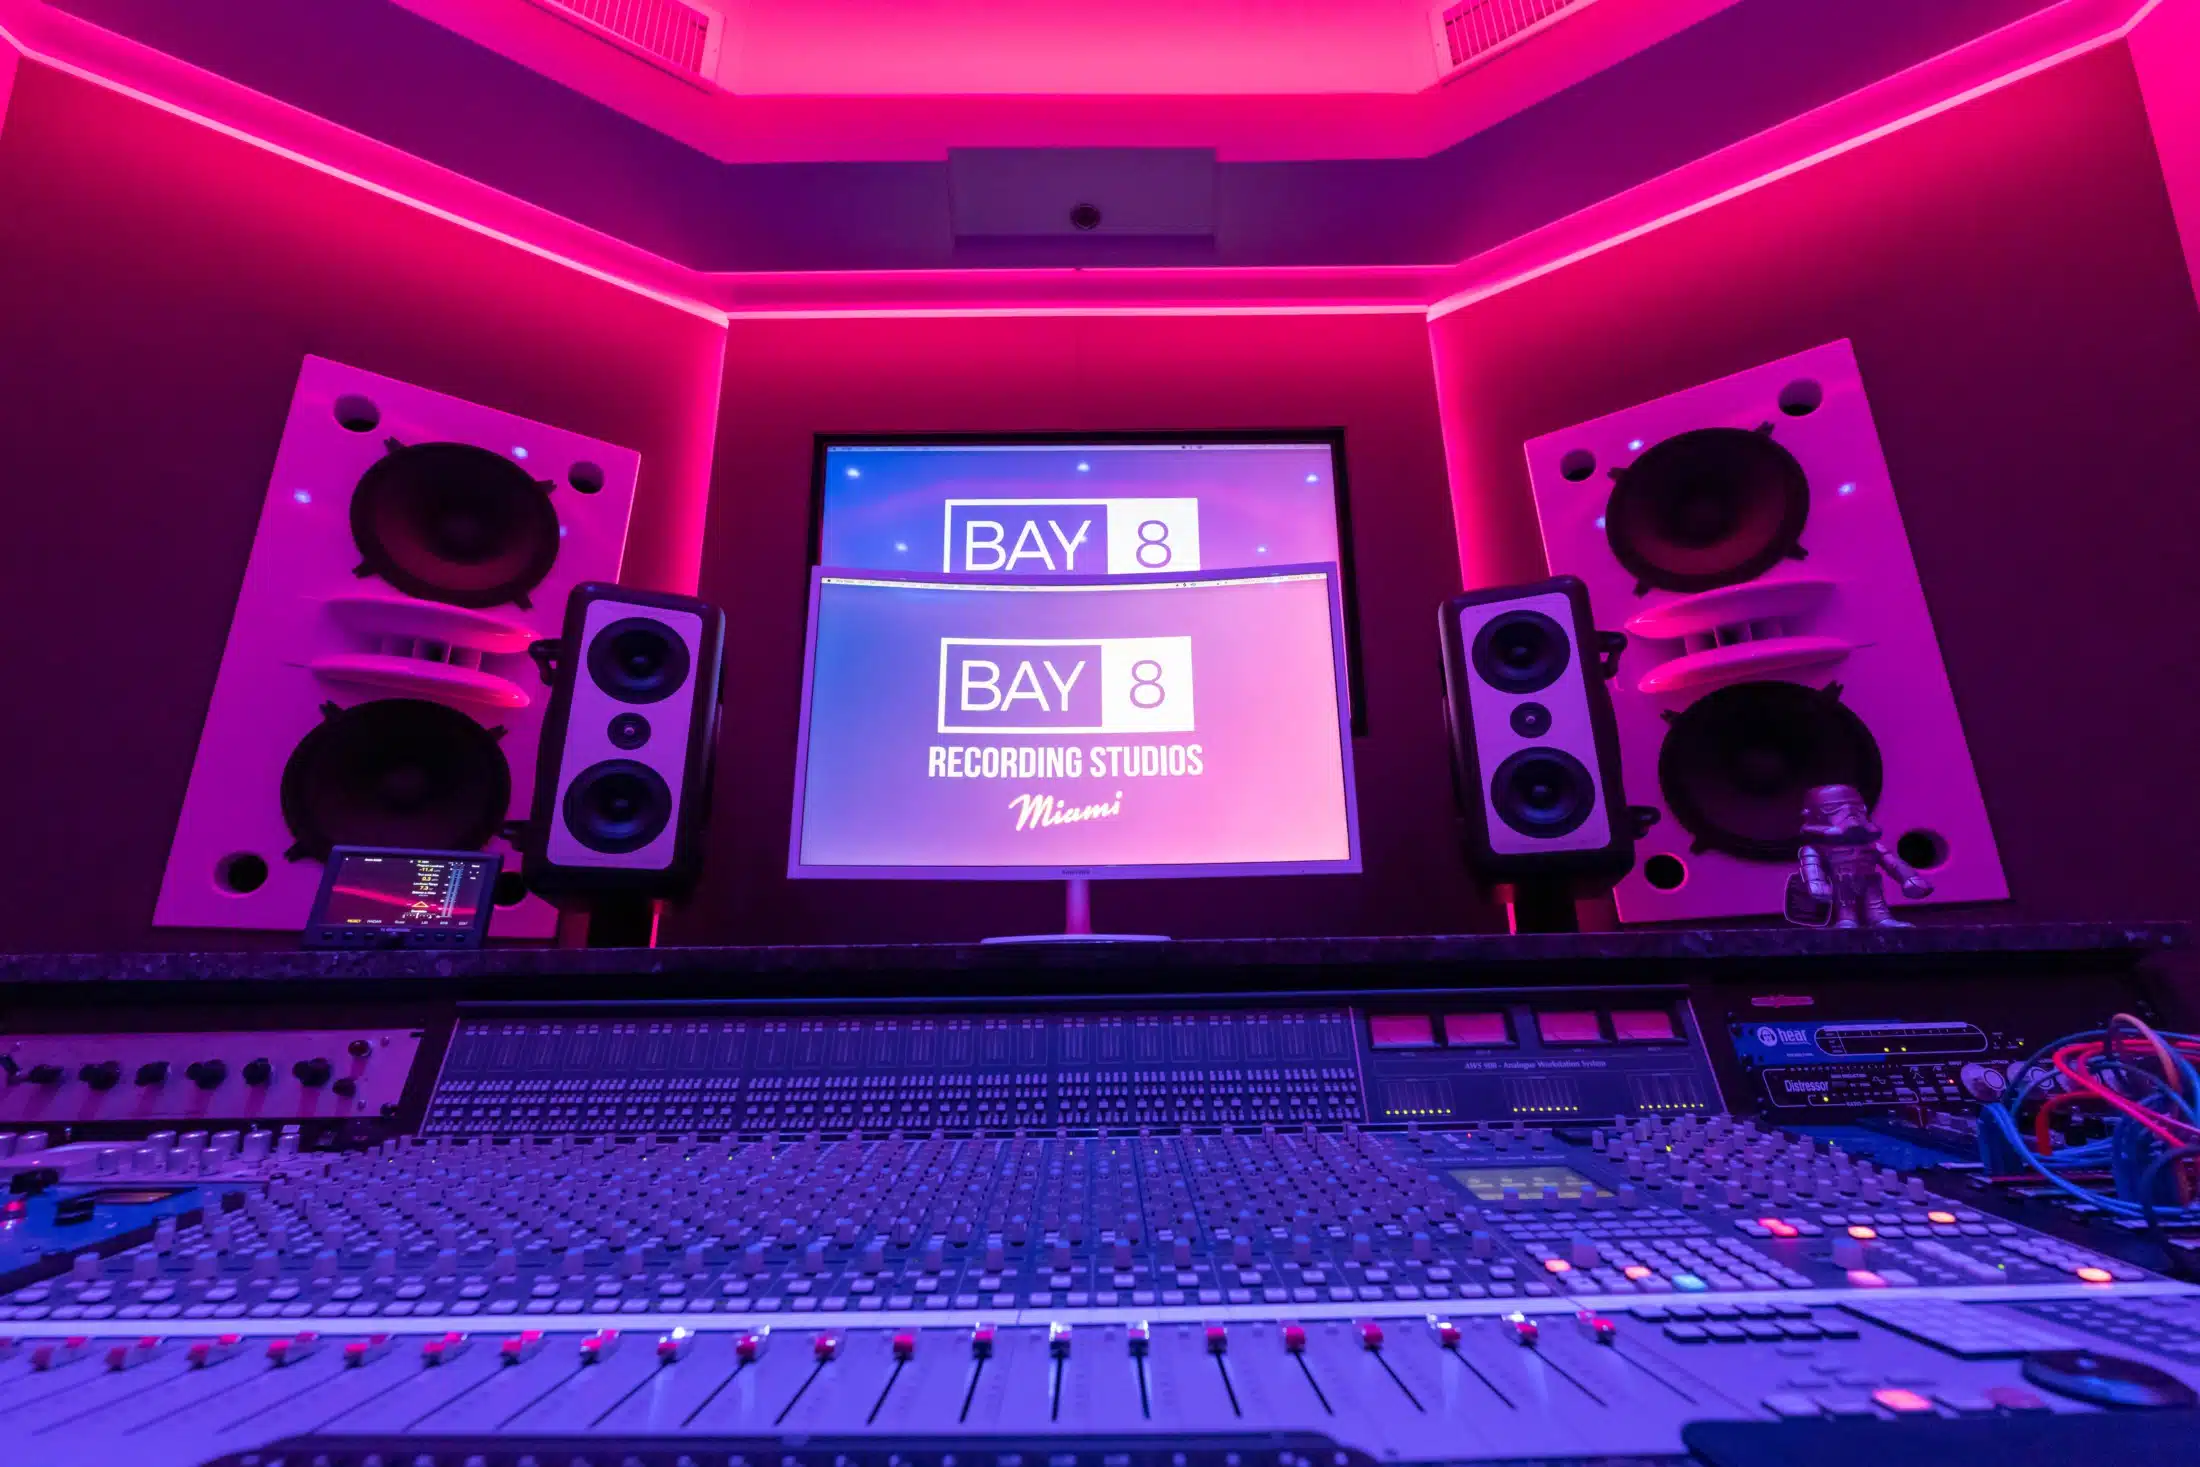
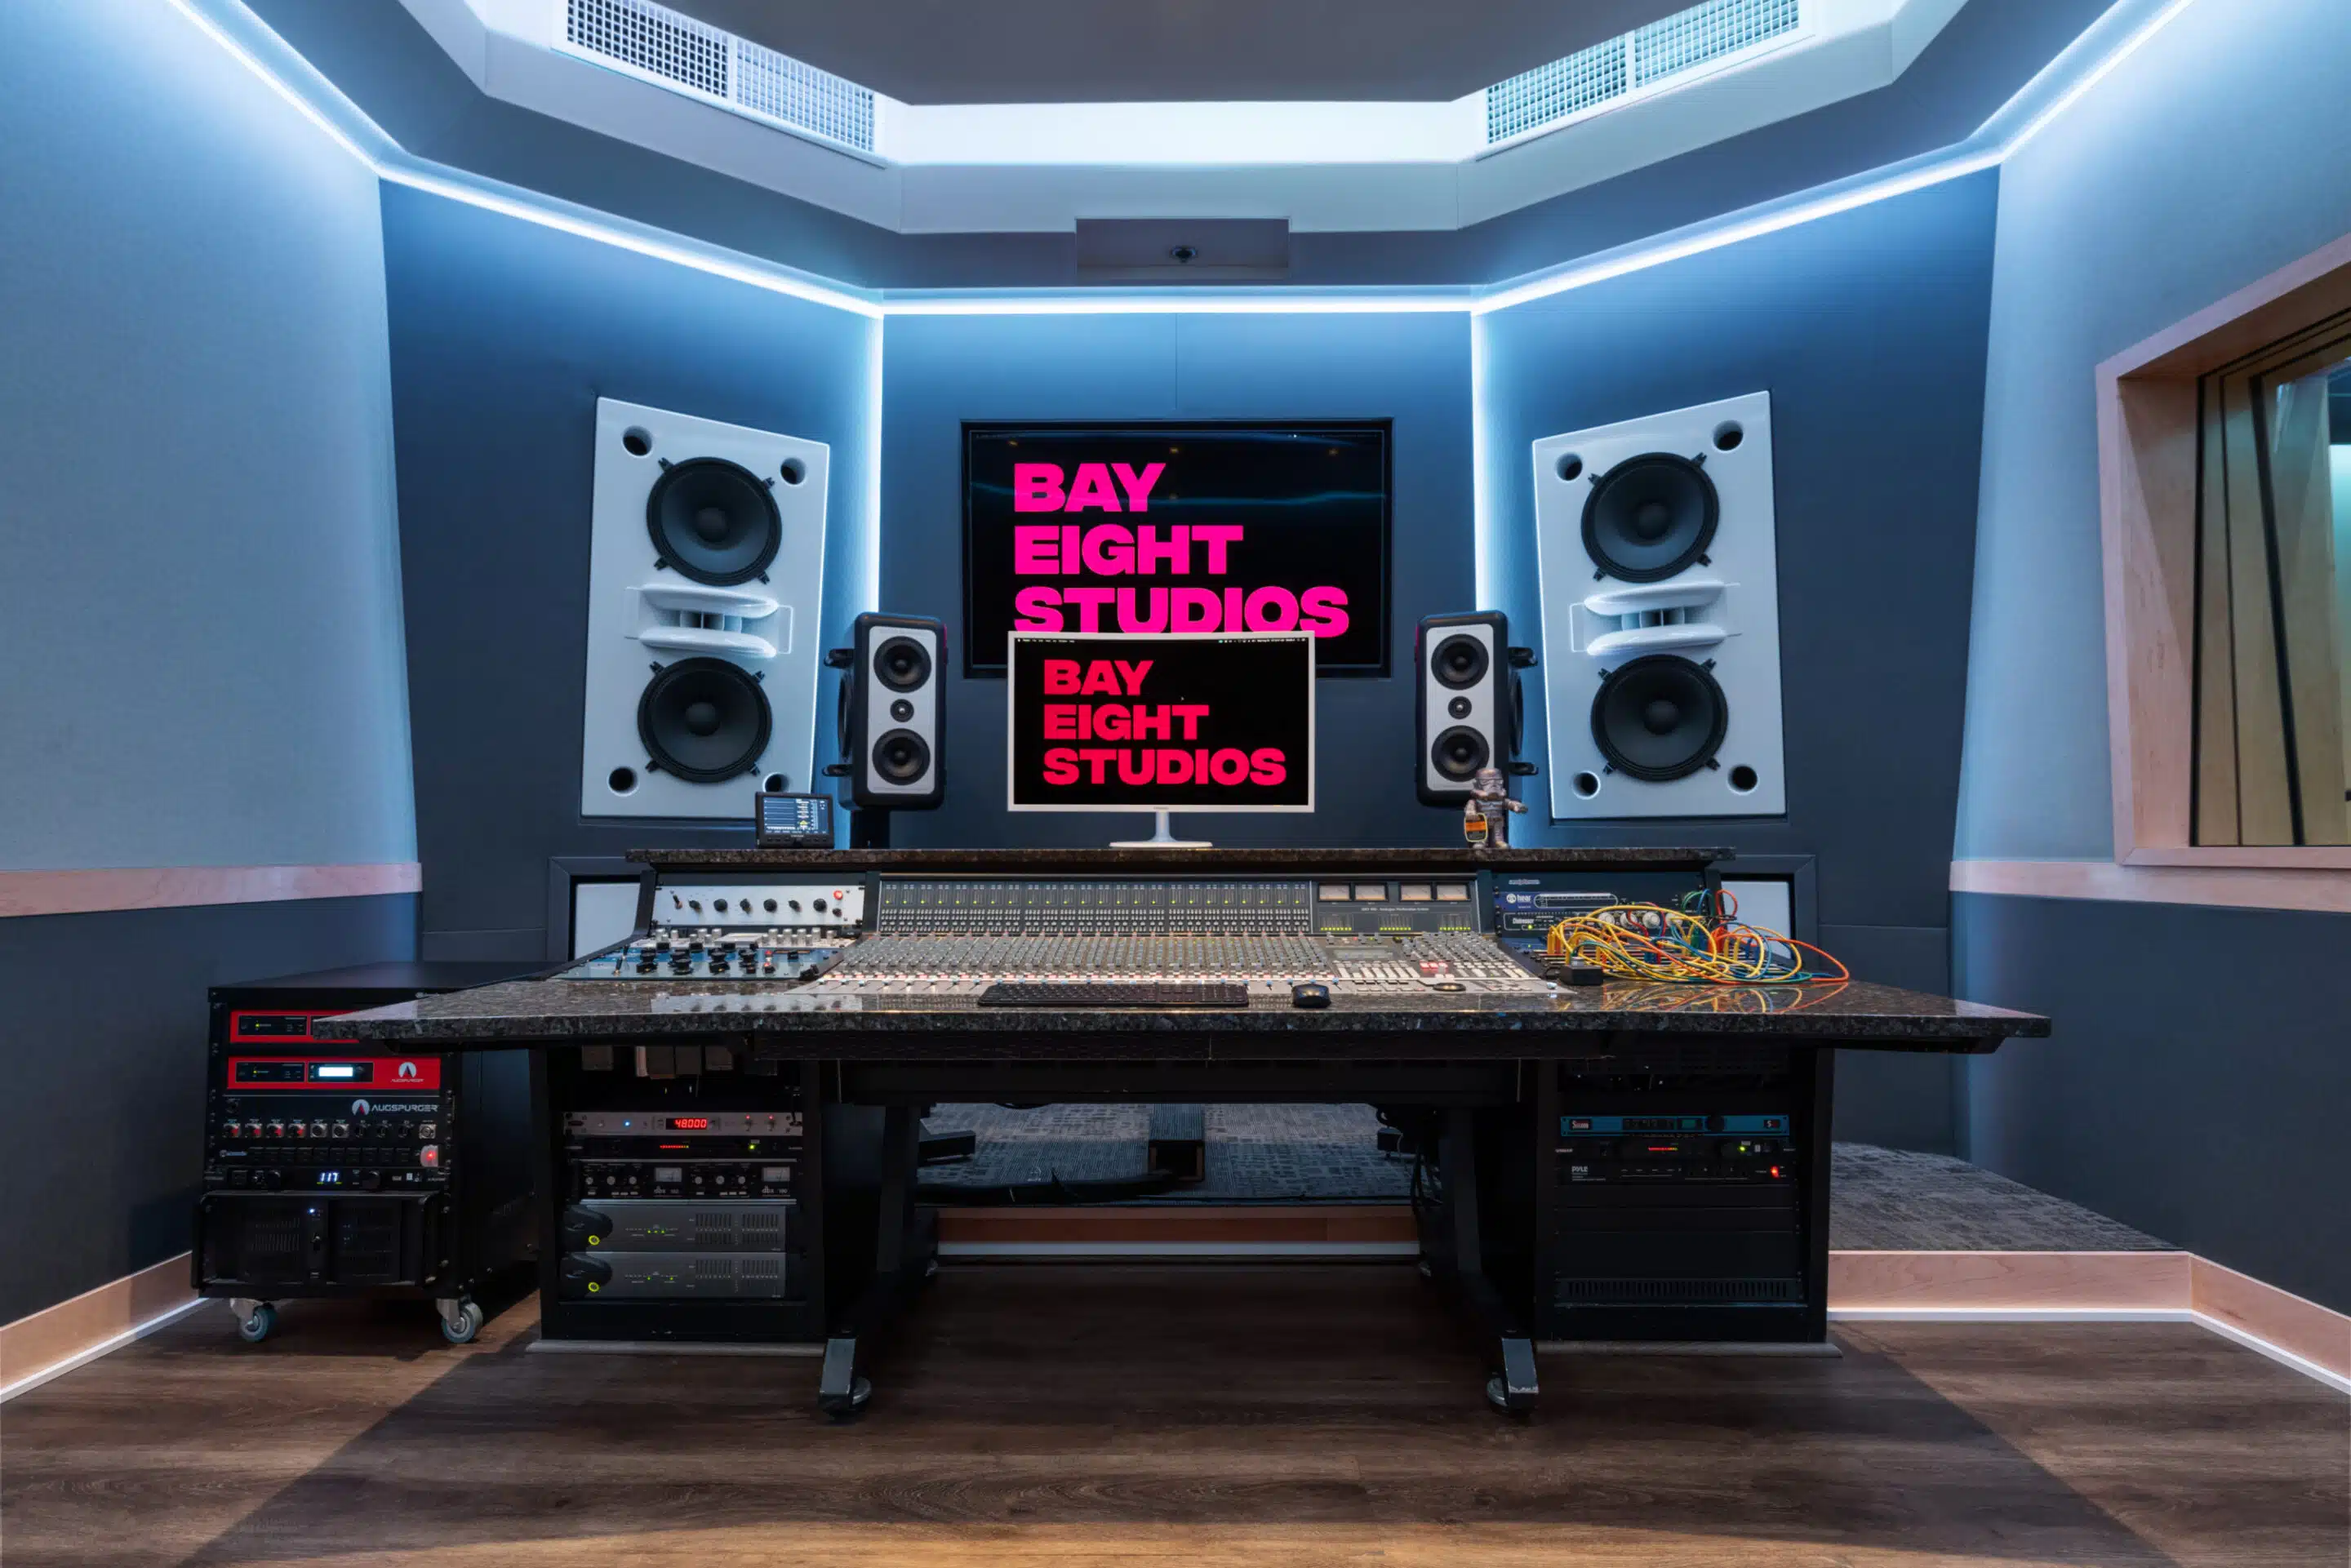
Before you start recording in the studio, be sure to review the available equipment list so that you know exactly what you’ll have access to. This will allow you to plan out your session and decide which instruments and audio effects you want to incorporate into your music. Familiarizing yourself with the equipment ahead of time can help save time when it comes time for the actual recording.
The Bottom Line
A recording is a significant investment and, if poorly planned, can be a waste of money and demotivate you as an artist. However, by following these recording studio preparation tips, you’ll be able to make the most of your recording studio rental. While we aim to help you make sure your first recording session goes as smoothly as possible, it may take a few sessions before you get truly comfortable in the recording studio environment.
Are there any steps you’ve done in the past to prepare you for the recording studio successfully? Let us know in the comments below!


