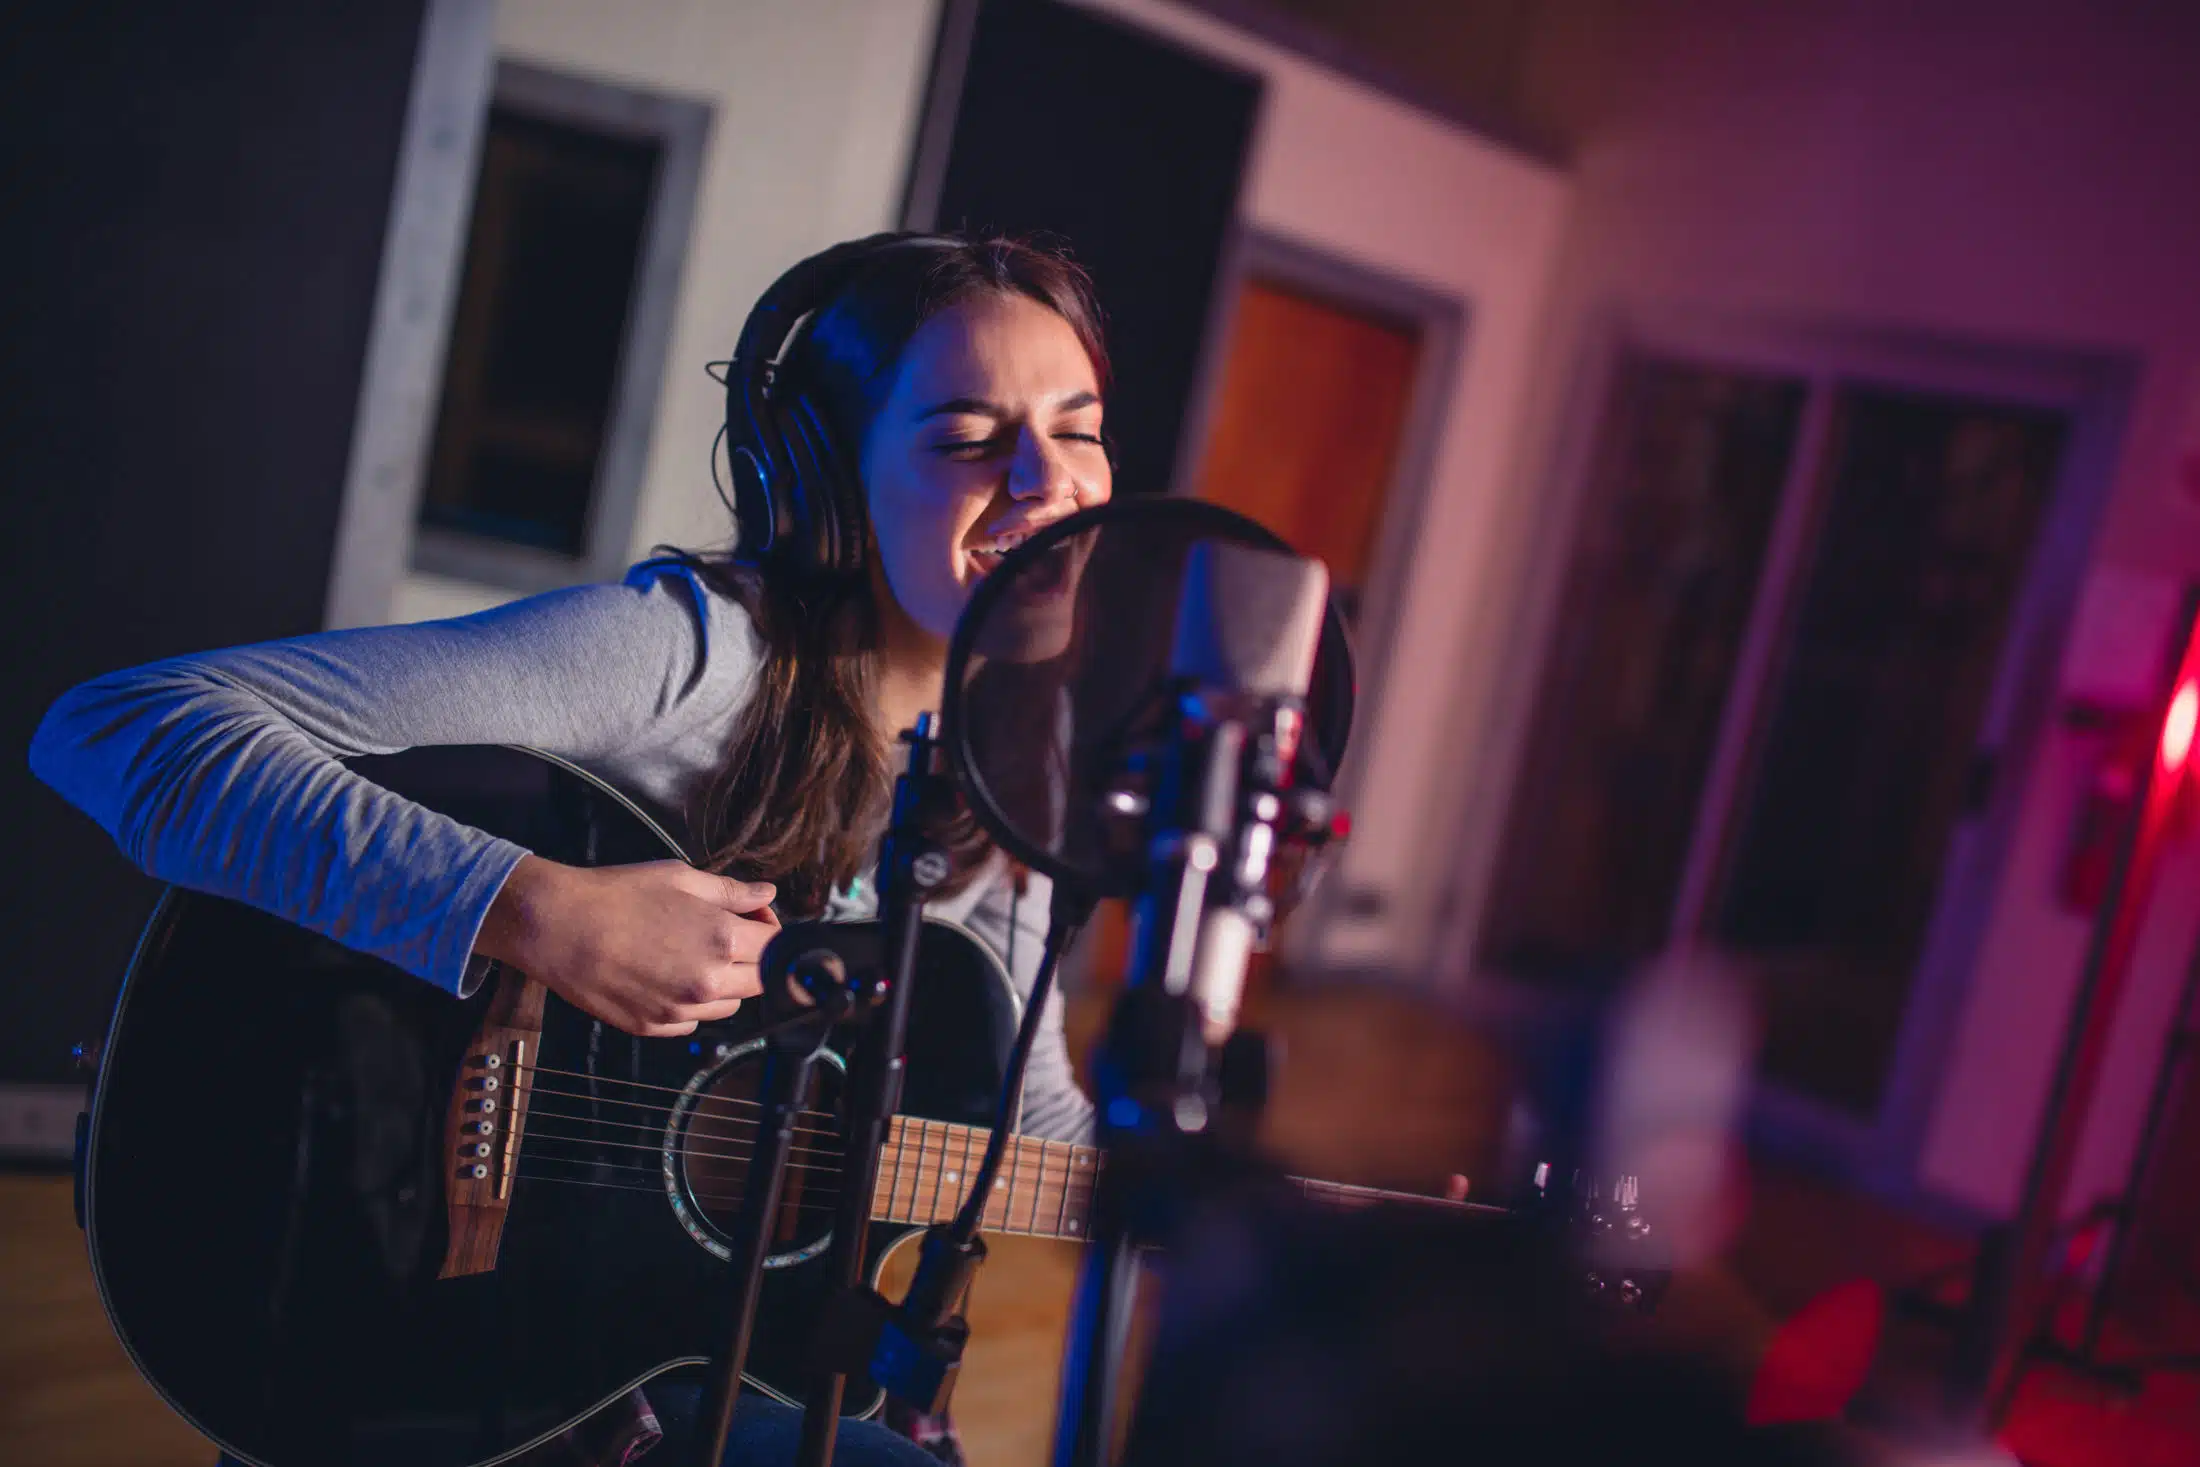
With the right knowledge and techniques, you can transform your home recording setup into a haven for capturing stunning vocal performances. Let’s dive in and explore the steps on how to record vocals at home like a pro!
Short Summary
- Select the right equipment and create an ideal recording environment for professional-sounding vocal recordings.
- Use proper mic placement, manage proximity effects, and set appropriate levels to optimize sound quality.
- Prepare with warmups, coaching & encouragement. Reduce noise & apply EQ/compression in post-production mixing.
Choosing the Right Equipment for Recording Vocals
Selecting the right equipment is crucial for capturing high-quality vocal recordings. The perfect combination of:
- Microphones
- Audio interfaces
- Headphones
- Pop filters
Can make all the difference in achieving professional results.
Let’s delve into each component and understand their role in the recording process.
USB vs. XLR Microphones
When it comes to choosing a microphone, the debate between USB and XLR microphones often arises. USB mics connect directly to your computer, making them convenient for home use, but they might lack in quality and flexibility compared to XLR mics. On the other hand, XLR microphones require an audio interface but offer higher quality and more options for external equipment.
Ultimately, the choice depends on your recording needs, budget, and preferences. Remember, finding the right microphone for your particular voice and recording environment is essential for a successful vocal recording.
Audio Interfaces
An audio interface is the heart of your home recording setup, serving as the primary input/output for your computer-based recording system. When choosing an audio interface, consider factors like:
- The number of inputs/outputs
- Connection types
- Preamp quality
- Digital conversion
- Compatibility with your computer and recording software.
Research and compare different audio interfaces to find the one that best suits your needs and budget.
Headphones
Closed-back headphones are recommended for vocal recording, as they prevent sound leakage and allow you to monitor your performance without causing mic bleed, which is especially important when using condenser microphones, also known as condenser mics, or dynamic microphones, sometimes referred to as dynamic mics.
However, switch to speakers when editing and mixing to get a more accurate representation of the sound and make informed decisions regarding pitch correction and other adjustments.
Pop Filters
Pop filters are essential for reducing plosives and enhancing vocal clarity during recording sessions. By placing a pop filter a few inches in front of your microphone, you can minimize the impact of unwanted “p” and “b” sounds that can disrupt the quality of your recording.
Don’t underestimate the power of this simple accessory in refining your vocal sound.
Creating an Ideal Recording Environment
A well-prepared recording environment can drastically improve the quality of your vocal recordings. By choosing a suitable room, treating the acoustics, and minimizing external noise, you can create an ideal space for recording vocals at home, capturing pristine vocal performances.
This can be achieved by selecting a room with minimal reverberation and adding acoustic treatment to reduce reflections.
Room Selection
Select a quiet room with minimal reflections and standing waves for optimal vocal recording quality, or consider using a temporary vocal booth. Avoid spaces with hard surfaces and large windows, such as kitchens and bathrooms.
Instead, opt for a bedroom or living room with plenty of soft furnishings like beds, couches, and rugs to absorb sound and reduce reverberance.
Acoustic Treatment
Implement acoustic treatment to improve the sound quality in your recording space. Use materials like blankets, duvets, or absorbent panels to cover walls, windows, and other reflective surfaces. This will minimize unwanted noise and reflections, ensuring a cleaner, more professional-sounding vocal recording.
Acoustic treatment is an essential part of any recording setup. Noise can be a nuisance. Fortunately, there are ways to reduce it. It helps to cut down on unwanted noise.
Minimizing External Noise
Take steps to minimize external noise in your recording environment. Unplug noisy appliances, silence devices, and address any other sources of unwanted sound. This will help you achieve a more natural sound in your vocal recordings, free from distractions and interruptions.
By taking these steps, you can ensure that your recordings are of the highest quality and that your recordings are of the highest quality.
Vocal Recording Techniques
Applying proper vocal recording techniques is crucial for capturing the best possible performance. By mastering mic placement and positioning, managing the proximity effect, and setting appropriate levels, you can ensure optimal sound quality and a smooth recording process.
These techniques are essential for achieving a good vocal recording during any vocal recording session, including when working with studio vocals, and can help you obtain the best possible results.
Mic Placement and Positioning
Experiment with mic placement and microphone position to achieve the desired vocal tone and minimize room noise. Position the microphone roughly 6 inches away from the vocalist’s mouth. Direct it towards the center of the mouth.
Adjust the angle and distance as needed to capture the best sound while reducing unwanted reflections and standing waves.
Proximity Effect
Understand and control the proximity effect to enhance or reduce bass and low-midrange frequencies in your recordings. The proximity effect occurs when a sound source is close to a directional microphone, causing an increase in bass or low-midrange frequencies.
Use this effect to your advantage by adjusting the distance between the singer and the microphone to achieve the desired warmth and intimacy in your recording.
Level Setting
Set recording levels to avoid clipping and distortion, aiming for an average volume of -20dBFS and peaks around -10dBFS. This will ensure a clean, distortion-free recording that can be easily processed and mixed in post-production.
By splitting the text into paragraphs, it is easier to read and understand the information. This is a very good article.
Preparing for the Recording Session
Proper preparation is key to a successful recording session. By conducting vocal warmups, understanding the song arrangement and key, and providing coaching and encouragement to the singer, you can set the stage for an enjoyable and productive recording experience.
Taking the time to properly prepare for a recording session will ensure that the session runs smoothly.
Vocal Warmups
Performing vocal warmups, such as scales, lip trills, and tongue twisters, is essential to protect the voice and ensure optimal performance during the recording session. Warmups help to relax and prepare the vocal chords, allowing the singer to deliver their best performance and avoid strain or injury.
By taking the time to warm up before a recording session, singers can ensure that their voices are heard.
Song Arrangement and Key
Familiarize yourself with the song’s arrangement and key to avoid wasting time during the recording session and ensure a smooth process. Knowing the structure, sections, and transitions of the song will help the singer feel more confident and prepared, allowing them to focus on delivering exceptional performance.
This will make the recording session more efficient and help the singer deliver a great performance.
Coaching and Encouragement
Provide coaching, support, and encouragement to the singer to help them deliver their best performance. Offer constructive feedback, create a relaxed atmosphere, and engage in vocal warmups together.
This will foster a positive and productive environment, allowing the singer to feel confident and supported throughout the recording session.
Post-Recording Processing and Mixing
Once the recording phase is complete, it’s time to process and mix the recorded vocals. By reducing noise, applying EQ and compression, and developing personal mixing presets, you can polish your vocal recordings and achieve professional-sounding results when you record vocals.
Mixing rock and pop vocals is an art form, and it takes practice to get the sound you want.
Noise Reduction and Cleanup
Use noise reduction techniques and cleanup tools to remove unwanted sounds and improve the overall quality of your vocal recordings. Employ noise reduction software, acoustic treatments, or other tools to eliminate background noise, room reflections, and other audio imperfections.
These tools can help you create a professional-sounding audio recording that will stand out from the crowd.
EQ and Compression
Apply EQ and compression to enhance the vocal tone, balance frequencies, and achieve a polished sound. Use EQ to boost or cut specific frequencies in the vocal recording, and compression to control the dynamic range and ensure a consistent, full sound.
Compression can be used to reduce the dynamic range of a vocal recording, making it sound more realistic.
Developing Personal Mixing Presets
Develop personal mixing presets based on consistent audio corrections and preferences to save time and achieve the desired results in your recordings. Document your go-to EQ settings, compression levels, and other processing techniques, and save them as presets for future use.
This will streamline your mixing process and ensure a consistent sound across all your vocal recordings.
Summary
Recording professional-sounding vocals at home is an achievable goal with the right knowledge, equipment, and techniques. By selecting the appropriate gear, creating an ideal recording environment, applying vocal recording techniques, and preparing for the recording session, you can capture stunning vocal performances in the comfort of your own space. With proper post-recording processing and mixing, your polished vocal tracks will be ready to shine in any production. Now it’s time to put these steps into action and make your home recordings sound like they were captured in a professional studio!
Frequently Asked Questions
How do I record audio for vocals?
To record audio for vocals, have the singer stand in a room with microphones positioned around them or sing in a studio booth with the microphone close to their mouth. Additionally, ensure a consistent recording environment and use good mic techniques to capture the best sound.
What do artists use to record vocals?
Recording vocals usually requires a condenser microphone, perfect for capturing high-quality sound and acoustic instruments.
How can I record like a studio at home?
To record like a studio at home, choose an appropriate space, acquire a PC and audio interface, install studio monitors and a DAW, and load the necessary microphones, MIDI keyboard, and room treatment materials.
This will give you the tools you need to create professional-sounding recordings. You’ll also need to learn the basics of recording, mixing, and mastering. With the right knowledge and equipment, you can create high-quality recordings in the comfort of your own home.
What type of microphone is best for home recording vocals?
For home recording vocals, a cardioid microphone is the best choice as it delivers superior sound quality and helps to reduce background noise.
It is designed to pick up sound from the front and reject sound from the sides and back, making it ideal for recording vocals in a home studio.
Cardioid mics are also more affordable than other mics.
How can I improve the acoustics of my recording space at home?
For better acoustics, use blankets, duvets, and absorbent panels to cover reflective surfaces. This will reduce unwanted noise and reflections, resulting in better recording quality.


