You’ve probably never enjoyed a song where you hated the vocals. Whether you’re recording at home or in a studio, good vocals are critical to making your music sound professional. With the proper devices and techniques, it is possible to record high-quality vocals at home. Here, we’ll share tips and tricks of recording vocals with superb quality from your home studio.
How To Record Vocals: Preparation & Set-Up Tips
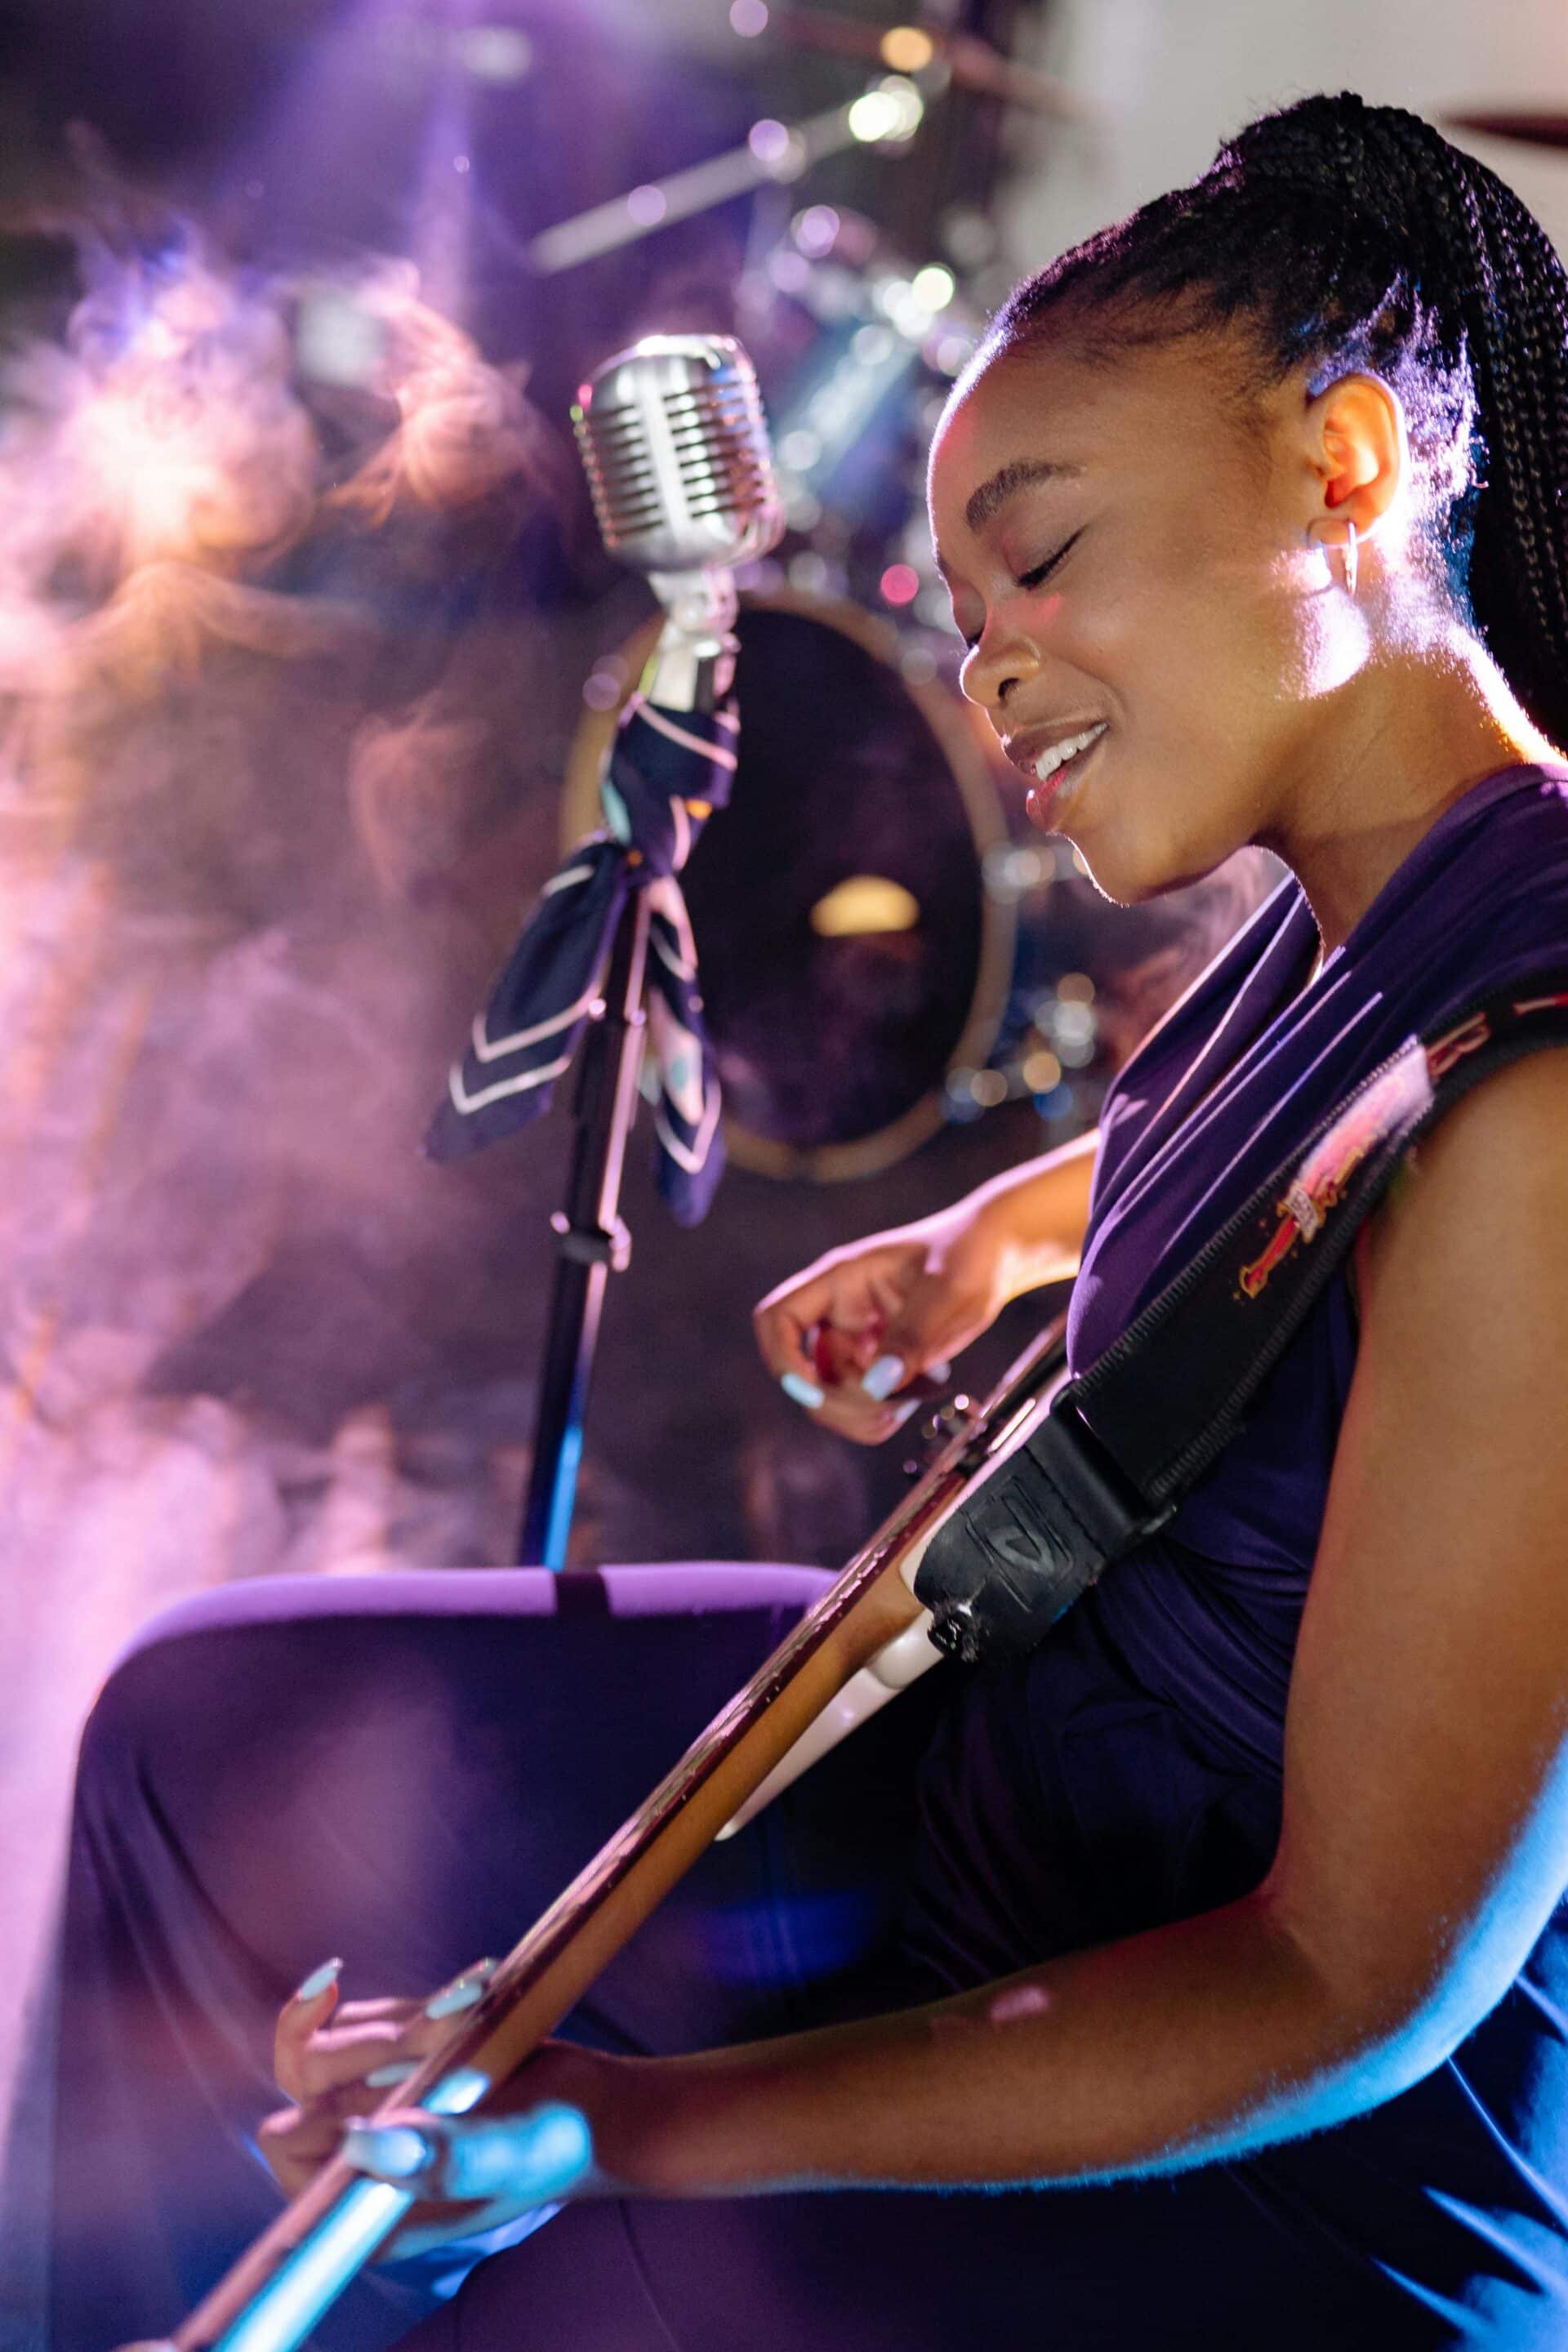
Vocal recording is part art and part science. Prep time is crucial to a smooth recording experience. Make yourself as comfortable as possible away from any distractions. Many people think that recording vocals alone in a booth is the only way to get excellent vocals. However, it all depends on how the recording is done too. For instance, a large room with wooden floors can be perfect for recording classical vocals; a ‘dead’ room with minimal reverberations can be great for pop and rock vocals, etc
Choose The Right Microphone

Deciding on a microphone to use might be difficult since there is quite a variety. Here is a brief look at some of the best mics for recording vocals.
-
- Condenser mics pic up more details compared to dynamic mics. The primary use for condenser microphones is recording vocals that have subtle sounds. A condenser mic can be a terrific choice for someone intending to record high-quality vocals. It is also great when used for acoustic sounds/instruments.
- Dynamic mics are less sensitive and are suitable for high sound pressure level (SPL) recording. In addition, dynamic mics have a coil design, which allows them to reject “off-axis” sounds (sounds that do not enter into the mic directly). This is why they are used most often at live performances. Dynamic mics are sensitive towards sounds that enter directly into the mic’s front (from the performer) while being less sensitive towards capturing crowd noises.
- Ribbon mics are costly, fragile, and less common than condenser and dynamic mics. Ribbon mics work similarly. However, they more accurately capture sound wave nuances.
Consider Your Microphone’s Placement

Choosing a mic is one thing, but knowing the directivity characteristics of the mic is also key to a quality recording experience. Directivity refers to the mic’s ability to capture sounds from different directions. Understanding each mic design’s can help avoid unwanted noise spillage when recording. Choosing the right mic is one thing, and positioning yourself well is another.
If using, for instance, a condenser mic, you should stay at least 10 to 30cm from the mic. It is crucial to ensure that the mic’s diaphragm aligns with the mouth when positioning. This approach should provide the utmost natural sound for recording vocals. An adjustable microphone stand will come in handy for this task. Lastly, using a pop filter will allow you to create a barrier between the mic and your mouth that will capture plosives while filtering surrounding noise.
Steps To Take After You Start Recording Your Vocals
Once your preparation is all set for recording vocals, it is time to start your recording. Remember that you can always come back to the beginning of the track and rerecord until satisfied with the results. Note that some samples may go through special effects or processing after the recording is complete.
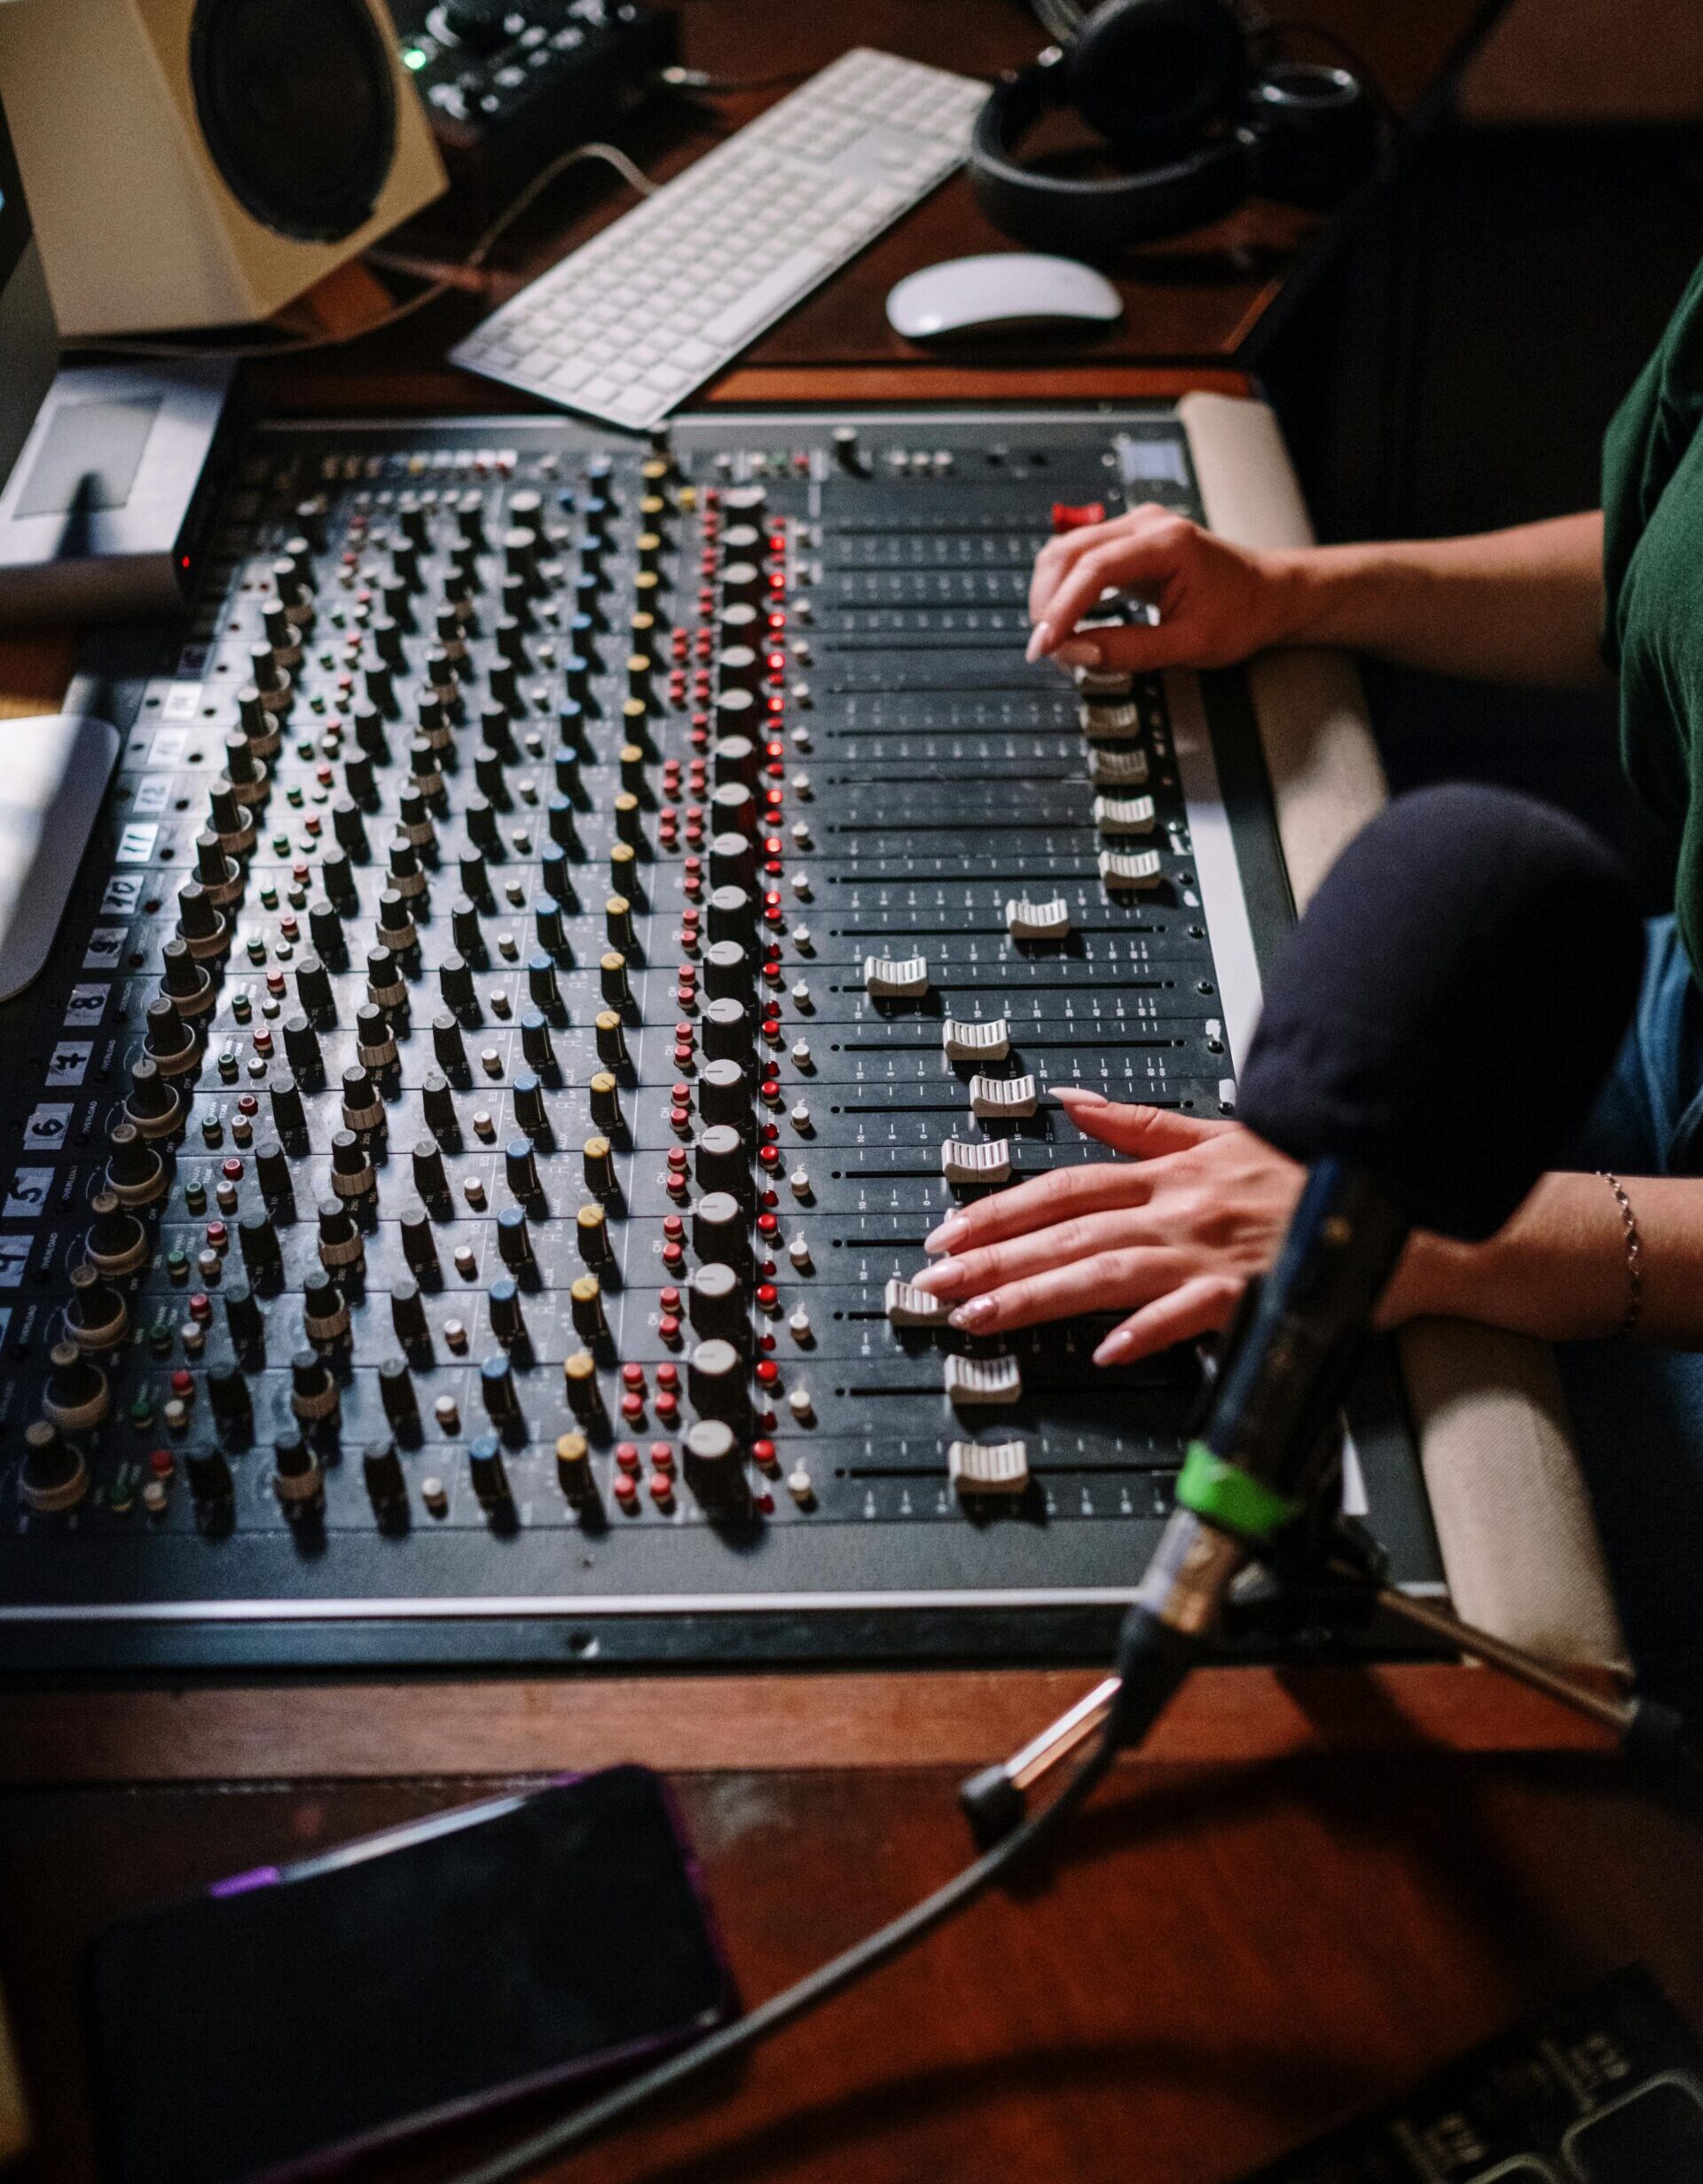
- If you have a USB mic or an interface with a built-in preamp, the level setting will simply be gained / trim, adjusted to your liking for the best overall sound quality. If you use a microphone that connects with XLR cables, then use the preamp on the mixer to adjust levels. Remember, a proper level takes time to achieve.
- You want the loudest peaks of your performance to hit between -3dB and 0dB on your recording level meter. Of course, you can get away with louder, but there is no reason for it because anything over 0dB will result in distortion.
- Have a pair of headphones on to hear the music and your voice. However, if you’re getting a good sound from your speakers, then monitor with those as well.
- Begin recording by pushing the record button. You may find it helpful to count in your head (even if not recorded) so that you can find your starting pitch easily when you’re singing.
- Once you stop recording, open your audio file up in an audio editor and begin cleaning it up with some noise reduction and compression, which most DAWs contain.
Granular Steps For Recording Vocals In Your DAW: Do’s and Don’ts

Your DAW can be a potent tool in guiding you to achieve the best possible recording for your vocals. Some essential steps involved include:
The Dos Of Vocal Recording
- Use plenty of headroom. Avoid using the reds unless you want that particular distorted tone for your track.
- Check out other artists who have a similar sound to what you’re looking for and see if there are any specific effects they use to achieve their sound. If so, take notes and try using these effects in your song.
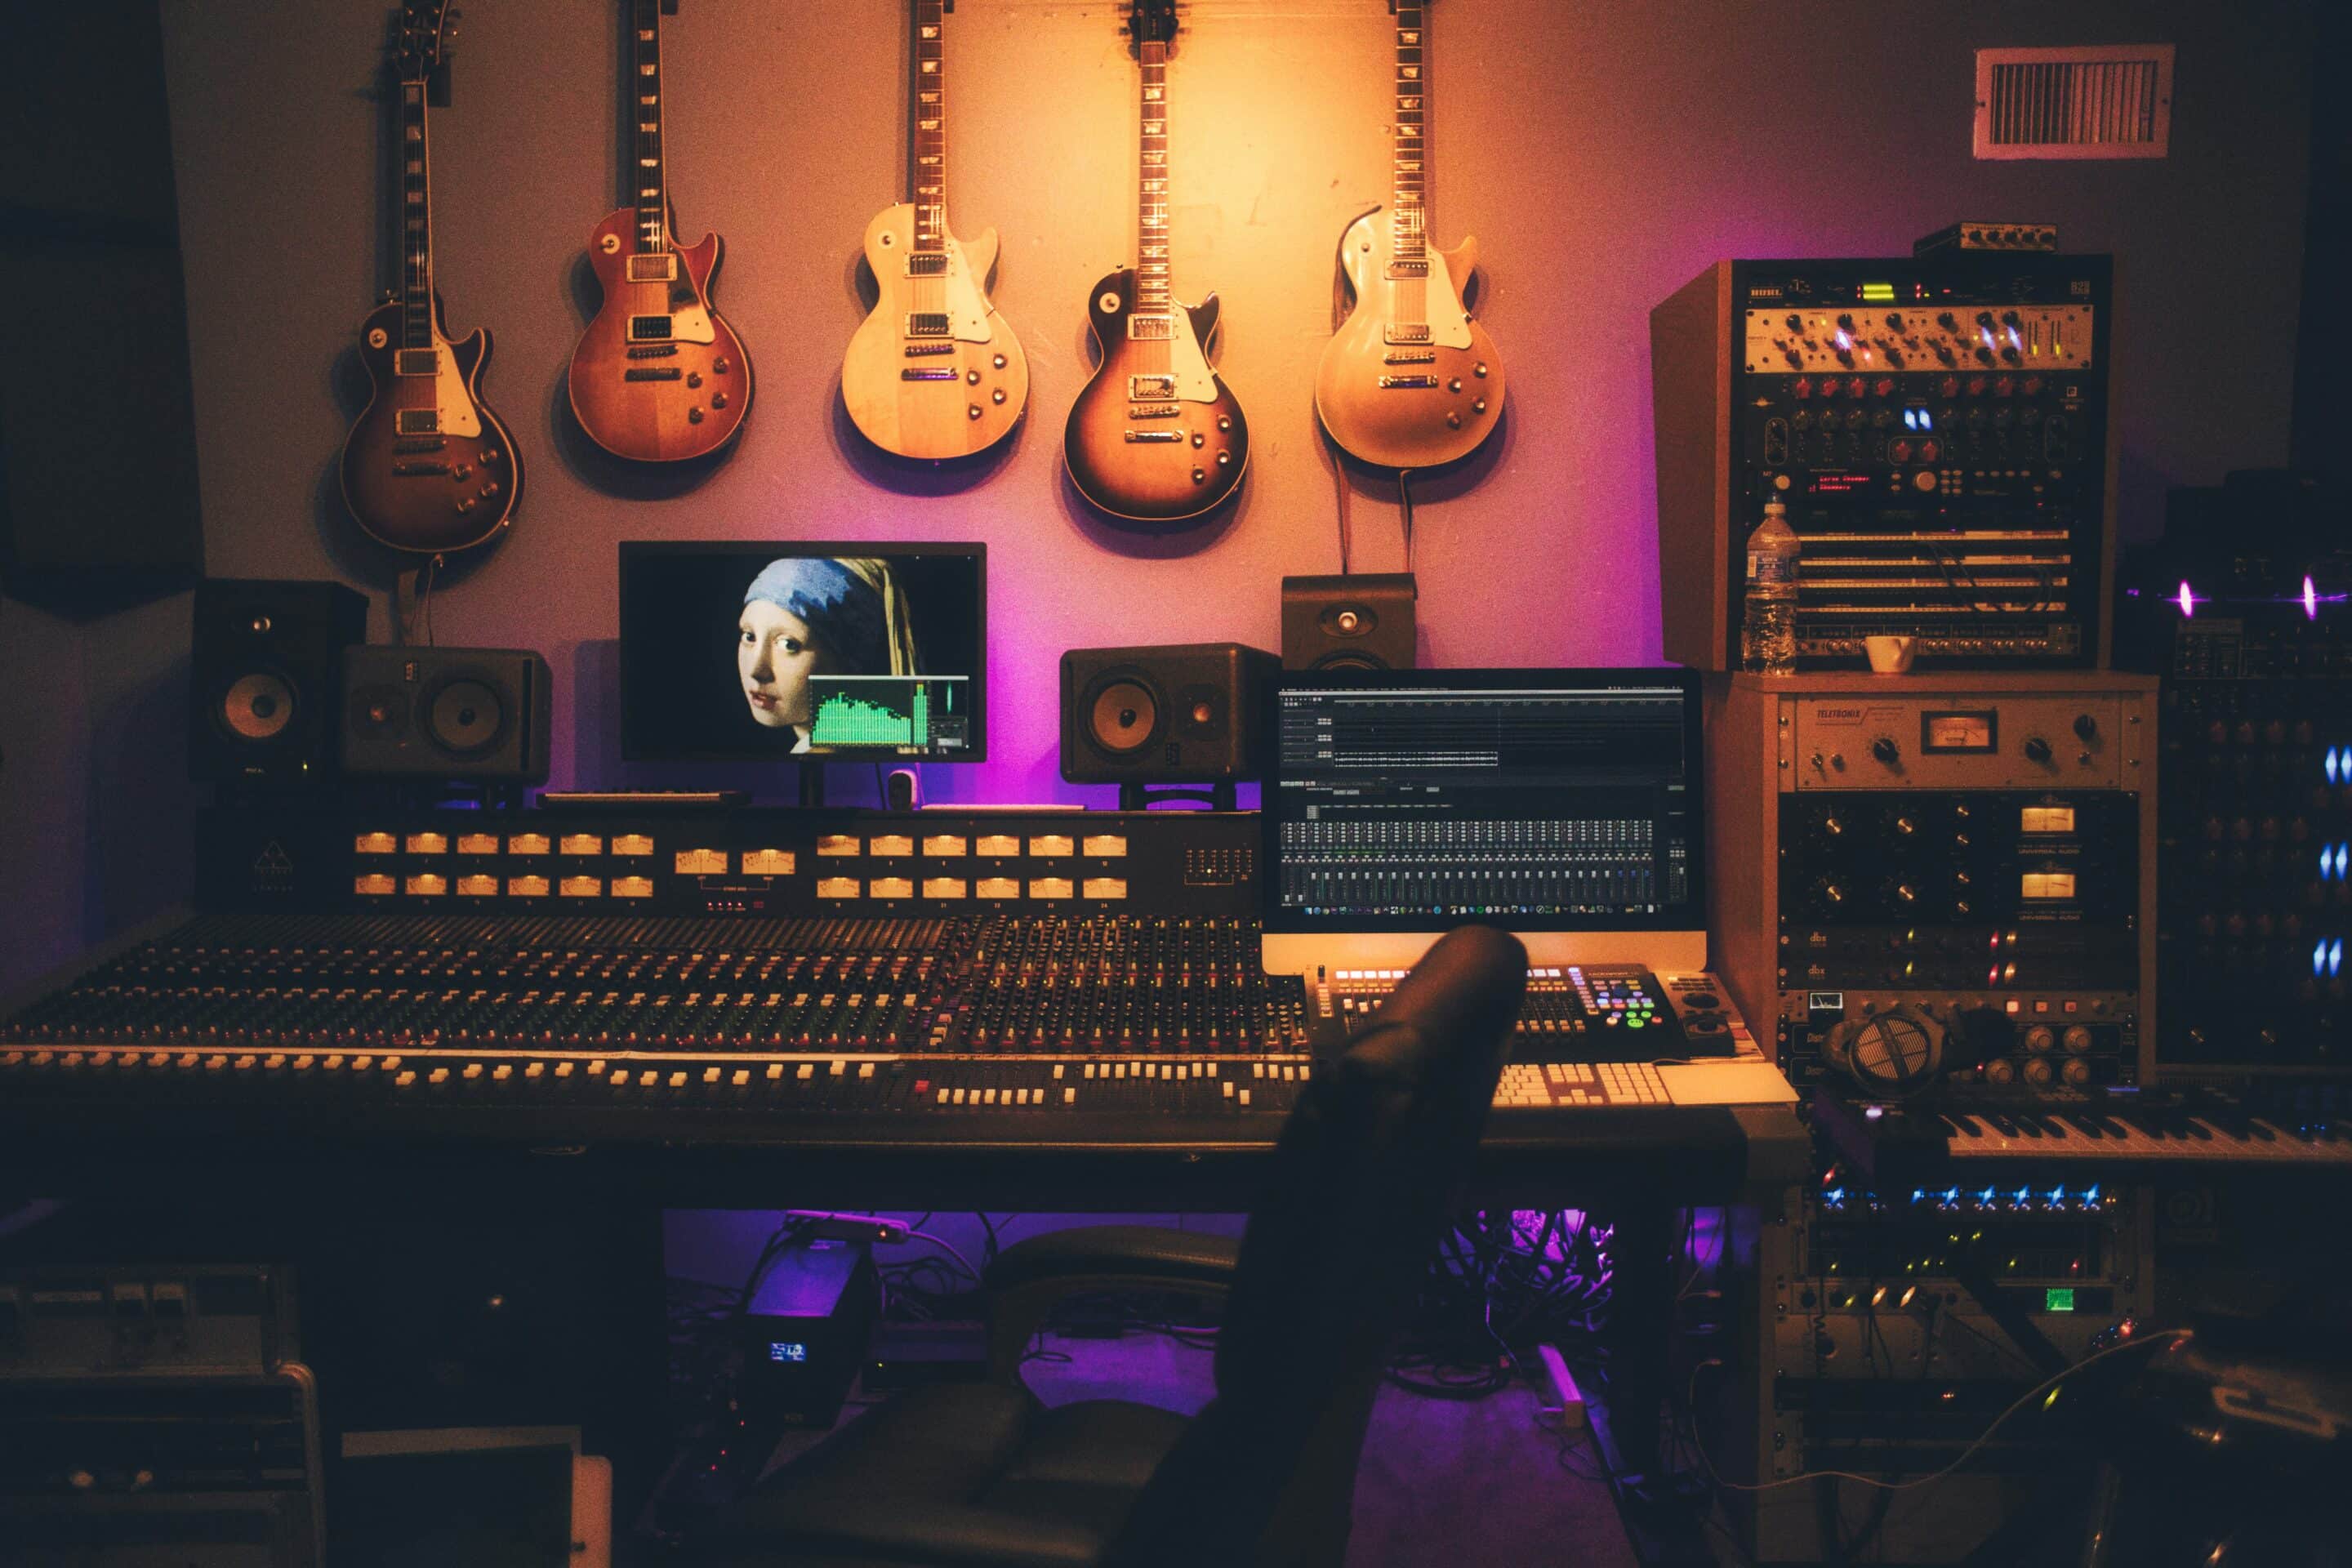
- Record in a room that’s dampened, with proper acoustic treatment to compensate for sound reflections.
- Before starting any serious vocal recording session, set up all the necessary outboard gear (compression, EQ, reverb) to get the best possible tone right off the bat.
Don’ts Of Vocal Recording
- Do not use any effects on your vocal input channel while recording. This way, you get to decide what kind of effects to use on each track after recording it without having to go back and rerecord parts.
- Make sure your input gain is turned down. You can always boost it later with an effect called “multiband compression.”
- Don’t use any compression on your vocal track while recording. Not using compression makes sure you get the most natural-sounding vocals as you would hear them in real life without losing dynamics.
- Do not use any EQ on your vocals. Again, this is because you’ll want to have the option to experiment with different EQ settings, so it’s best to leave this until after recording.
- Do not pan your vocal track too hard left or right while recording. You’ll be able to control the stereo width of each track post-recording.
Audio Interface Settings for Recording Vocals

To get a clear and professional sounding vocal, you need to adjust your audio interface.
- First, set your interface’s output resolution to 24-bit.
- Next, set the sample rate of your audio interface to 44.1 kHz
- Lastly, find input gain settings that work for your mic and voice.
Some audio interfaces use phantom power, so be sure to turn phantom power off when you’re not using a condenser mic.
That’s it! Now, proceed to record your vocals following these simple steps. First, ensure that you select the right mic. Position yourself well, record, replay, listen and redo until you perfect the art.
There are many ways to record vocals. First, you have to find the method that best suits your needs and style, whether you’re recording at home or going into a professional studio. The key to getting great vocal recordings lies not only in your voice but also in what goes on around it – from mic selection to room acoustics.
If you need some guidance on how this process should go, contact our studio today! We offer expert advice and hands-on assistance with all aspects of recording vocals, so call us now if you want guidance tailored specifically for your situation.