Comprehensive Guide: How To Build A Home Recording Studio
Building a home recording studio is not an easy DIY project, especially without professional help. DIY home recording studio requires plenty of creativity and self-drive. To achieve great high-quality recordings, one must consider having a proper setting and having the right equipment.
Whether you’re a home recording enthusiast or produce music, audio quality is paramount for recording vocals or music recording.
Here are some tips to follow to get quality sound from your DIY recording studio.
Why Build A Home Recording Studio?
Making music is a passion for many people. Before investing in setting up your studio are, some ideas to consider, don’t do it. Professional recording studios can be expensive and sometimes the second-best option (after doing nothing at all). What type of music you want to create will determine the equipment you need to build your home studio.
Home Studios also help you with music production workflow. For example, after recording the songs, you can analyze your recordings for better performance.
Building A Home Recording Studio – Space
There are two main things to consider when setting up your home studio. The first is the room you want to use as a recording environment, and the second is how it will affect other rooms in your house (the neighbors who will think you’re playing drums at 3:00 AM every night).
Steps On How To Build A Home Recording Studio
Before you start building your home recording studio, here are some pointers that you must keep in mind.
Build your home recording studio away from power lines or any existing noise sources. Noise can ruin the sound of your recordings. Hence location is key to finding a quiet environment where you can do your recordings at ease without being distracted by noises outside. The room should be well ventilated and have plenty of light.
When it comes to the walls and flooring, opt for hard surfaces rather than carpet floors or rugs. This type of flooring will help your voice and instrument recordings come out clear and crisp.
1. Soundproofing the room
Soundproofing is crucial when one wants to produce clear audio. A larger room will have a more significant surface area for sound to travel, whereas a space with bare walls and a high ceiling creates an echo, which the microphone can pick up when recording. Therefore, giving a room an acoustic treatment helps in eliminating reverberating sounds. To achieve the desired treatment, you should install acoustic foam sound absorbers, which capture any echoes. Additionally, you are supposed to install special absorbers known as bass traps placed in the corners. Since investing in the best soundproof material can be expensive, one can go for low-grade foam or use heavy fabric like blankets to soundproof a DIY recording studio.
2. Choosing a room
Most homes are not designed with a home recording studio in mind. They do not have high ceilings or required surfaces for a professional recording studio design. When setting up a DIY home recording studio, look for a room in your home that can be used as a studio. A room with a solid wooden door, very few windows, and a carpeted floor is the best when setting studio. You will want a room with minimum or n echo too.
3. The recording booth
A walk-in closet is a perfect choice for a recording booth. The clothes act as sound absorbers, and the door keeps away any noise from entering.
4. Desk and chair
Since you will be spending most of the time in the studio, pick a desk and a great-quality chair.
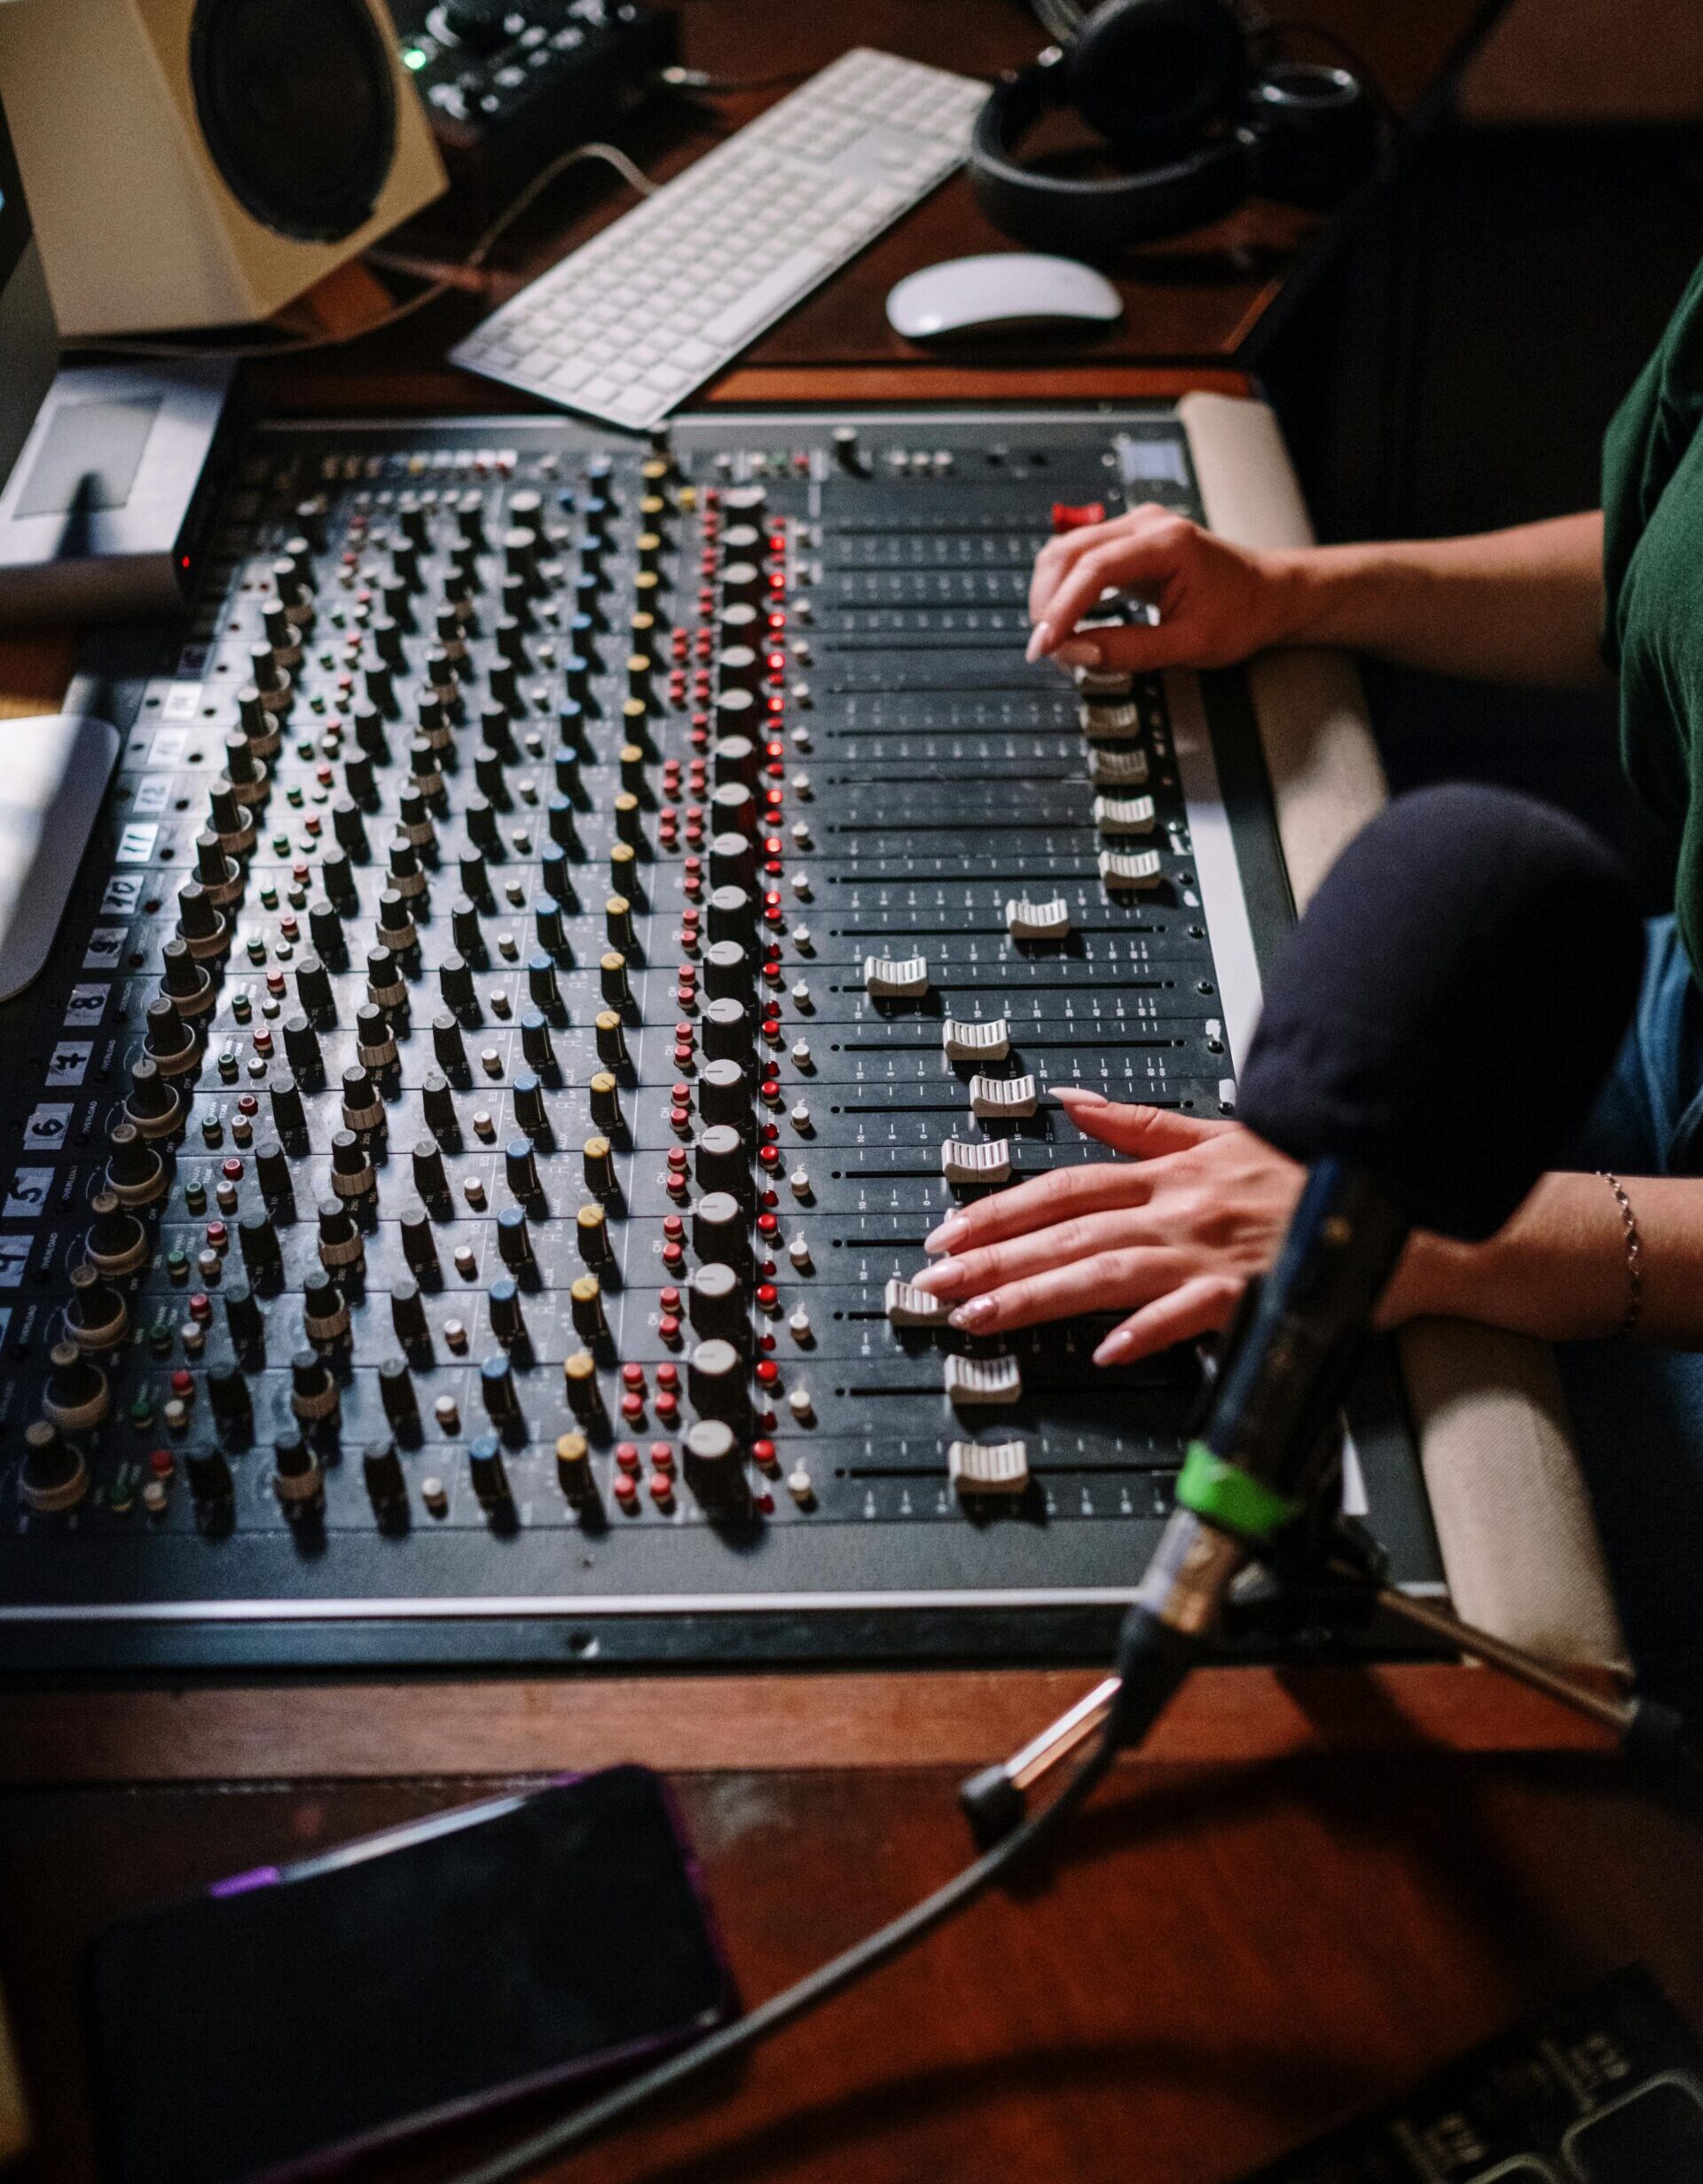
Tools Needed For Your Home Recording Studio
Now that you have chosen the best location for your DIY home recording studio, you need to equip the space with proper recording equipment. Here is the equipment you will need for your studio.
- A computer will be your hub for the recording process. Do not substitute your computer with a tablet or smartphone because the recording process is a lot, and it needs full functionality.
- A Digital Audio Workstation (DAW). This software powers your computer-based recording. Choose popular brands such as Pro Tools, Logic Pro X, Cubase, Ableton Live, Digital Performer, and Reason. Free programs like GarageBand (Mac only), Sonar Cakewalk (Windows only), and Audacity.
- A digital audio interface turns analog signals into digital files, making your computer’s work easier to work with.
- Microphones and accessories. You will need good microphones for your DIY recording studio in addition to accessories such as microphone stands, balanced XLR cables, which conect to the microphone, and pop filters.
- Preamps. A preamplifier adds warmth and character to the recording.
- Studio monitors and headphones. You will need fabulous quality headphones and monitors to assess sound quality properly.
Tips For Maximizing Your Digital Audio Workstation (DAW)
- Invest in good-quality recording cables. Cheaply priced cables can alter your sound quality, so make sure you invest in cables that won’t corrode or change the audio path of your signals.
- Digitize all of your old records! If you have vinyl records manufactured before 1982, they will be tough to digitize because the sound quality was not as good during those early years.
- Spend a little extra money on your audio interface! One of the most crucial pieces of equipment you need for recording is an audio interface, which can be very pricey if you go with higher-end brands. Instead, invest in a mid-range interface that will last you for many years.
- Make sure you have the correct type of cable for your audio interface! Be aware that there are TRS and TS cables, each with a different purpose. To avoid having crackling or hissing in your tracks, make sure you’re using the correct kind of cable with your gear.
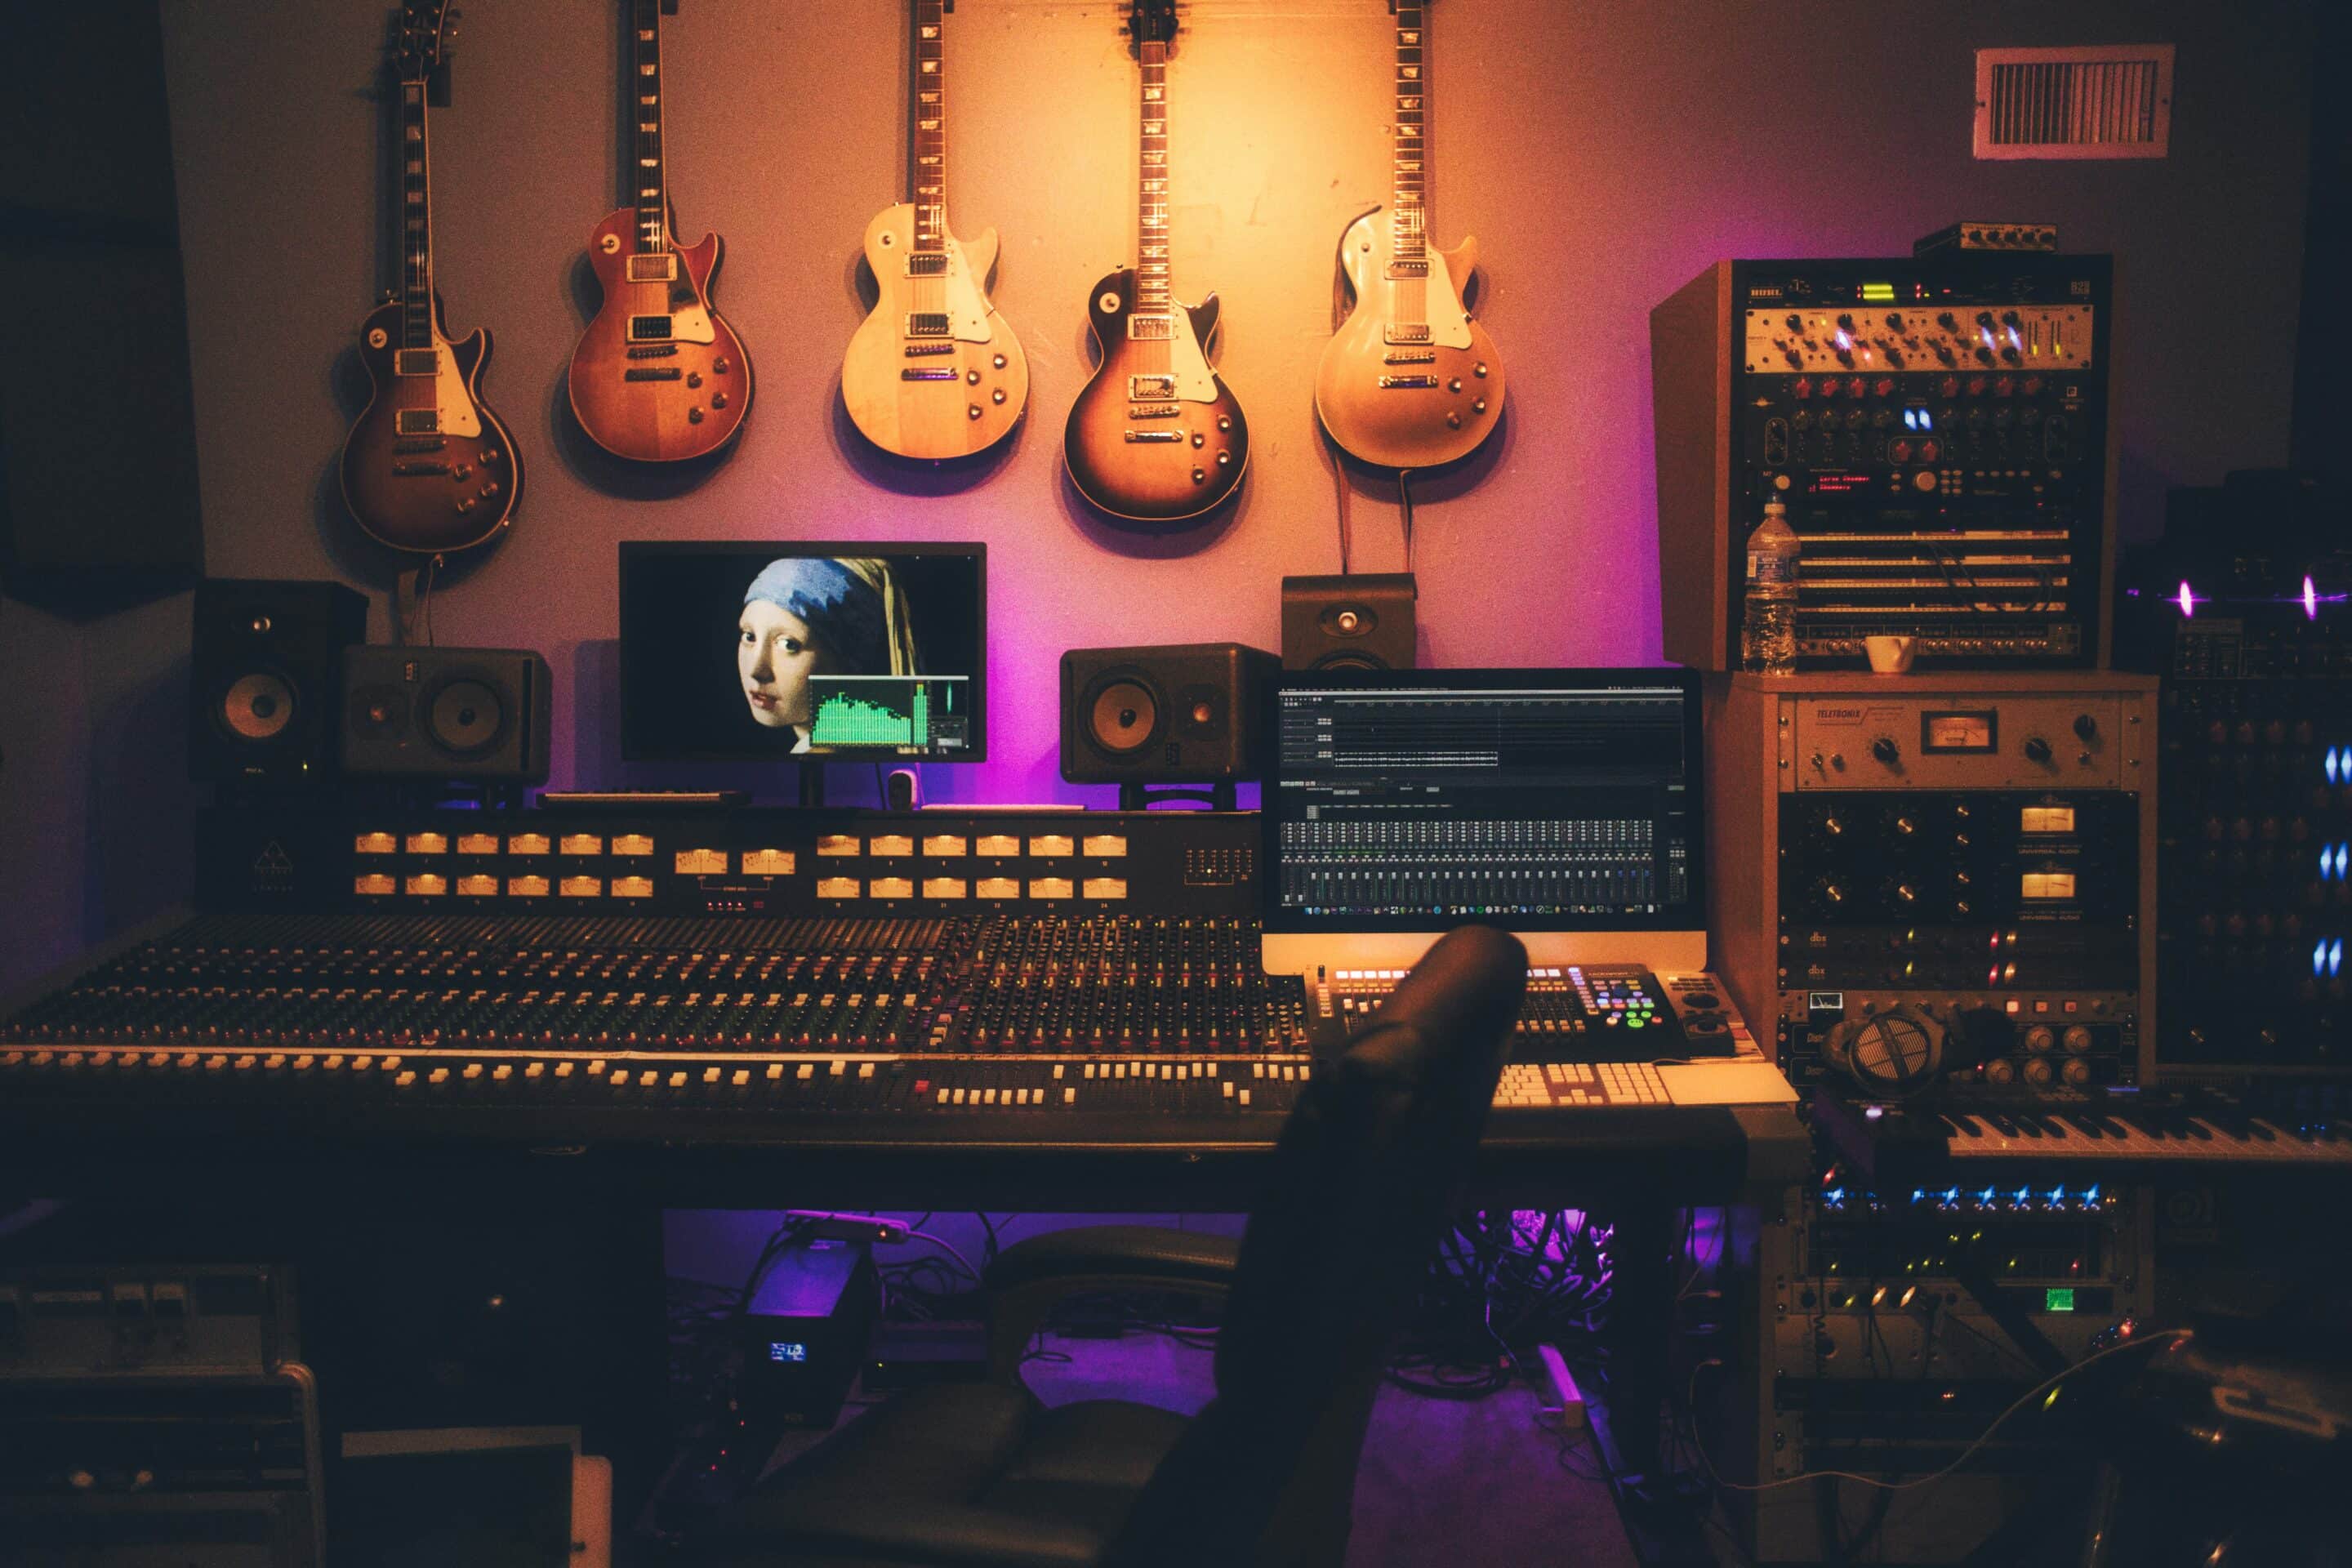
Tips For Pick Out Studio Monitors
Studio monitors are a vital part of your home recording studio setup. You can’t expect to make great-sounding music if you’re listening to it on the same speakers that you use for casual listening. So you should be using professional studio monitor headphones or monitors.
- Look for the following qualities. when picking out your studio monitors:
- The sound quality of studio monitors has to be excellent.
- It should be able to handle a lot of power without distorting.
- The design and build should be sturdy and durable.
- You need to hear details in your music that you never heard before, so it must allow for accurate reproduction.
- It should be easy to connect to your computer or audio interface.
- Finally, the price shouldn’t break the bank.
The Yamaha HS8 Studio Monitor is what you want. These are pretty much the standard in recording studios, and for a good reason. Its oversized magnets and eight-inch woofer handle a lot of power and has long durability. It’s also straightforward to connect to your computer/audio interface or mixing console.
The sound quality is stunning – precise, accurate, detailed, no coloration. If you had to use another set of speakers for some reason, it would be almost impossible not to hear a difference in the studio monitors.
Tips For Acoustic Treatment & Soundproofing Your Home Studio
Your room is probably far from an ideal place to record. However, depending on the shape, size, and dimensions of your space, there are things you can do to treat it acoustically.
Ensure that you’ve taken care of problems with echoes and standing waves. Fix rattling windows by putting some soft material in the frame or hanging a blanket over it. Play with your speaker position to determine where you get the best sound inside your room and leave them there unless the acoustics of your room change drastically due to changes in your furniture arrangement.
If you have bare walls, try hanging drapes from those corners using “U” brackets. If you have the option of placing objects on your walls for proper sound treatment, try using tapestries and carpets in addition to bookshelves and storage units full of thick books (no vinyl records, even if they look cool).
Finally, you’ll need bass traps. Bass waves end up bouncing around a room and trapped in a corner. If you start getting a lot of muddiness, your first step should be to place some bass traps in that corner. You can make them yourself or buy them from a company like Auralex for around $100 each if you’re only dealing with one problem area.
Tips On Picking Your Audio Interface
In this section, we’re going to talk about audio interfaces. Audio interfaces are a requisite for recording your music digitally because 99% of them have inputs that accept XLR or 1/4″ jack inputs, while the other 1% need a microphone preamp. There’s not much else to it in choosing an audio interface; just make sure it has the number of inputs you require. As for brands, that’s entirely up to you; there are outstanding ones and awful ones at every price point.
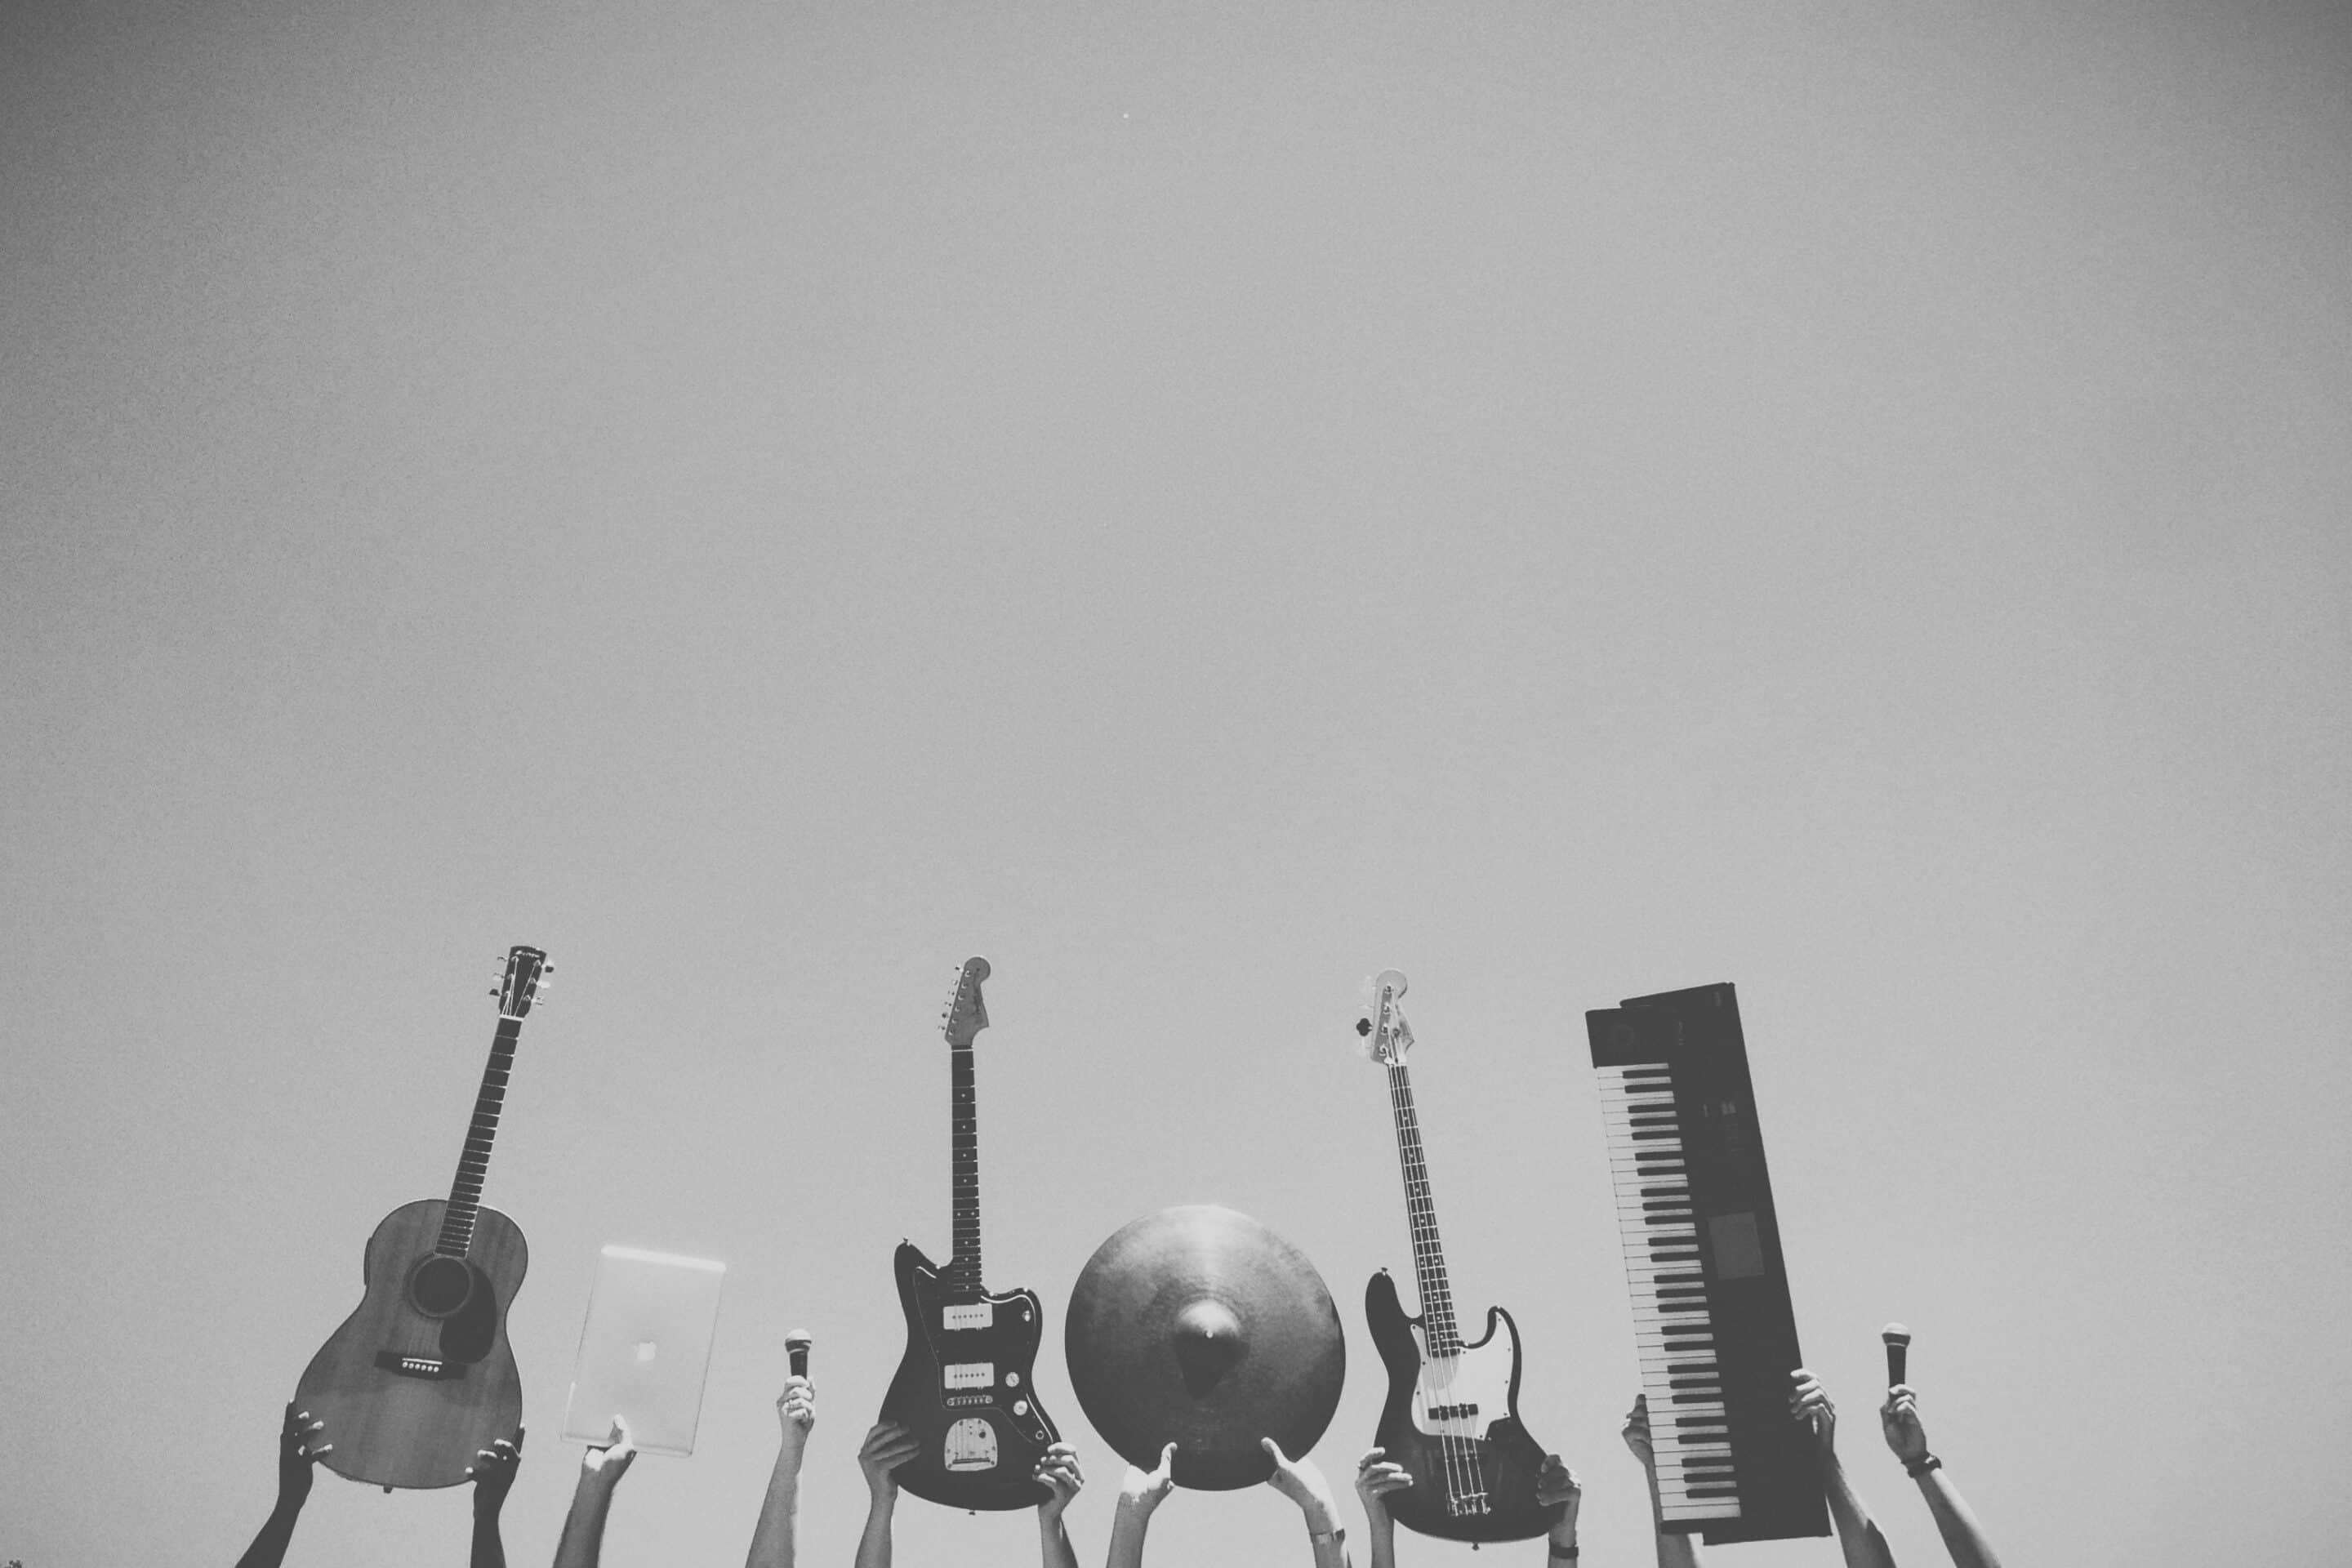
List Of Items Needed For Your Home Studio
If you’re building a home studio for music production, you’ll want to invest in the following items and accessories.
- Pop Filter- essential for microphone recording
- Microphone Stand- required to free up desk space
- Home Studio Headphones- essential for monitoring your mixes during the mixing process
- Cables, Cabling & Connectors – required for proper connections between equipment and recording devices.
- Condenser Mics – Better suited for vocals and higher frequency instruments
- Dynamic Mics – Better suited for low-frequency instruments
- MIDI Keyboards – Essential for creating MIDI sequences, allowing you to play virtual instruments in your mix
- Audio/MIDI Interface- required to connect your MIDI keyboard to your computer
- MIDI Controller- essential to the modern musician with a computer-based home studio
- Computer with DAW installation- Your choice of PC or Mac
- Digital Converters – required if you want professional-quality recordings
Building a DIY home recording studio is an investment. So before starting the project, always plan and save.
A Final Thought On Building Your Home Studio
Congratulations on taking the first step to building your home recording studio! There are so many ways you can customize this space and make it uniquely yours. We hope these tips will help set you in the right direction, but if not, please contact us here at Bay Eight Recording Studios– we’re always happy to answer any questions or provide guidance as needed. Whether for a hobby or professional use, starting now is the best way to ensure that your new place has everything necessary for success. And don’t forget about booking an appointment with one of our talented engineers today – there’s no better time than NOW!