Key Takeaways
- A studio for music recording gives you better sound, pro gear, and expert help that you just can’t get at home.
- Picking the right spot comes down to budget, gear, people included, and whether the vibe actually fits your project.
- Preparation is what saves money in the booth. Show up rehearsed, organized, and ready so the session runs smoothly.
Choosing the right studio isn’t just about finding a room with a microphone.
The space, the equipment, the engineer, and even the vibe of the place all play a part in how your music sounds by the end of a session.
You can record something half-decent at home, sure, but there’s a reason professional studios exist.
In fact, acoustics expert Anthony Grimani notes that more than 50% of your perceived sound quality comes from the room’s acoustical character, something a bedroom setup can rarely replicate.
The jump in quality happens when you walk into a studio designed for sound.
Acoustic treatment, top-tier mics, and people who actually know how to make those knobs do something useful… it all saves time and results in tracks that sound consistent and polished.
If you’re aiming to put tracks on streaming platforms, or even pitch them to labels or publishers, then using the right recording studio is the difference between sounding like a hobbyist or an artist who’s serious.
Expectations today are higher than ever. One industry report noted that fans now look for professional quality and authenticity even in a 30-second TikTok video.
In other words, if your song sounds noticeably amateur, listeners (and industry folks) will move on quickly.
But here’s the thing, choosing a studio can get confusing if you don’t know what details to look out for, size, price, packages, gear lists, engineers, rules, you name it.
Miss one of those and you’re either overpaying, under-preparing, or both.
That’s why we’ve pulled together nine proven tips to help you pick the right place the first time.
These are real-world points that save money and stop common mistakes.
By the end, you’ll know how to match your project to the right studio, understand what you’re paying for, and avoid being the one left broke with half a track recorded.
#1 Know what type of studio fits your project
Studios come in different shapes and price brackets.
You need to match the type of studio to the job at hand. Otherwise, you’ll either spend too much or cut corners that show up in the final mix.
A home setup can be fine when you’re experimenting or sketching out ideas. It’s fast, it’s accessible, but it has limits in sound and flexibility.
Project studios work well when you want something more polished. They usually offer solid gear, treated rooms, and enough space to get a clean recording.
For many artists, they’re the perfect middle ground between creating at home and going all in.
Then you have full professional studios. These are designed for artists who want a record that’s ready for release the second it leaves the mixing board.
From world-class equipment and acoustics to engineers who live and breathe sound, everything is in place to capture music at its highest level.
Each option has its place.
But when the goal is to deliver music that sounds industry-ready, the detail and depth you get from a professional studio make all the difference.
#2 Set your budget before you book
Money disappears fast in a studio.
Thinking you’ll work things out as you go is a good way to walk out broke.
Decide your budget for the whole project, not just the recording session. That includes time in the studio, plus mixing, mastering, and even extras like session players.
Most small studios will charge in the range of $20 to $40 an hour.
Project spaces usually hit $40 to $80.
Full-scale commercial spaces will cost $100 or more per hour, and a full-day lockout could be anywhere from $500 to $1,000.
If that sounds steep, remember that day rates often give better value than booking random hours.
Also, check if the studio offers package deals. Some bundle recording, mixing, and mastering into one project fee.
This makes it easier to control costs because you’re not chasing three different services at three different rates.
For context, industry resources note that studio time can run anywhere from about $30/hour in a modest local room to over $200/hour in top-tier facilities (with a single song sometimes costing $500 when all is said and done).
If your total budget is $1,000, your best option probably isn’t a $1,000-a-day deluxe room.
Big mistake? Booking room time only, burning your money on perfect takes, then realising you have nothing left for mixing or mastering.
You’re left with a pile of rough recordings and no finished product.
Avoid this by breaking your budget down first.
Decide on your cap and work backwards to what type of studio fits it.
In short, set the money limits before you start shopping around.
Stick to the range you can afford, or you risk not finishing the project at all.
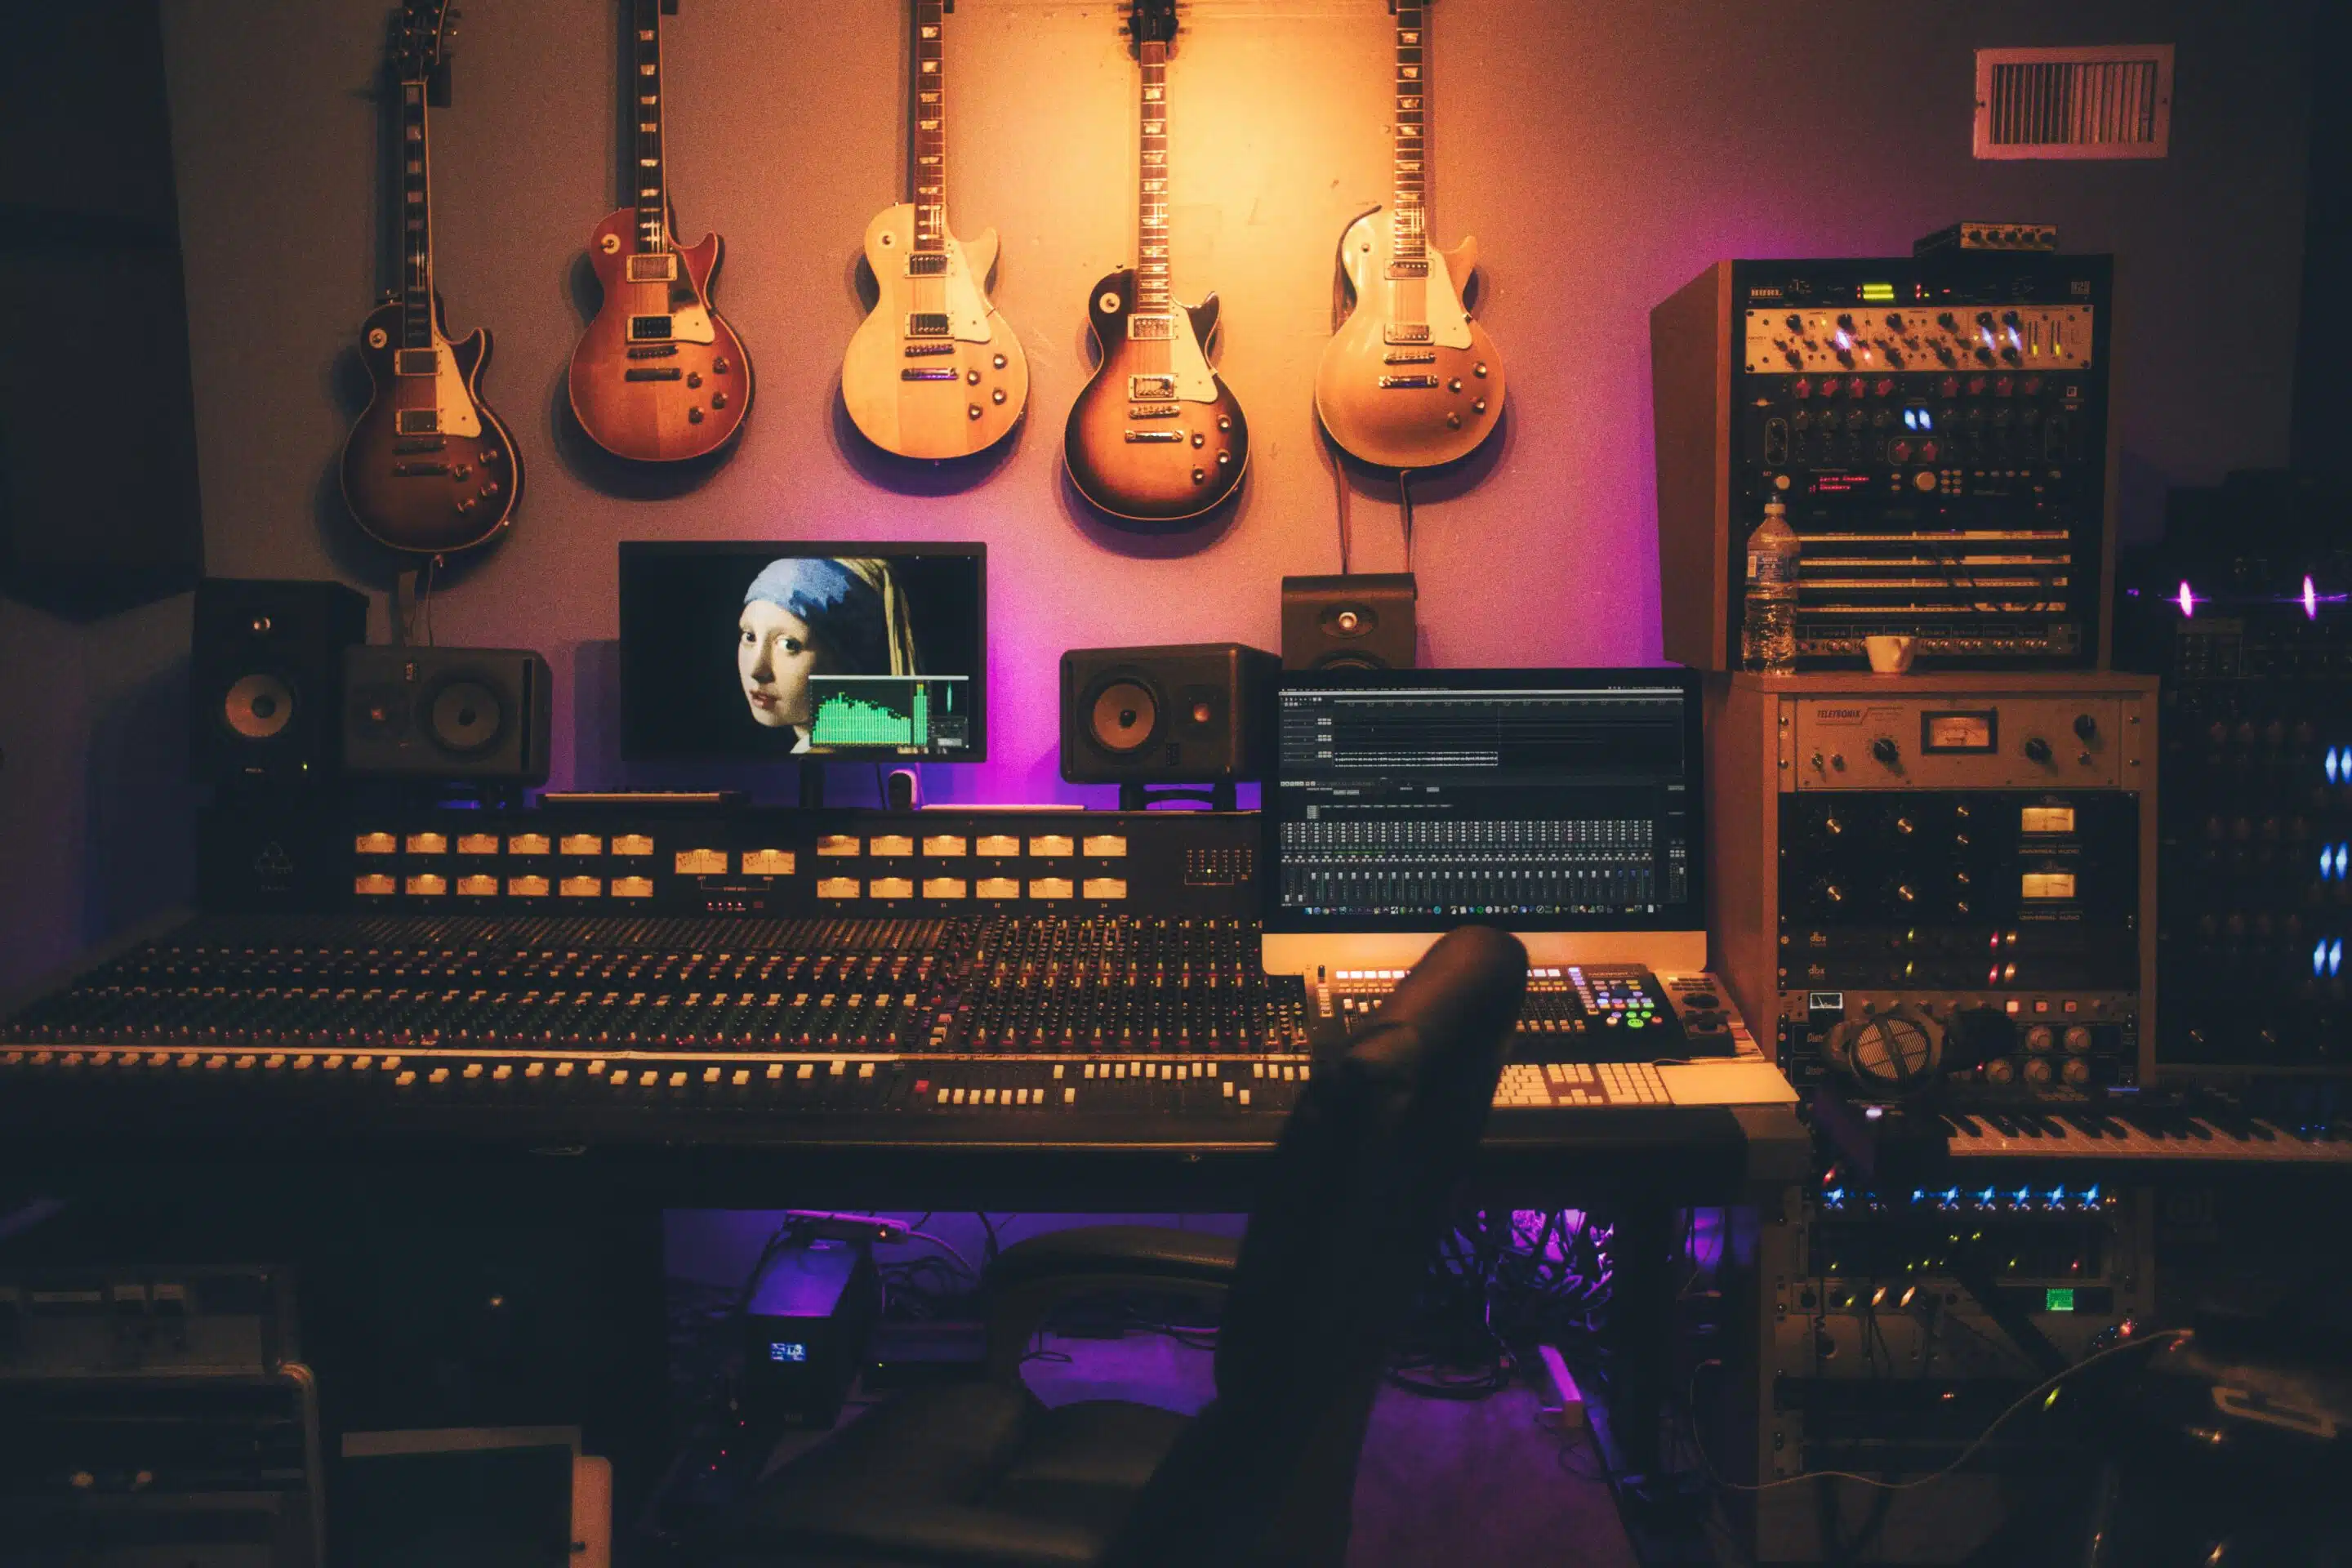
#3 Check the gear and software they use
A studio might have a slick website and cool photos, but until you check their gear list, you don’t know what you’re getting.
Gear and software quality directly affect what ends up in your final mix.
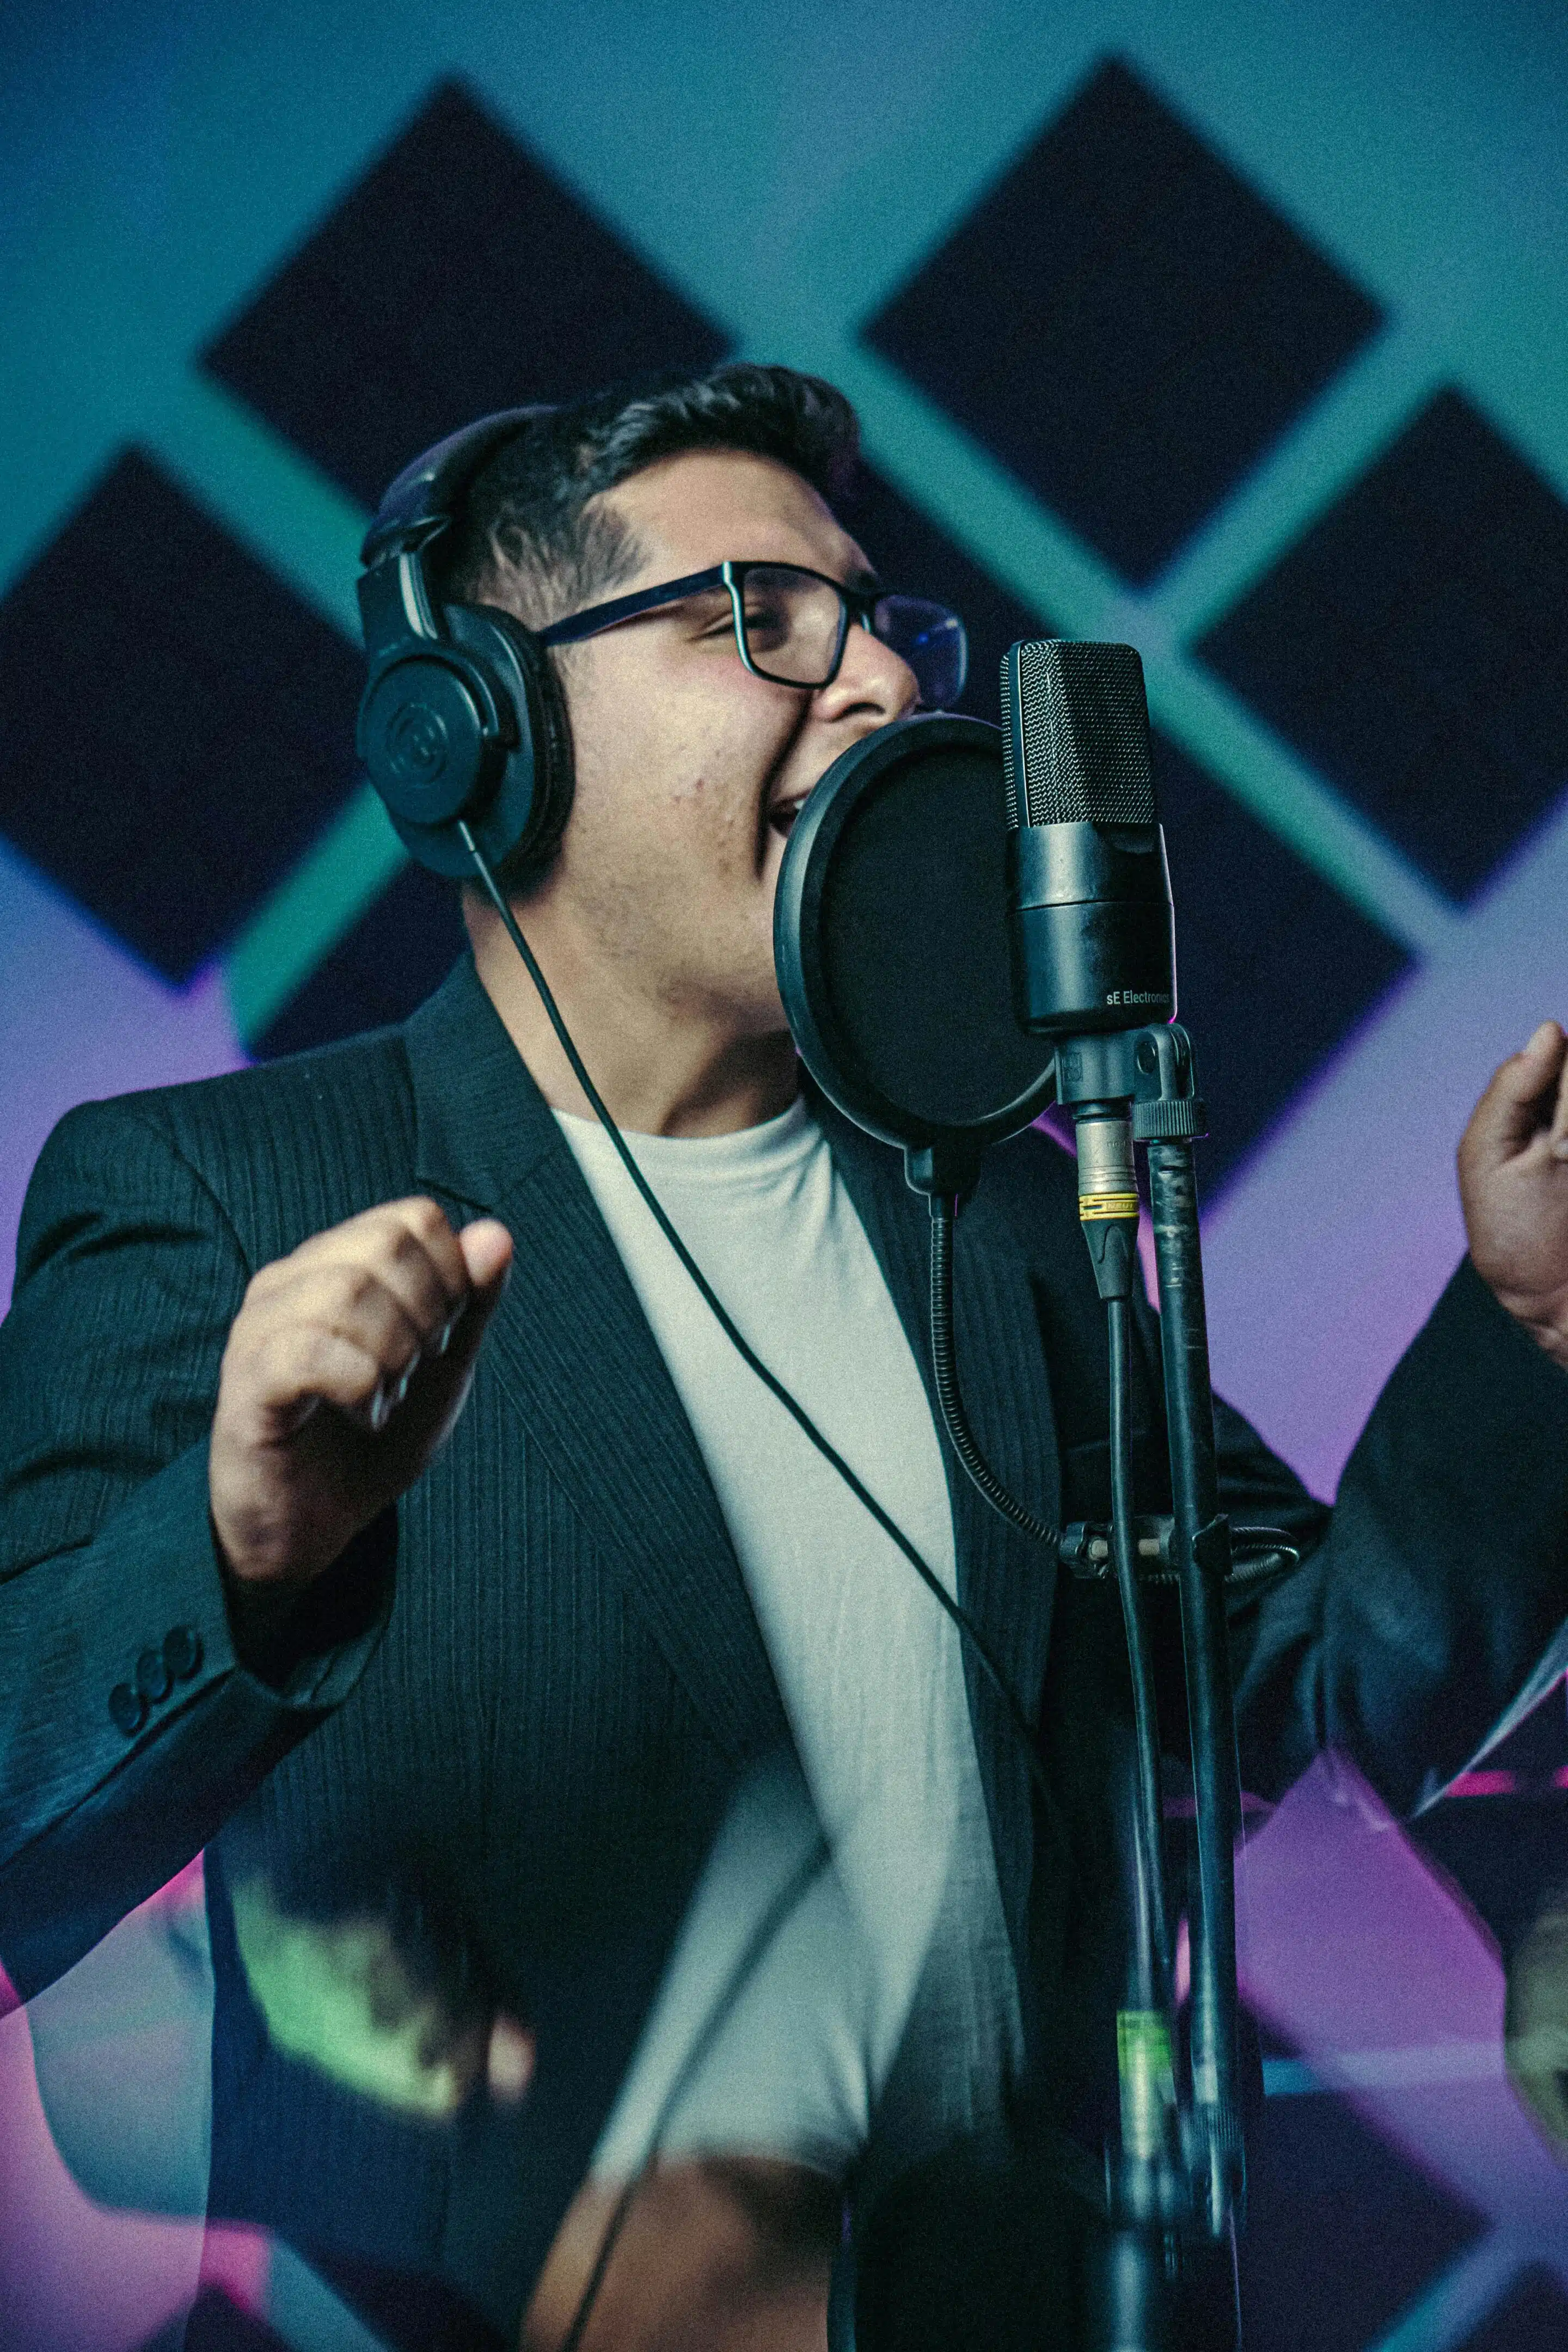
Start with microphones. Different mics are suited to different vocals and instruments.
For example, if you’re a singer aiming for warm tones, you’ll probably want a quality condenser mic.
If you’re tracking guitar amps or brass, dynamic mics are common. Ribbon mics work great if you want a vintage style of sound.
Then there’s outboard gear, preamps, compressors, and EQs.
These shape the sound before it even touches recording software.
High-end preamps make vocals and instruments fuller, while decent compressors help performances sound consistent without crushing dynamics.
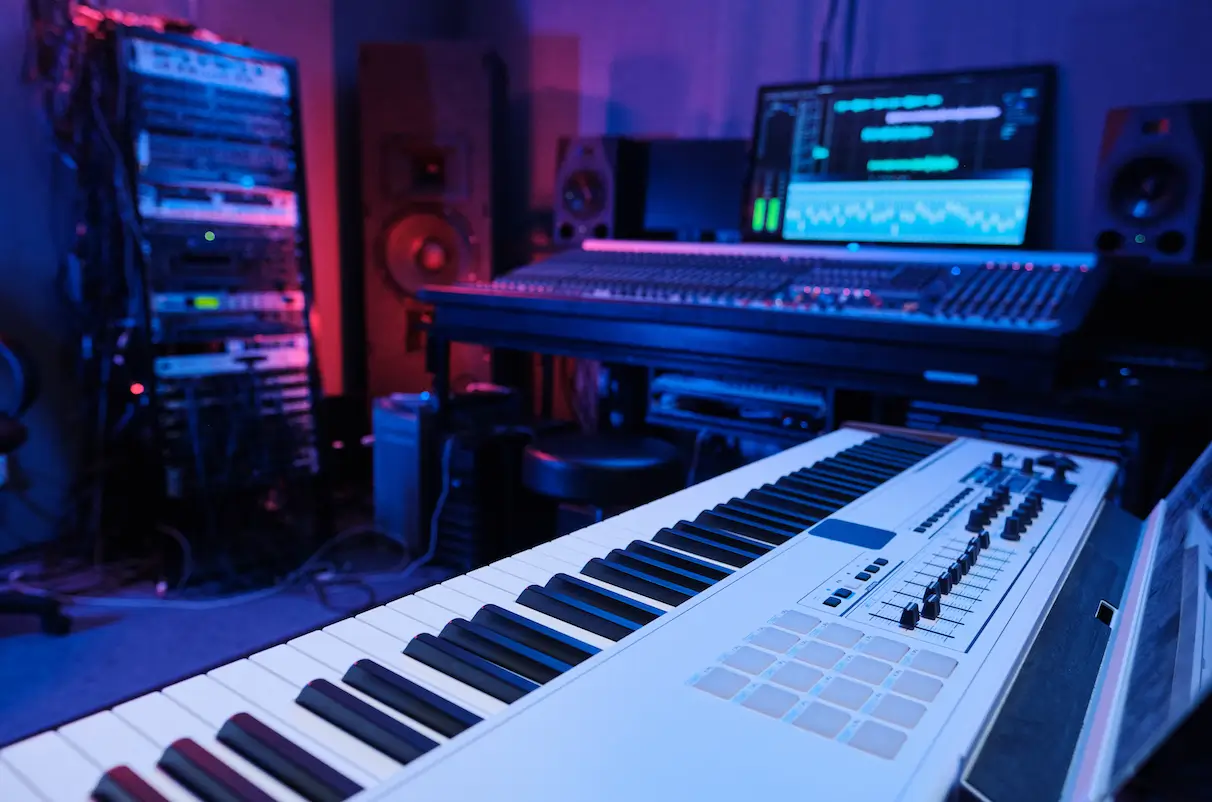
Ask what software they use. Pro Tools, Logic, and Ableton are industry standards.
Files from lesser-known programs can be harder to transfer or continue working on later if you change studios.
Also, check if they carry extras like MIDI controllers, DI boxes, or amps on hand.
If you’re bringing your own gear, check compatibility, especially if you’re using digital instruments you’ll want bounced later.
Legit studios will share their full gear list without hesitation.
Treat it as a warning sign if they dodge the question.
If you’re paying for professional sound, make sure they have the tools to actually deliver it.
Nobody wants to walk in, see one cheap mic, and realise they’re about to record a whole project through it.
#4 Find out if an engineer or producer is included
It’s easy to assume that a studio comes with someone who actually knows how to run the room.
But that’s not true everywhere.
Some listings are for room hire only. That means you need to provide your own engineer or producer.
When a studio provides an engineer, it’s usually built into the hourly or daily rate, but not always. Some charge an additional $20 to $60 an hour for one.
Make sure you clarify this up front before you commit to a booking.
Walking in and discovering you need another $200 to even start recording is terrible planning.
An engineer is the one setting mic placement, getting headphone mixes right, and troubleshooting anything technical before it wastes valuable minutes.
A good engineer works fast, which saves you money during the session.
Producers are different. They tend to guide creative decisions such as track arrangements, vocal takes, and sound shaping.
Some studios offer both. Some don’t.
If you’re new to recording, having both increases the odds of you walking away with something release-ready.
So, don’t look at studios as empty rooms with fancy furniture.
The people running them matter more than the gear in many cases.
Always check if an engineer or producer is included in your booking, as not knowing that is one of the fastest ways musicians blow their budgets in the studio.
#5 Ask about mixing and mastering options
Recording is step one.
Mixing and mastering take that raw material and give it the polish people expect when they stream a track.
Skip these, and your song can sound flat, unbalanced, or weak compared to everything else out there.
Mixing balances the instruments and vocals so nothing gets drowned out. It also shapes the sound with EQ, compression, and effects.
Mastering happens after mixing. This step finalises loudness, ensures consistency, and makes your track translate properly across streaming services, headphones, radios, and club systems.
Some studios offer these services in-house, which is usually the best option if you’re already recording there.
The engineer who tracked your material knows how it was recorded, so they mix and master with that context.
This saves time explaining the vibe to someone else later.
Always ask for a clear breakdown before booking. Some studios charge hidden fees for revisions to a mix, while others include them in the initial cost.
If your goal is getting Spotify-ready music or sending material to press or sync agents, don’t be tempted to skip mixing and mastering just to save money.
Half-done tracks rarely get taken seriously. Consider them a mandatory step, not an optional extra you can cut corners on.
#6 Pay attention to location and vibe
Studio quality won’t matter much if the place is in the wrong location or makes you feel uncomfortable.
Factors outside of gear can kill a session before it even starts.
Start with travel. Will getting there eat up half your day? Losing hours in traffic makes you arrive tired and rushed. It also cuts down the time you could actually be recording.
Pick somewhere that you can get to with minimal hassle.
Safety is another factor. Some areas are not worth parking your car with the gear inside.
If you don’t feel safe outside the building, good luck relaxing inside.
It’s hard to focus on vocal takes while worrying about your equipment in the car park.
Now, let’s talk about vibe. Some people want studios that feel clean, modern, and minimal. Others want spaces with a warmer, creative atmosphere.
The way a studio looks and feels can impact how you perform. Creativity flows better when you’re at ease.
Reviews are useful here. Musicians usually leave unfiltered feedback if a place is uncomfortable, unprofessional, or just uninspiring.
Better still, arrange a visit before booking.
Standing in the space tells you more than photos ever will.
The best choice is a studio that makes you feel safe and comfortable and stays close enough that travel won’t drain you.
Nobody wants to sink hours of creative energy driving or record vocals while distracted by dodgy surroundings.
#7 Look at the flexibility of booking times
Music doesn’t happen on a neat timetable. Sometimes the best ideas hit late at night, not between nine and five.
If a studio is too rigid with its schedule, you risk losing the flexibility that music often needs.
Ask upfront about their opening hours. Some studios are only available during office-style hours. Others stay open late or even offer 24-hour access.
If your best time to record is after work at 8 pm, then narrow your search to the latter.
Many studios charge more for night or weekend bookings, so check the pricing format.
Don’t assume that all hours cost the same.
If you’re budgeting tightly, an extra surcharge can catch you off guard.
Also, examine their booking calendar. Popular studios book up far in advance, so if you want a Saturday slot, you may need to plan weeks ahead.
Smaller studios tend to be more flexible and easier to book at short notice.
Find out the cancellation rules. Life happens… illness, emergencies, or creative delays are all possible.
Some places allow a cancellation window of 24 to 48 hours without charges. Others keep your deposit even if you cancel early.
Recording should not feel like planning a military operation.
Choose a space where times work around your life and creative pace.
A studio with flexible booking and fair cancellation terms saves stress and helps you hit record when you’re actually ready.
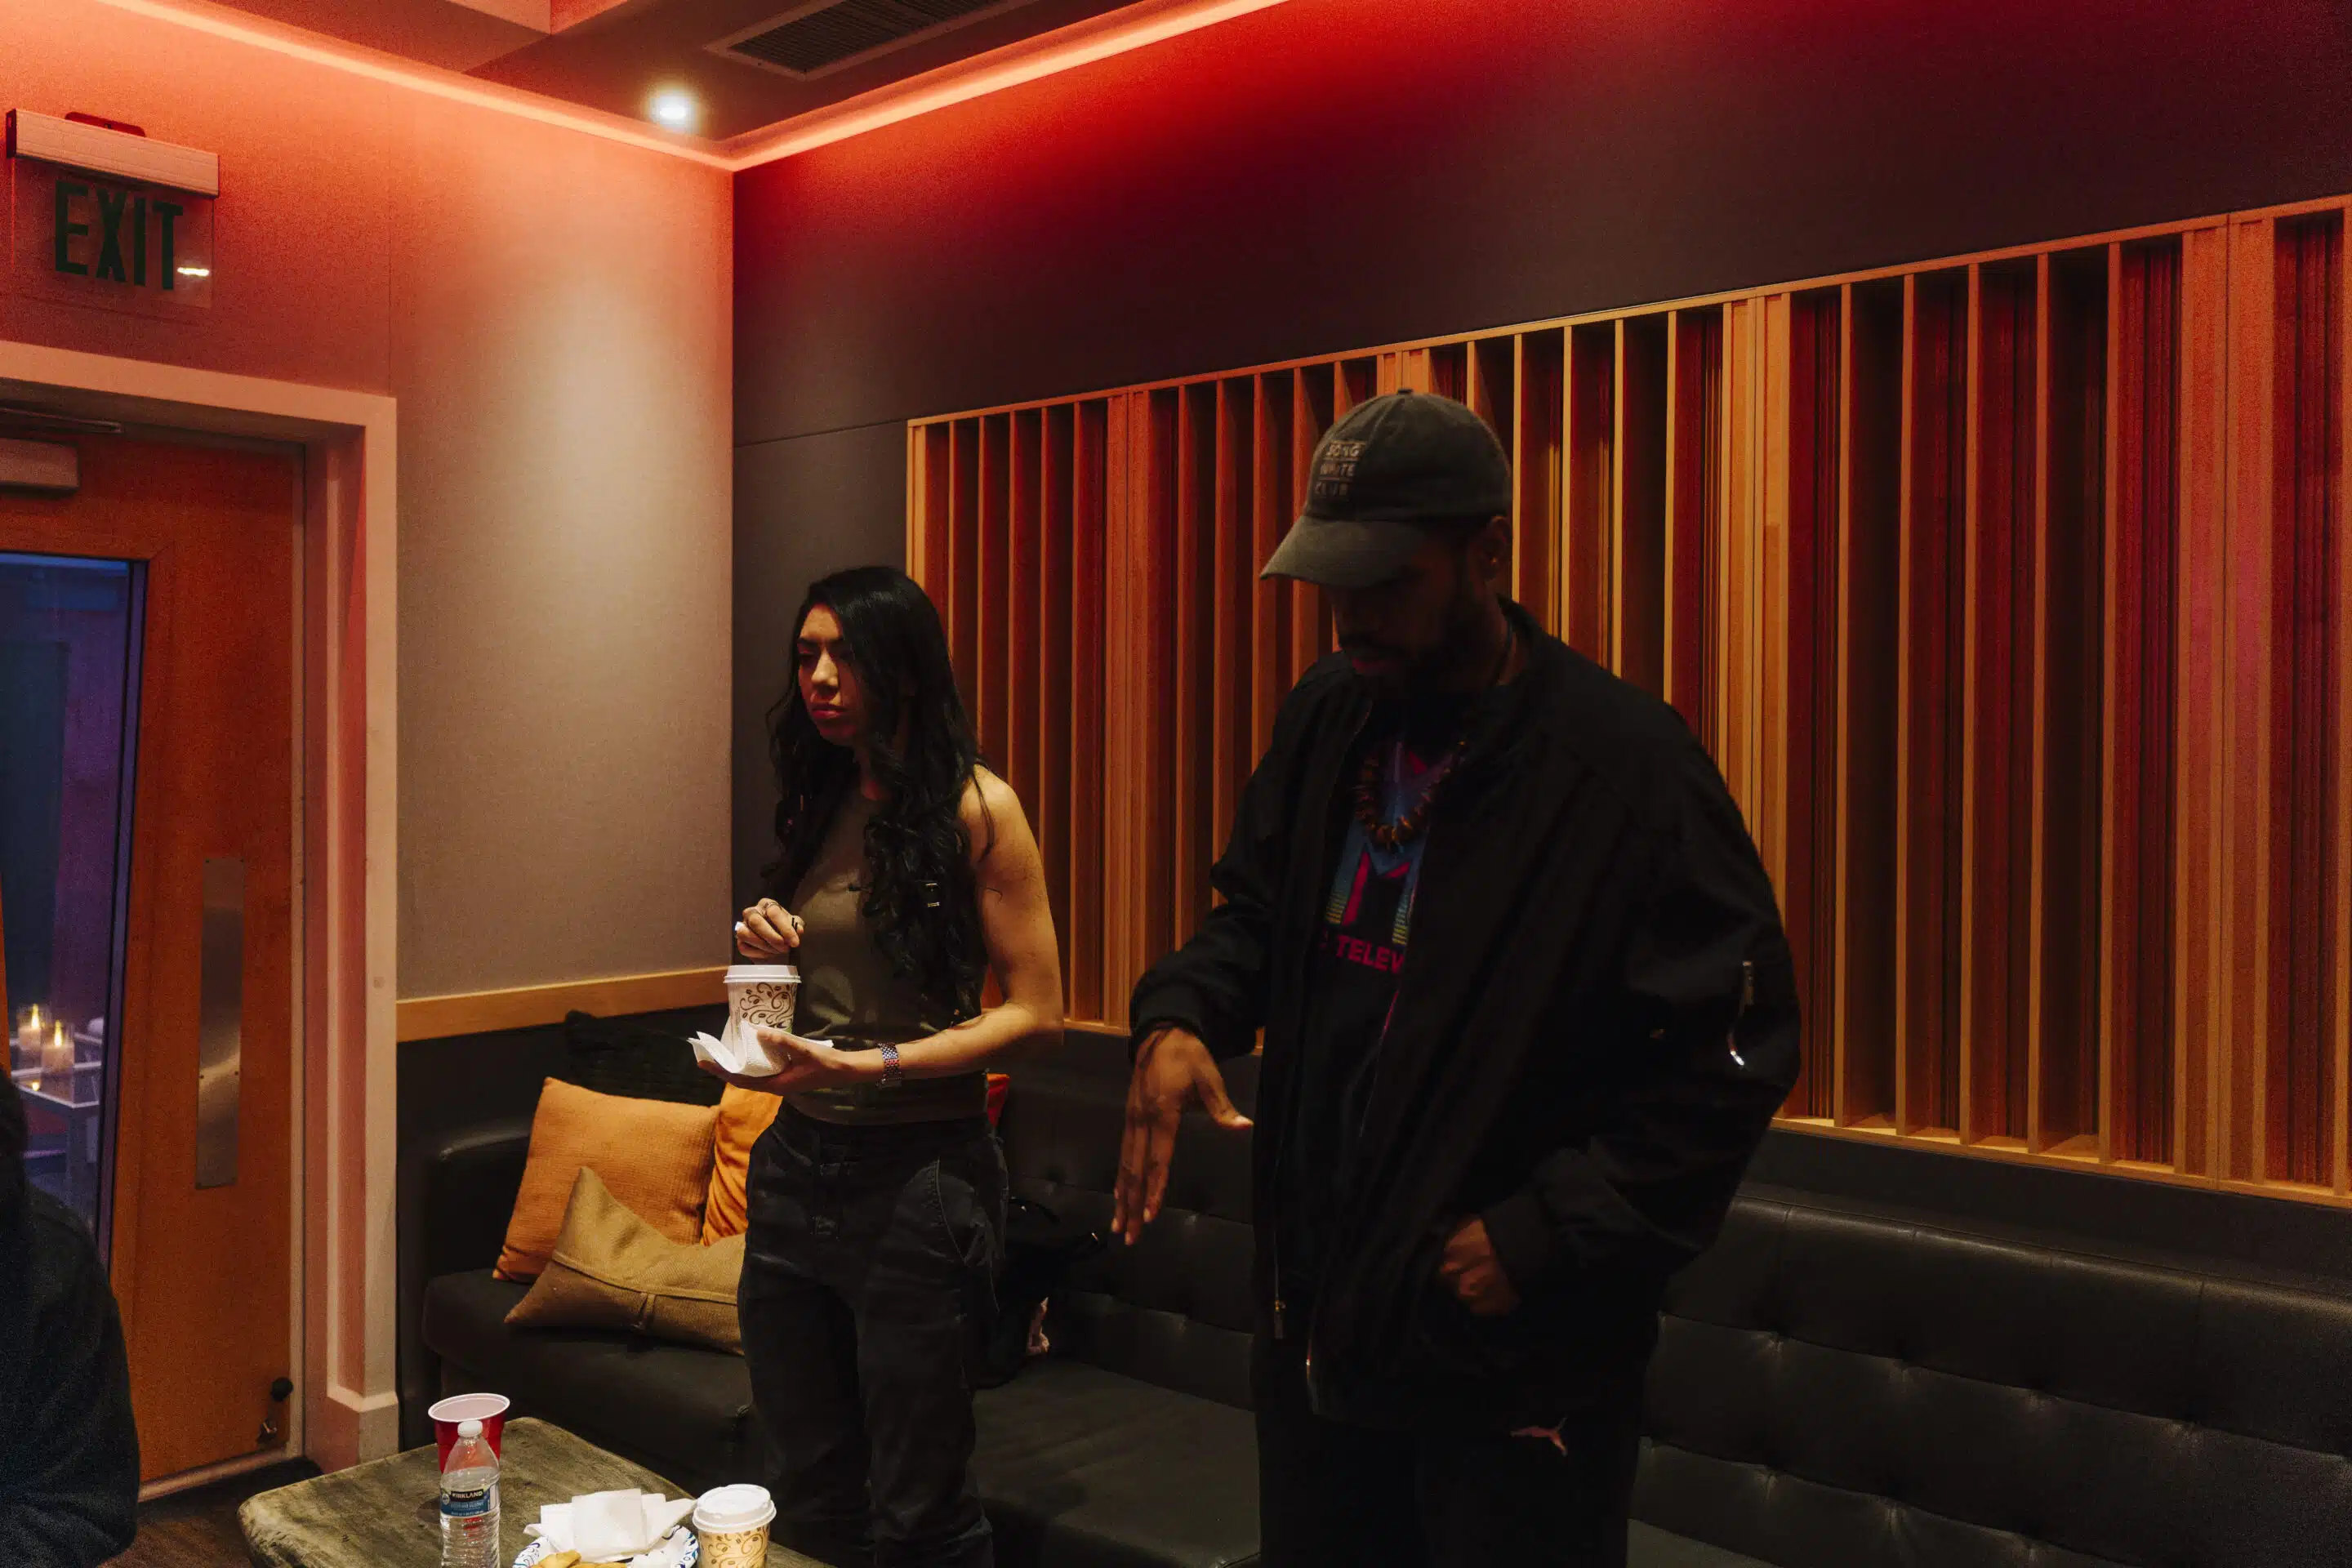
#8 Bring in your own musicians or team
It’s rare that one person alone can cover every part of a recording project.
You’ll likely want players, backing vocalists, or even your own producer on board.
But not all studios allow outsiders.
Ask about policies on bringing in your own team. Some studios encourage it because it saves time. They don’t have to source musicians for you.
Others may limit how many people can be in the control room, or even charge per extra person entering the session.
If you’re recording live instruments, confirm space first.
A small home studio might struggle to fit a full band with drums, guitars, and keyboards.
Don’t risk squeezing people into rooms designed for solo work. It affects sound quality and comfort.
Working with your own team often streamlines things. You already know how each other operates, so there’s less explaining and debating.
This means you can move quickly through takes without unnecessary delays.
Extra costs should always be clear before committing.
Nobody wants to hear “that’ll be another $50” after your bassist walks in halfway through a session.
Clarifying these points early avoids any chance of overspending or conflict with studio staff.
A studio should support your working process rather than disrupt it.
So, if part of your process includes trusted players or a particular creative partner, make sure the studio’s policy doesn’t block you from bringing them in.
#9 Learn the studio rules before the session
Studios have rules in place to protect their gear and make sessions run smoothly.
Walking in without knowing the rules is a good way to irritate the engineer or risk fees that could have been avoided.
Food and drinks are a common area of confusion. Many places won’t allow them near mixing consoles, but some designate areas where you can set them down.
Turning up with coffee cups or beer bottles that can spill across thousands of dollars’ worth of gear isn’t going to earn you points.
Smoking is another issue. Some spaces are strict no-smoking zones, while others allow it outside or in separate lounges.
If you make a wrong assumption, you may get hit with cleaning fees.
Check rules around personal equipment. Some studios let you safely leave instruments overnight during bigger projects. Others want them cleared out daily.
Plan this before showing up with a drum kit you thought you could leave for a full week.
Photography or video is also worth asking about. You might want content for social media. Some studios allow it freely, while others restrict it, especially if clients value privacy.
Reading and following studio rules keep sessions smooth and avoid wasted time.
When in doubt, ask.
Nobody has ever annoyed a studio by being too clear beforehand.
Easy mistakes to avoid in a studio session
Studios are not forgiving places for mistakes that should have been avoided.
The clock is always ticking, which means every bad habit costs money.
Turning up late is the first mistake. If you’ve booked a four-hour slot, showing up an hour late doesn’t mean you get a free extension. That’s one less hour to record, and your session will feel rushed.
Being underprepared comes next. Struggling with lyrics, forgetting gear, or not knowing how parts should be played wastes time. If you’re still figuring things out mid-session, you’re basically paying to rehearse, not to record.
Endless retakes are another roadblock. Perfectionism leads bands to record the same part 30 times “just in case.” Trust your engineer’s feedback. If they say you nailed it, you probably did. Don’t drown the project in unnecessary takes.
Poor communication also sinks sessions fast. Something as simple as not saying the headphones are too loud can ruin a take. Silence won’t fix problems. Speak up straight away.
Fatigue is often overlooked. Long stretches with no breaks kill performance levels. Plan short breaks to reset your focus and energy. Ignoring your body isn’t proving your work ethic. It only makes the final results weaker.
Last, watch the headcount. Bringing ten friends into a small control room crowds the space and creates a distraction. Limit people present to those who actually contribute.
Careless behavior ruins serious projects.
Studios aren’t casual hangout zones.
Be on time, be prepared, record solid takes, communicate openly, and manage your energy.
Doing those five things stops you from wasting both time and money.
The band that ignores them ends up broke with average songs, and nobody wants that.
Final thoughts to help you record like a pro
A lot can go wrong when booking and using a studio, but it’s avoidable if you plan smart.
Always research before booking. Check their equipment, their staff, their location, and their rules.
Then prepare yourself and your team before you step inside.
Artists waste more money by being unprepared than by picking the wrong room.
It comes down to two things: organization and honesty.
Be organized with your songs, files, and goals.
Be honest about what level of studio suits your project and what your budget can actually handle.
If you respect those two basics, you’ll get way more out of every single dollar and every single hour.
You don’t need to overcomplicate things.
Pick the right place. Prep hard. Communicate while you’re there.
That’s the repeatable formula behind every serious musician who knows how to walk out with professional-sounding tracks.