Key Takeaways
- Clear project goals are essential, knowing exactly what you need before booking will help you find the right studio, saving both time and money.
- Sound quality trumps price. Always prioritize a studio’s ability to deliver the right sound over costs or location.
- Thoroughly vet the studio’s gear, acoustics, and support to make sure the space is acoustically suitable, and that technical issues can be swiftly resolved.
Hiring a recording studio can either be the smartest investment you make for your project or a quick way to burn through your budget.
The difference comes down to how prepared you are and how well you choose the right space for the job.
The right studio for you is the one that delivers the sound you need, within the time and budget you can handle.
That requires a little research, planning, and the ability to ignore flashy marketing photos.
These tips go beyond the surface advice you’ve already heard. They’ll help you choose a studio based on the results it can deliver, not just the price or the fact that it’s near your house.
Whether you’re laying down a full band album, voiceovers for an ad, vocals for a track, or producing a podcast, these tips will help you get the most value for every booked hour.
The goal is to leave the studio with a complete, professional-sounding product, without having to sell half your belongings to pay for it.
Get prepared, know what to look for, and you’ll walk in confident that every minute will count.
Tip 1 – Be clear on your project goals before booking
Clarity comes first.
Before you start calling or emailing studios, know exactly what you’re recording and what it will take to get it done. Write it down.
Be specific. Study shows that clear project goals can significantly boost success. The more exact you are, the easier it is to find the right space and avoid paying for things you don’t need.
Think about the technical side too. Make a list of required mics, instruments, and gear.
If you care about software, note the plugins or digital audio workstation (DAW) you need. It’s much easier to ask for this upfront than to find out the studio “only uses Pro Tools” when you’ve prepped your entire session in Logic.
Also, decide if you want an engineer running the session. If you’re not 100% confident in operating pro-level recording equipment, hire one. That extra cost might save you hours of fixing problems later.
Define the sound you’re going for. Polished and commercial-sounding? Or raw and organic? This will help you narrow down which studio rooms and engineers have that style nailed.
When you know the exact outcome you want, it’s easier to compare studios accurately. You’re picking based on fit, not location, impulse, or price.
Most importantly, you’ll avoid wasting time explaining what you need on the day, because you’ve already made those decisions before booking.
Preparation here saves you hours in the studio. And hours are money.
Tip 2 – Compare studios for sound quality first, price second
Sound is the currency here. Forget starting with price.
First, assess whether the studio can actually deliver the sonic quality your project deserves.
Request samples of recent work. Don’t just take their word for it… listen.
Play those samples on different headphones and speakers. Turn the volume up and down. Is the audio still clear? Is the balance good? Poor mix quality will reveal itself quickly.
Think about what matters for your genre. A podcast needs clean, close-mic’d vocals with no background hiss. Metal drums need punch and depth without sounding like they’re recorded in a cupboard.
Don’t assume a room full of expensive gear equals impressive recordings.
If the engineer doesn’t know how to use it, or the room itself has poor acoustics, the audio will suffer.
Pay attention to the “color” of the sound. A studio might have a warm, slightly fuzzy character that’s great for rock bands, but that same warmth could ruin voiceover clarity.
Once you’ve narrowed the studios to a few with the right sound, then check prices.
You can save money by scaling down on unnecessary extras or shorter blocks, but you cannot magically upgrade a poor recording without sinking even more money into mixing or re-tracking.
The bottom line is, your audience will never know if you scored a studio for $10 an hour less. But they will notice if your final product doesn’t sound good enough.
The internet is full of cheap recordings. Your job is to make sure yours doesn’t sound like one of them.
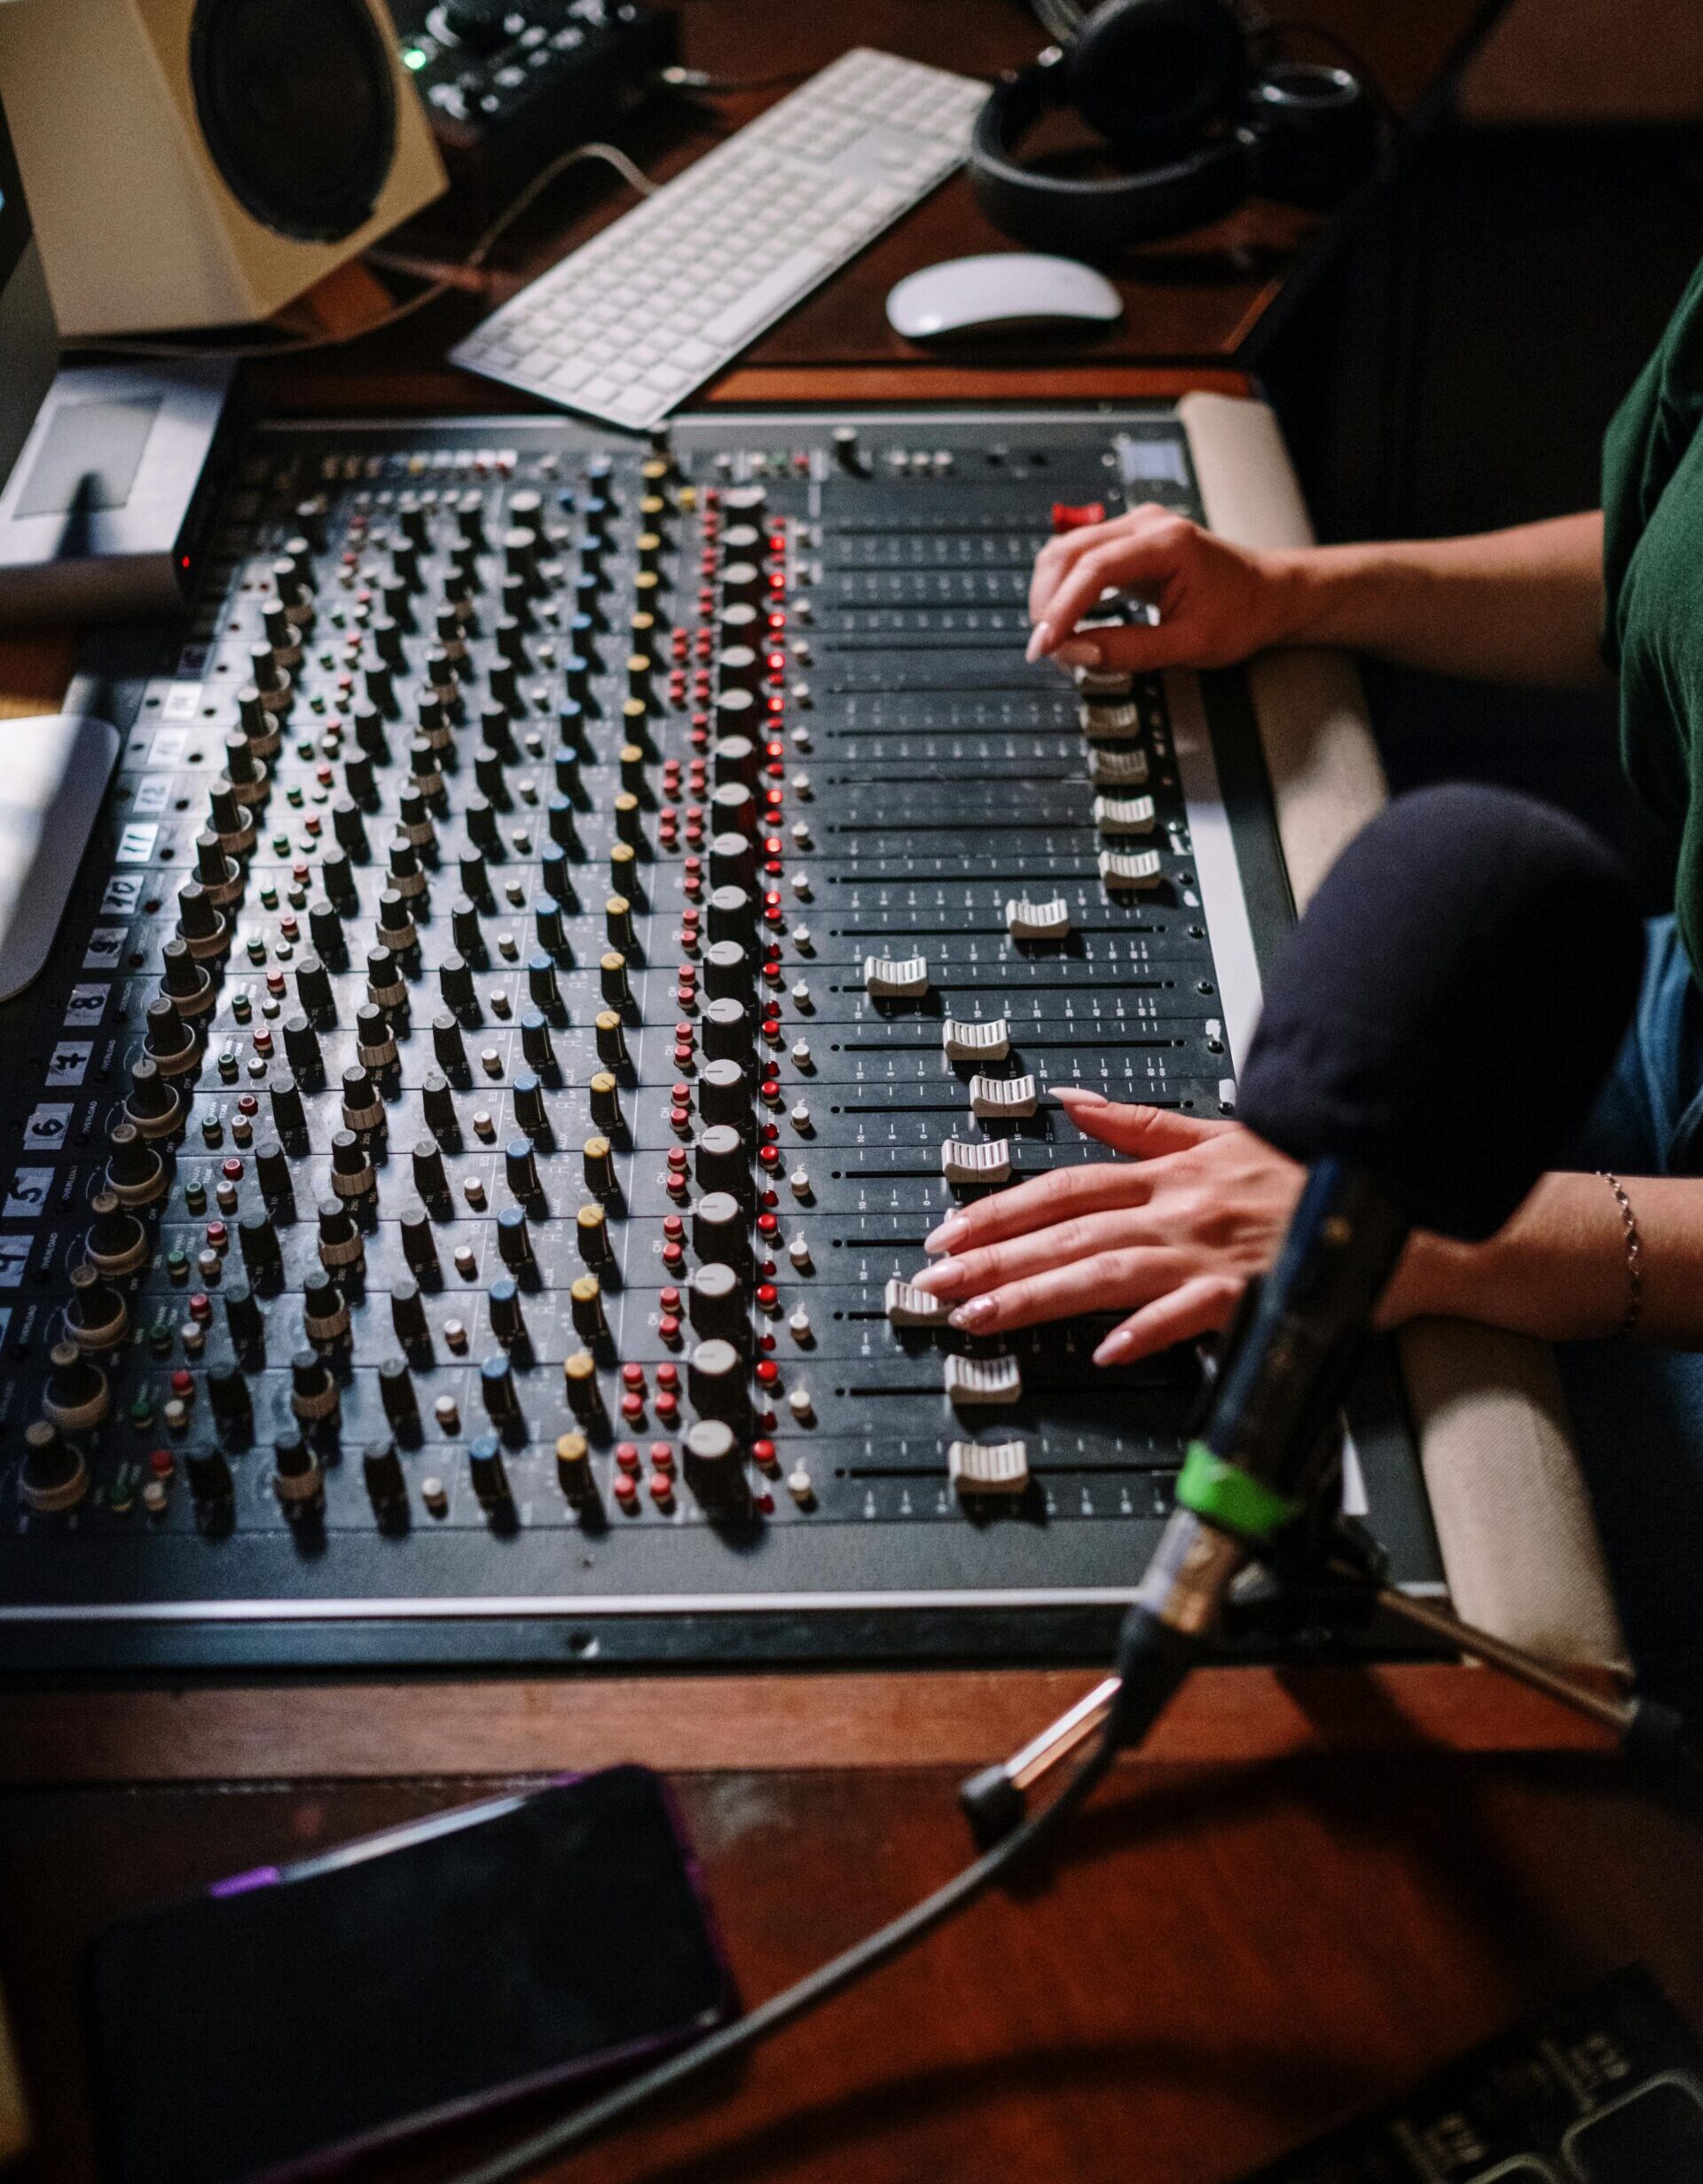
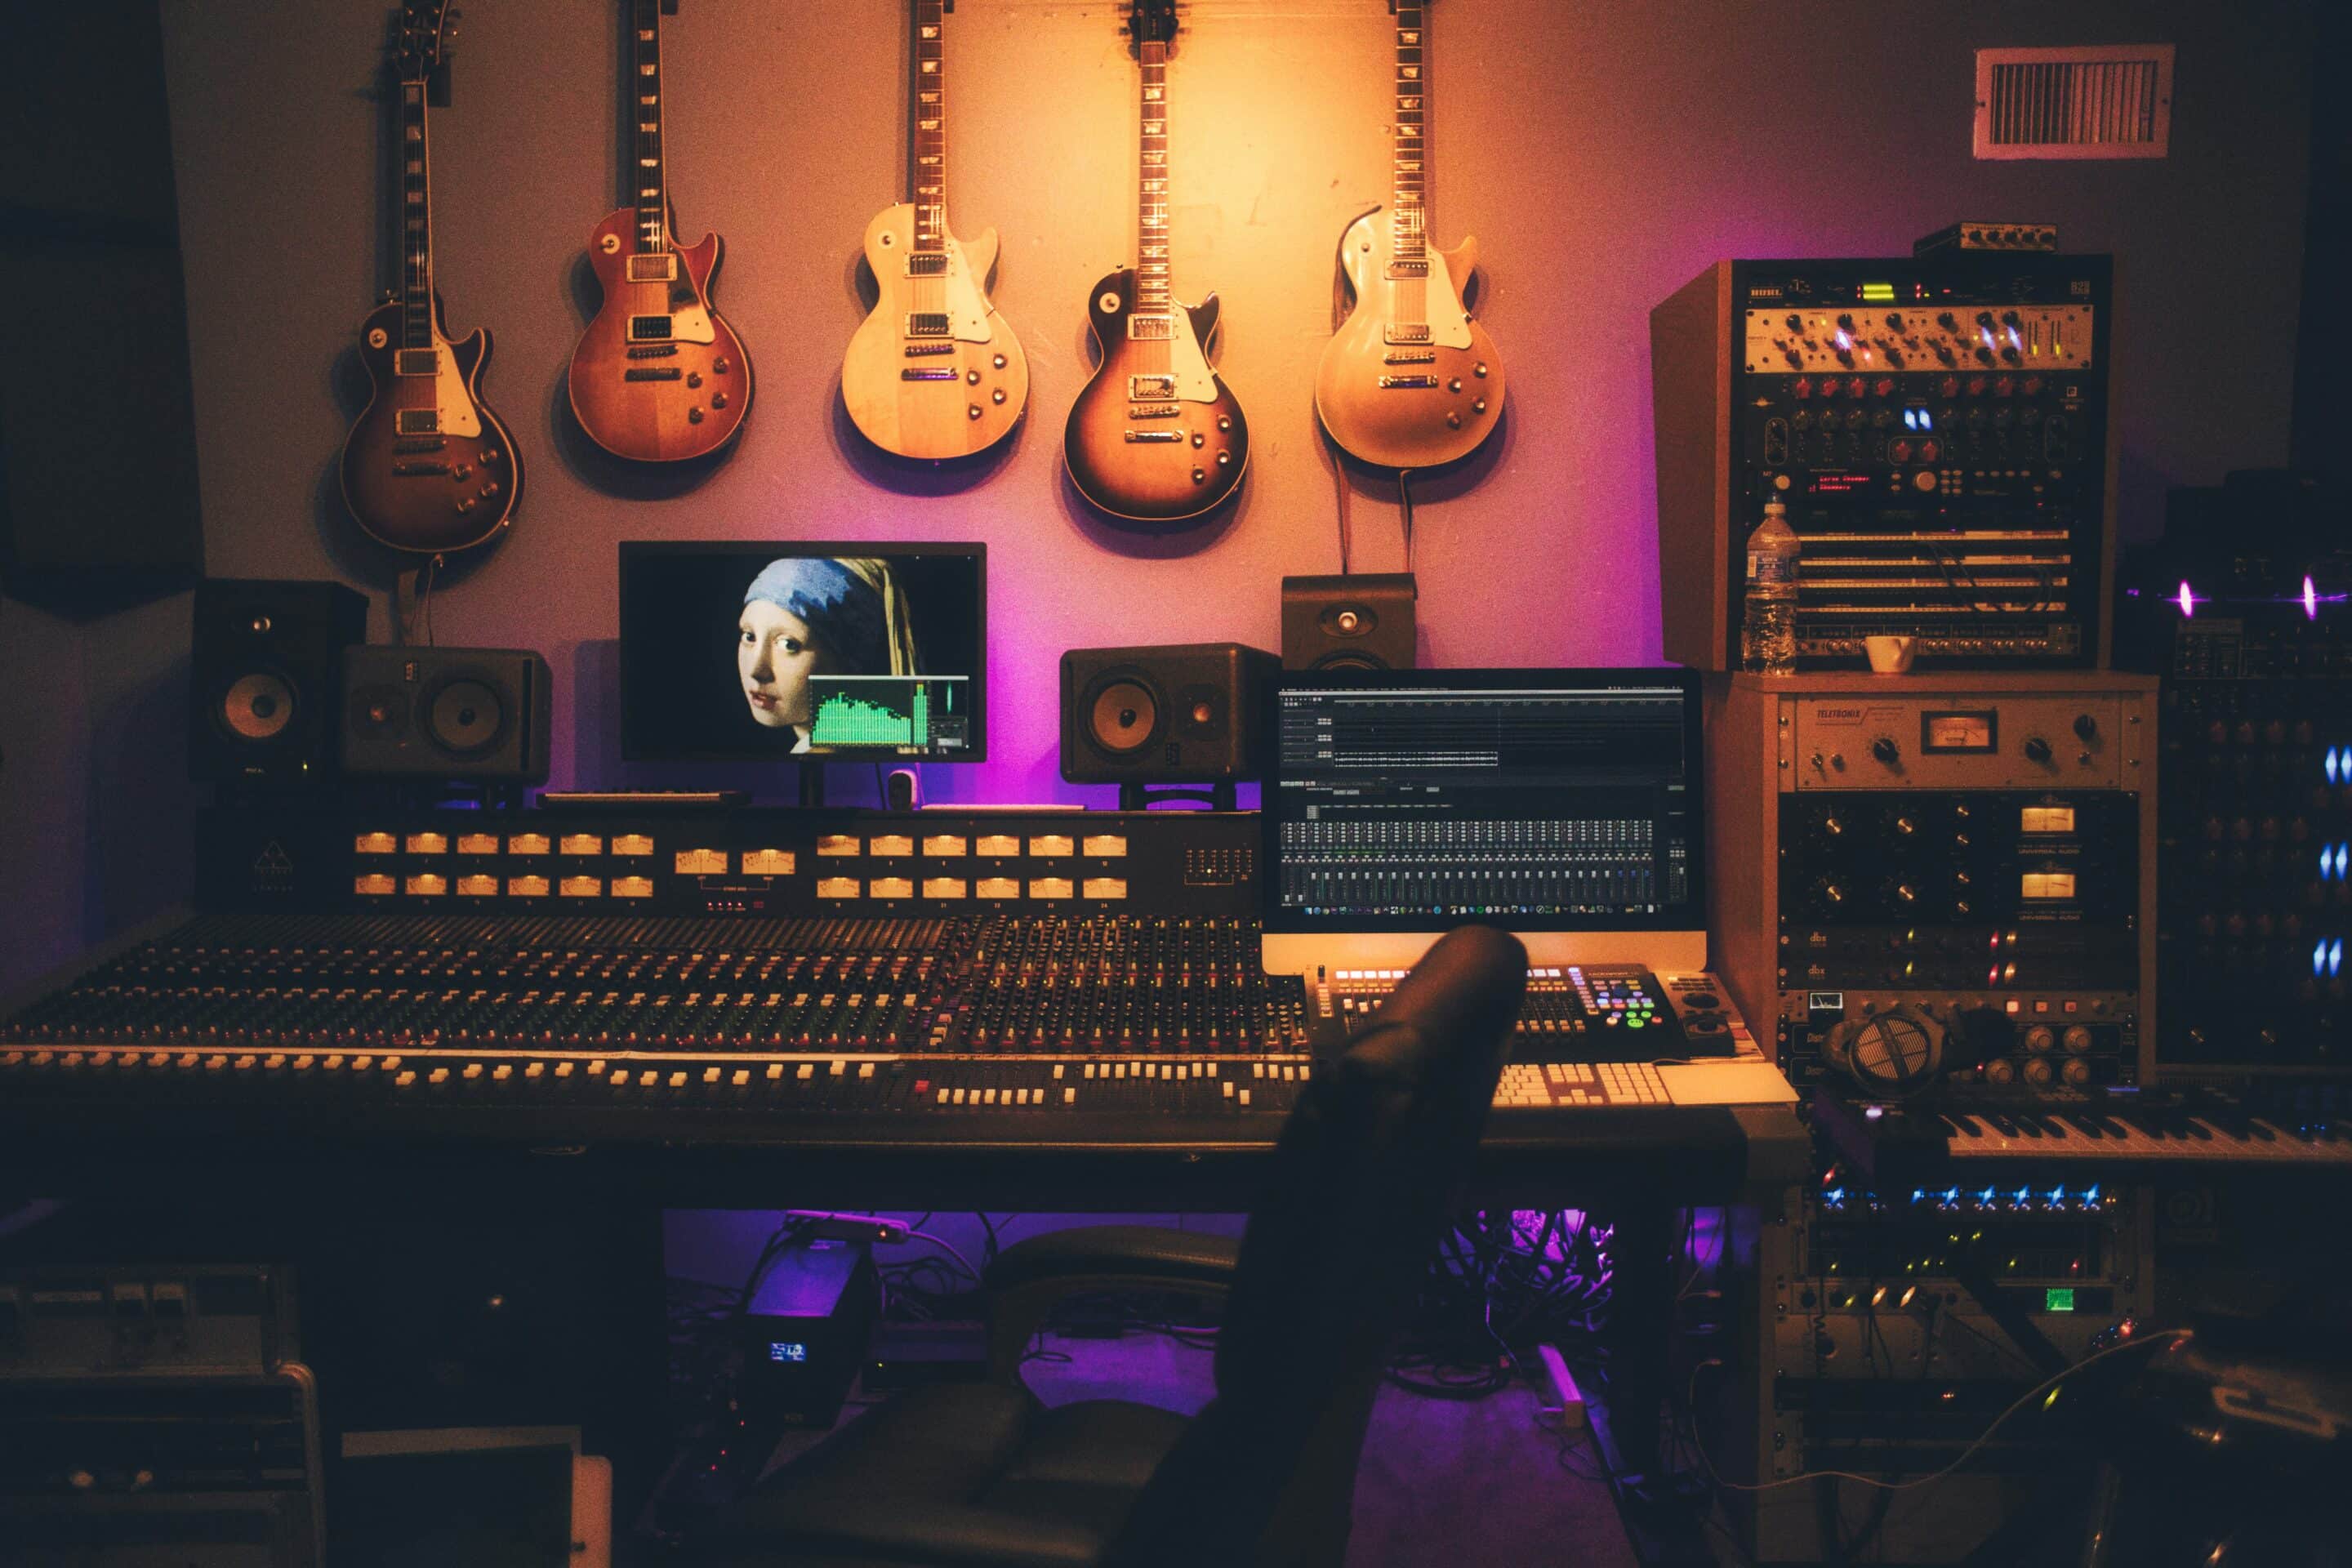
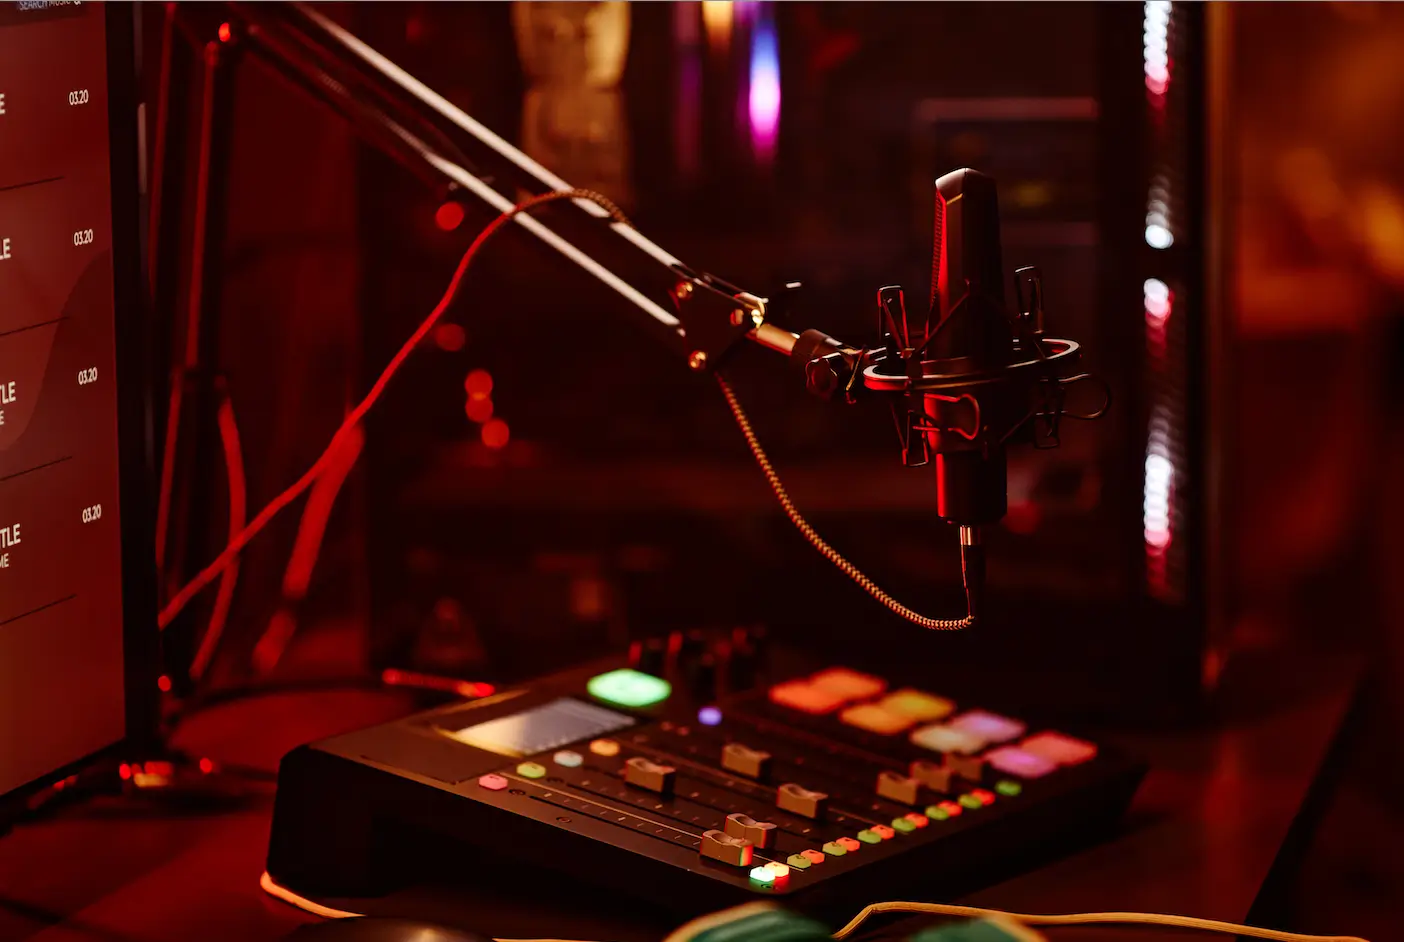
Tip 3 – Look closely at the room setup and acoustics
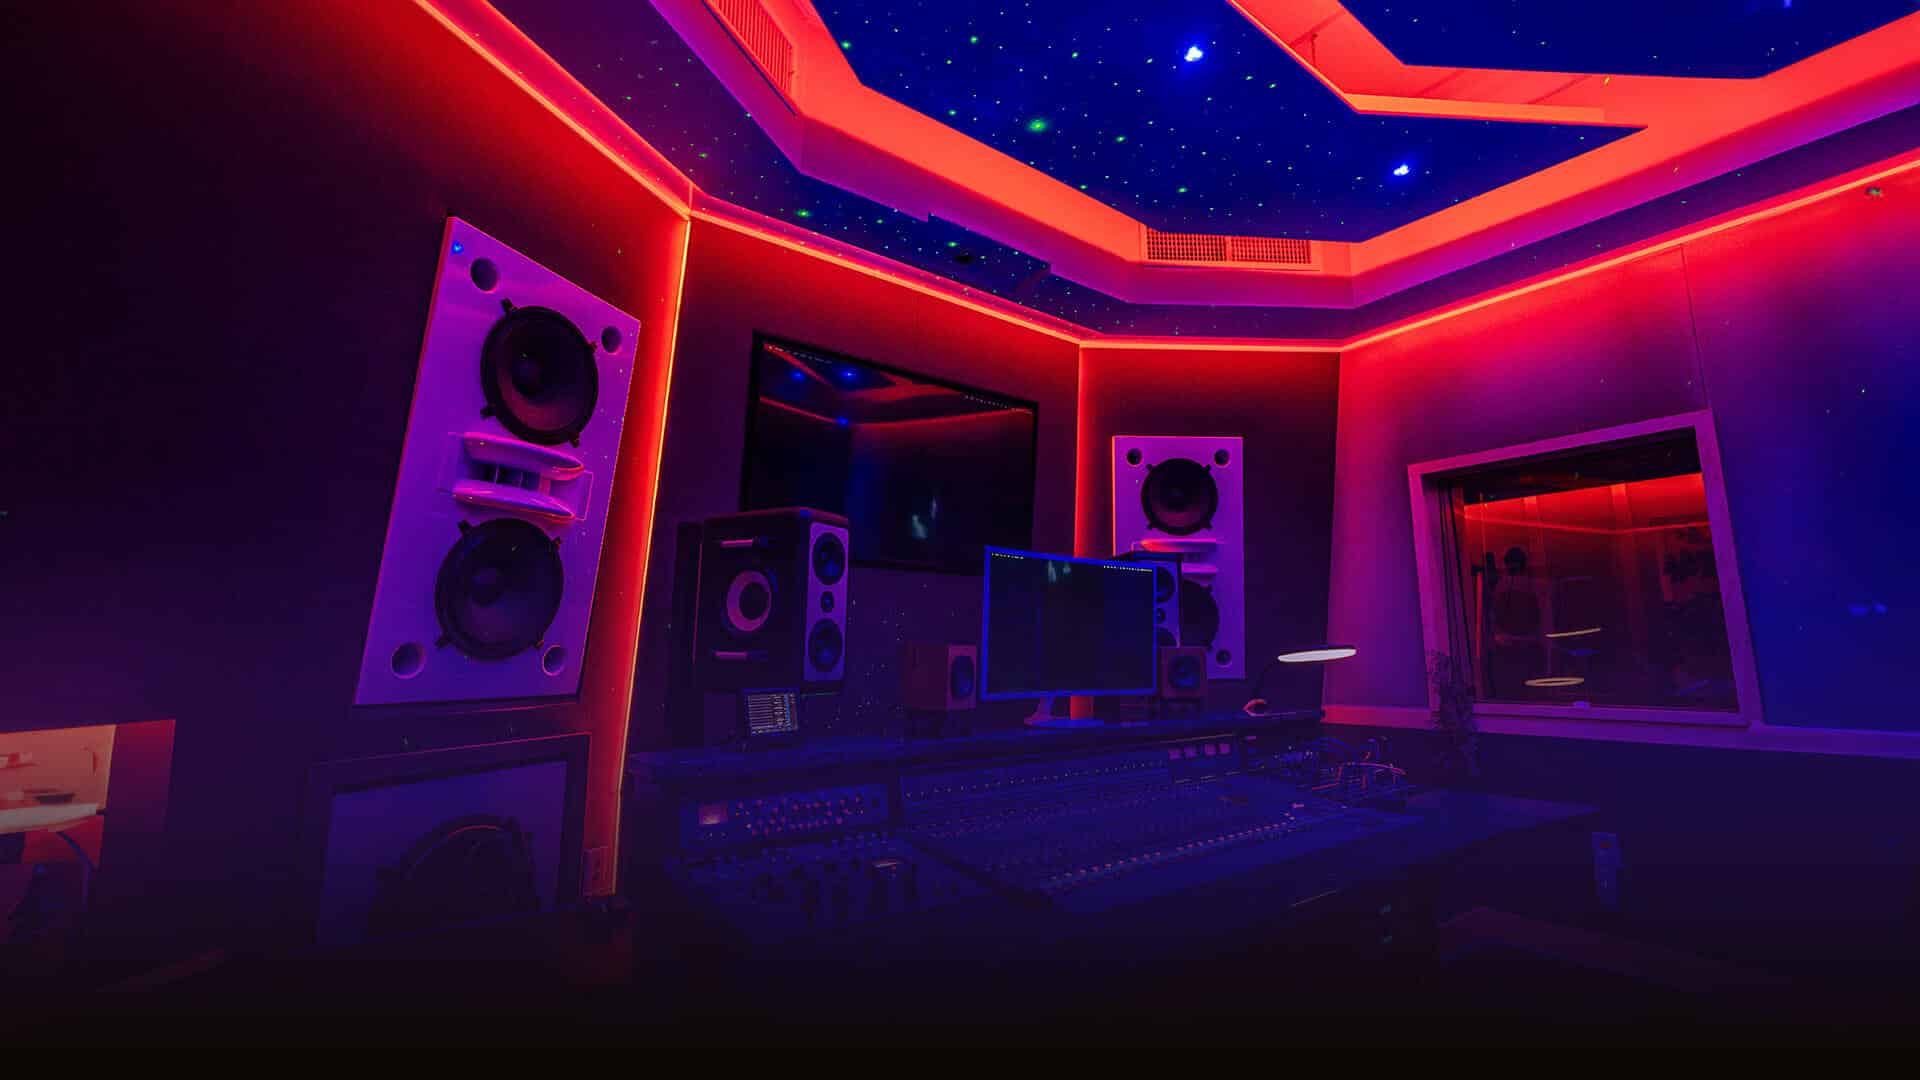
Great recordings start in great rooms. The microphones, preamps, and plugins can only capture what’s already happening in the space.
Research shows that room acoustics and background noise have a stronger impact on voice parameters than microphone quality, making the choice of an acoustically optimized space more important than the microphone itself.
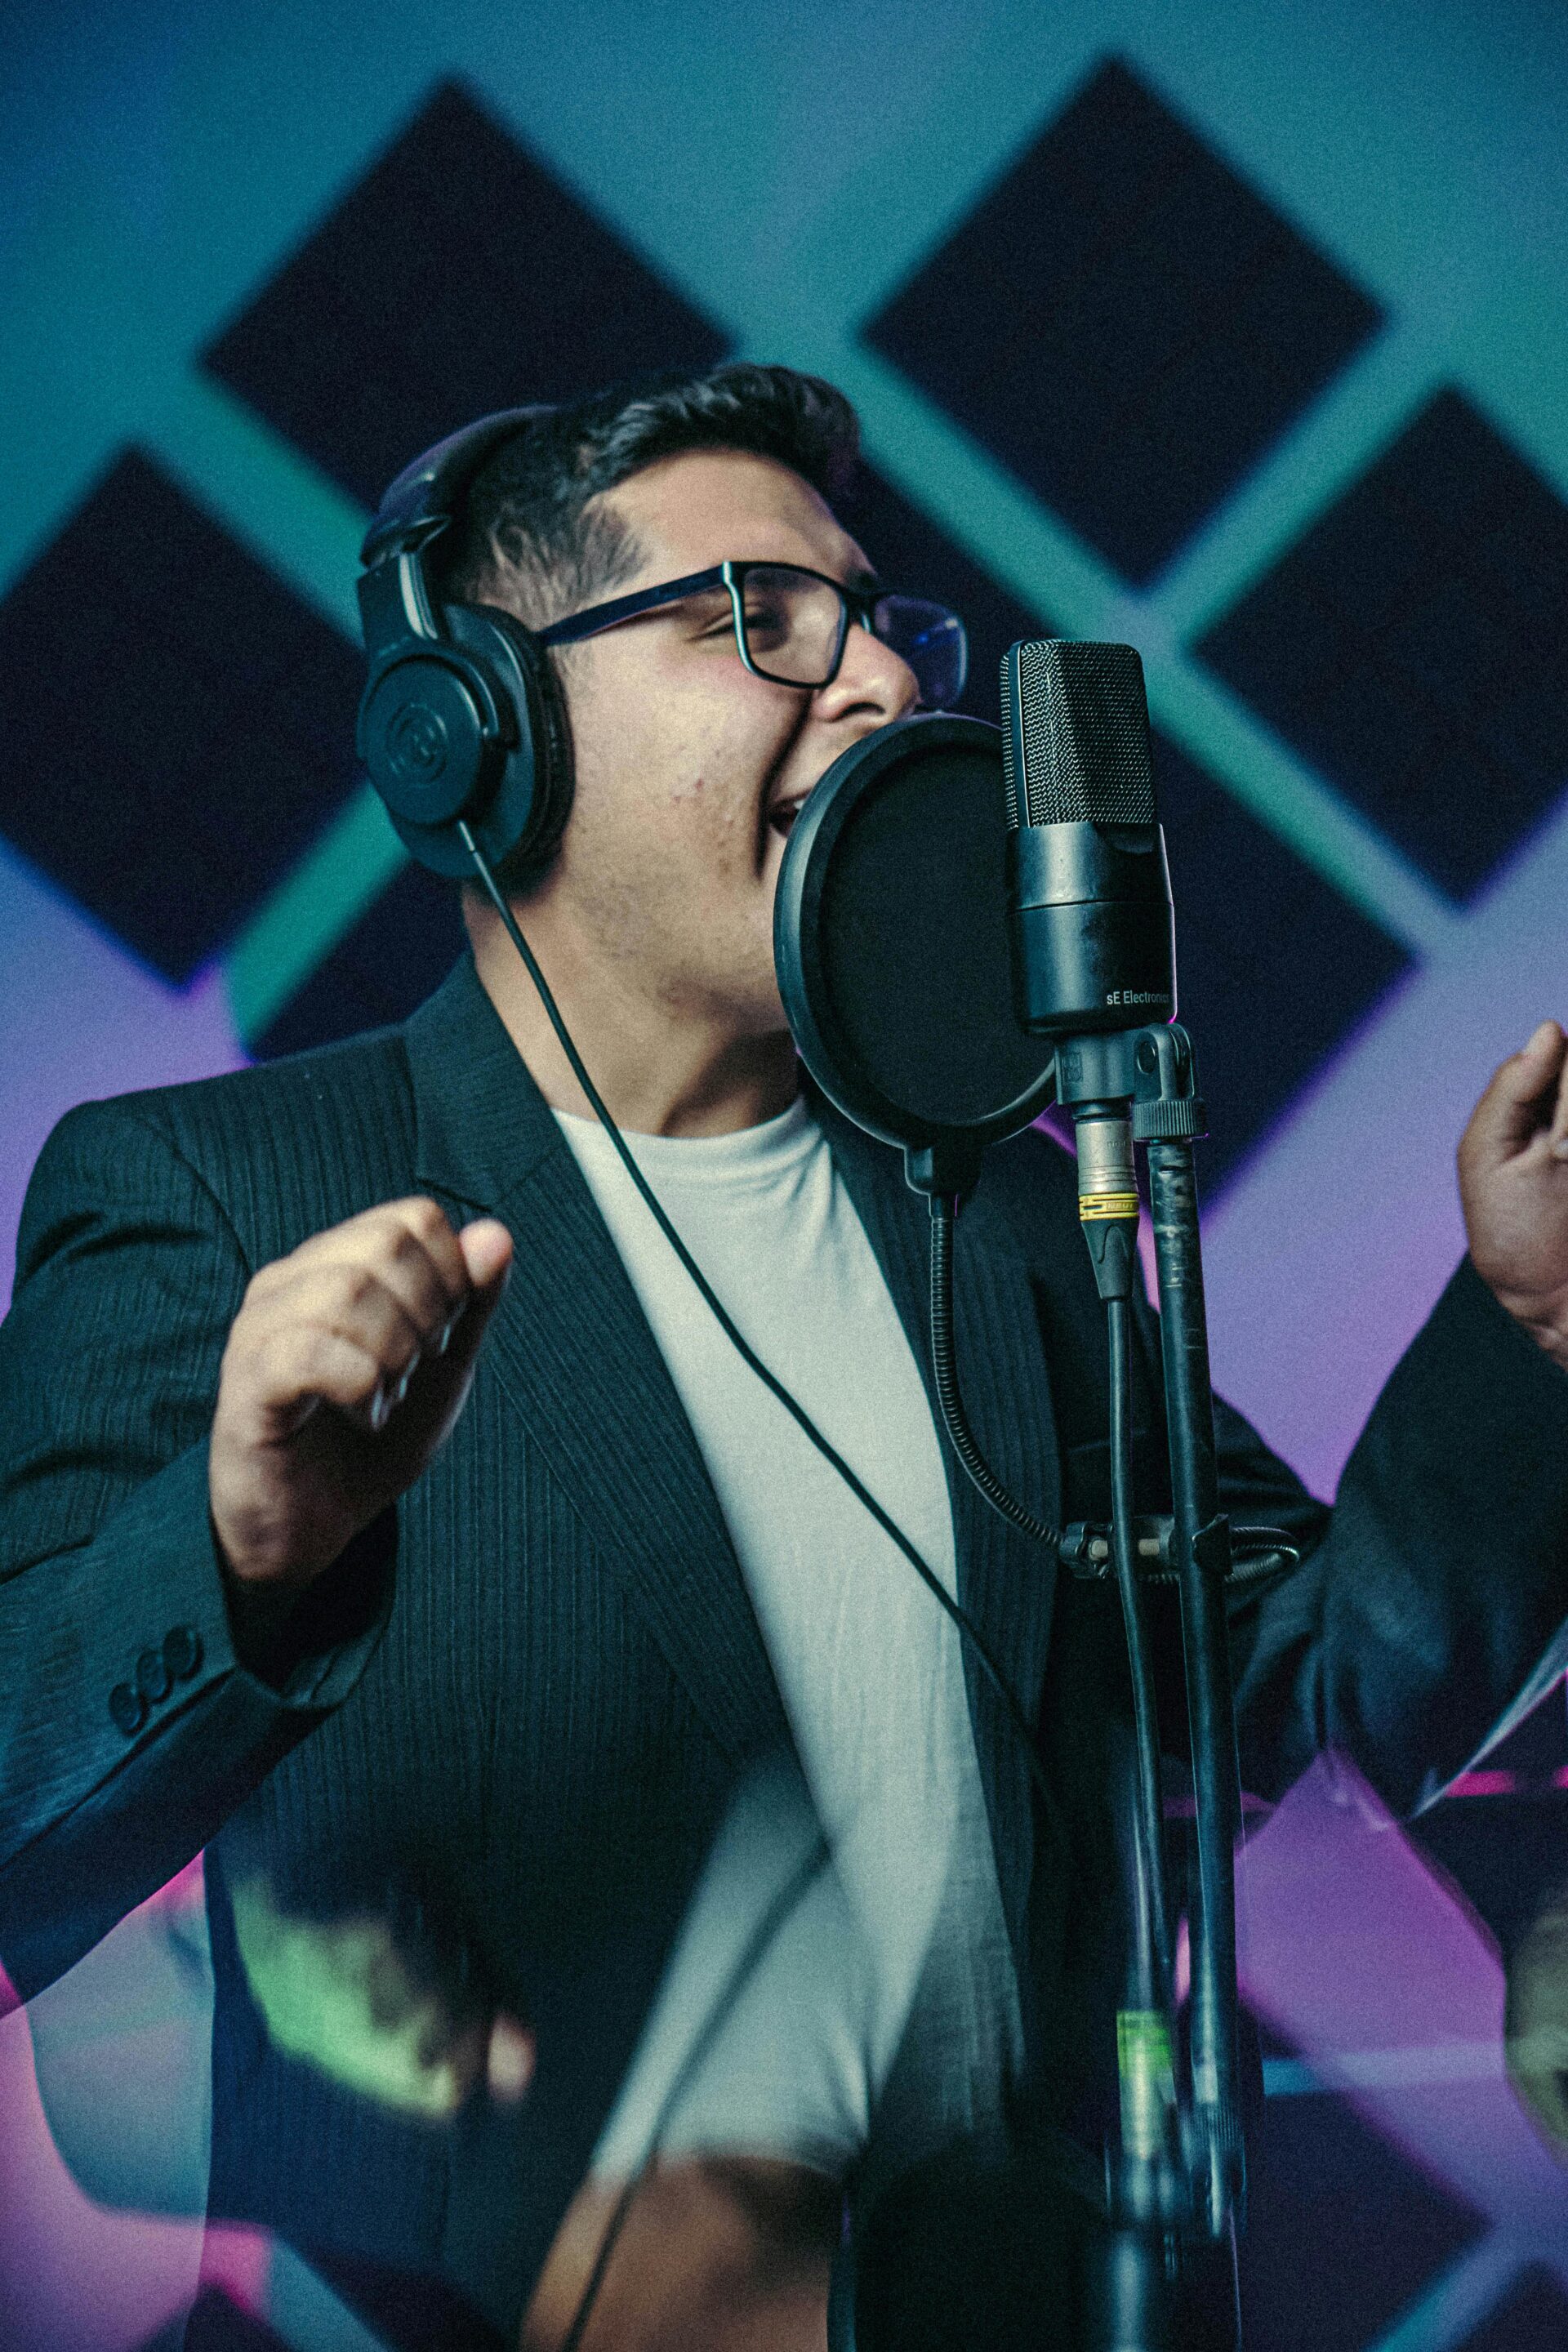
A roomy live area works well for full bands and larger ensembles. The space allows instruments to breathe and blend naturally. Small, acoustically treated booths are ideal for solo vocal or spoken word work.
Soundproofing isn’t optional. If the studio is near traffic or other noise sources, check that you can’t hear them in the recording space.
Any noise outside the performance will be impossible to eliminate without compromising the sound.
Look for evidence of proper acoustic treatment, including bass traps, diffusers, and foam. A bare, echo-heavy room will colour your recording in ways you can’t fix later.
If you can visit the studio before booking, do it. Walk the space. Clap your hands in the booths and listen for flutter echoes.
Check if the engineer can see and communicate with performers easily between rooms.
Comfort matters too. Bad ventilation or cramped chairs might not show up in the studio’s promo photos, but the wrong environment will drain performers fast.
The more controlled the sound in the room, the less you need to fix later in mixing. That means higher quality results and less time spent trying to “save” a bad recording.
Tip 4 – Understand exactly what’s in the price
Studio rates can look simple… until you realize how much isn’t included.
Get a complete breakdown in writing before you book. Ask about microphones, cables, stands, drum kits, keyboards, amps, instruments, and any specialist gear. Some studios include all of this in the base rate. Others rent them out as extras, and the costs can add up quickly.
Ask when the clock starts ticking. Some charge from the moment you walk in, even if you spend the first hour setting up. Others may include setting up in your slot or offering a buffer period.
Find out what’s included post-recording. Some studios offer a quick balance mix before you leave. Others might provide a full rough mix as part of the session. Mixing and mastering are almost always extra. If the studio offers a “package” deal, check exactly how many revisions are included before extra charges apply.
If you’re booking multiple days, ask about discounts. Many studios will lower the hourly rate if you commit to a large block of time.
Music studios have become a rapidly growing niche market, fueled by the rise of independent artists and content creators. As demand grows, it’s crucial to be aware of every cost involved to avoid any surprises.
Don’t skip reading the fine print. Cancellation fees, deposits, and rescheduling rules change from one studio to another. A casual “no problem” from a manager can quickly turn into a lost deposit if it’s not written into your agreement.
Knowing exactly what you’re paying for avoids awkward surprises and last-minute costs that blow your budget.
Tip 5 – Make sure you can get enough recording time in one stretch
Cutting your booking into several tiny chunks is rarely productive.
You’ll waste time on setup each day and struggle to keep a consistent sound or performance energy.
If you know the rough time needed, add at least an extra hour. Fatigue, unexpected creative decisions, or tech issues happen. That buffer could save you from needing another paid session.
When you rent a recording studio, ask how they handle overtime. Can they extend your slot if you need it? Or are they booked back-to-back? Studios with more flexibility can save you from having to stop mid-session.
Long stretches also keep microphone positions, gain settings, and performers’ energy exactly where they need to be. That’s why music projects in particular benefit from getting it all down in as few blocks as possible.
Even podcasts recorded over separate days can have mismatched audio tone, as ambient conditions can change subtly. This might mean matching EQ later, which adds extra cost.
Plan to record in one unbroken stretch wherever possible, it gives the final product a more unified and polished sound.
Tip 6 – Hear from others through reviews and past clients
The internet is full of information, use it.
Client reviews will tell you more about a studio than their own promo videos ever will.
Start with Google and social media. Look for consistent feedback, including both positive and negative client reviews.
Multiple people complaining about the same issue is worth noting.
Check musicians’ forums or podcasting groups for honest experiences. Studios with decent reputations will usually be mentioned by name in positive threads.
Where possible, speak directly with people who have recorded there. Ask about noise control, staff professionalism, and whether they delivered on time.
First-hand insights mean you’ll know exactly what to expect and avoid learning the hard way.
Tip 7 – Check how the studio handles technical support and problem-solving
Technology fails at the worst times. Make sure the studio can handle problems fast.
Ask if they keep spares of key items like mics, DI boxes, and cables. If something breaks, they should be able to swap it out instantly.
Is there a technician on-site the whole session, or do they have to “call someone in”? Downtime is wasted money.
The quicker they can fix an issue, the fewer takes you’ll lose.
Studios without backup systems or with unclear answers on support are a risk. Small hiccups will happen… it’s how they respond that matters.
Pick a studio where technical issues are solved as fast as they appear.
Ready to hit record?
Now you’re equipped to make smarter decisions when it’s time to book your studio. Don’t let poor planning or a lack of research get in the way of your sound.
The right studio is about finding a space that helps you achieve the exact results you’re aiming for.
Whether you’re tracking vocals, recording a full band, or producing a podcast, every detail matters.
Every session counts, and with the right preparation, you’ll get the most out of every hour.
Don’t waste time. Choose a studio that works for you and your project. Get ready to hit record with confidence and make your best work yet.